Farming Overview
This is the roadmap I follow in my kitchen, from a single microscopic spore to a full harvest. It's the "big picture" of how I've found success growing mushrooms at home.
1. Spore Germination (S2A)
I always start with MSS, Prints, or Swabs. I germinate these spores on an Agar plate to "sprout" the first signs of life. I've found this stage is the best way to awaken genetics safely.
2. Agar to Agar (A2A)
Since spores can be "dirty," I use Agar to Agar (A2A) transfers. This allows me to move clean mycelium away from any competition until I have a pure, healthy culture.
3. Grain Inoculation
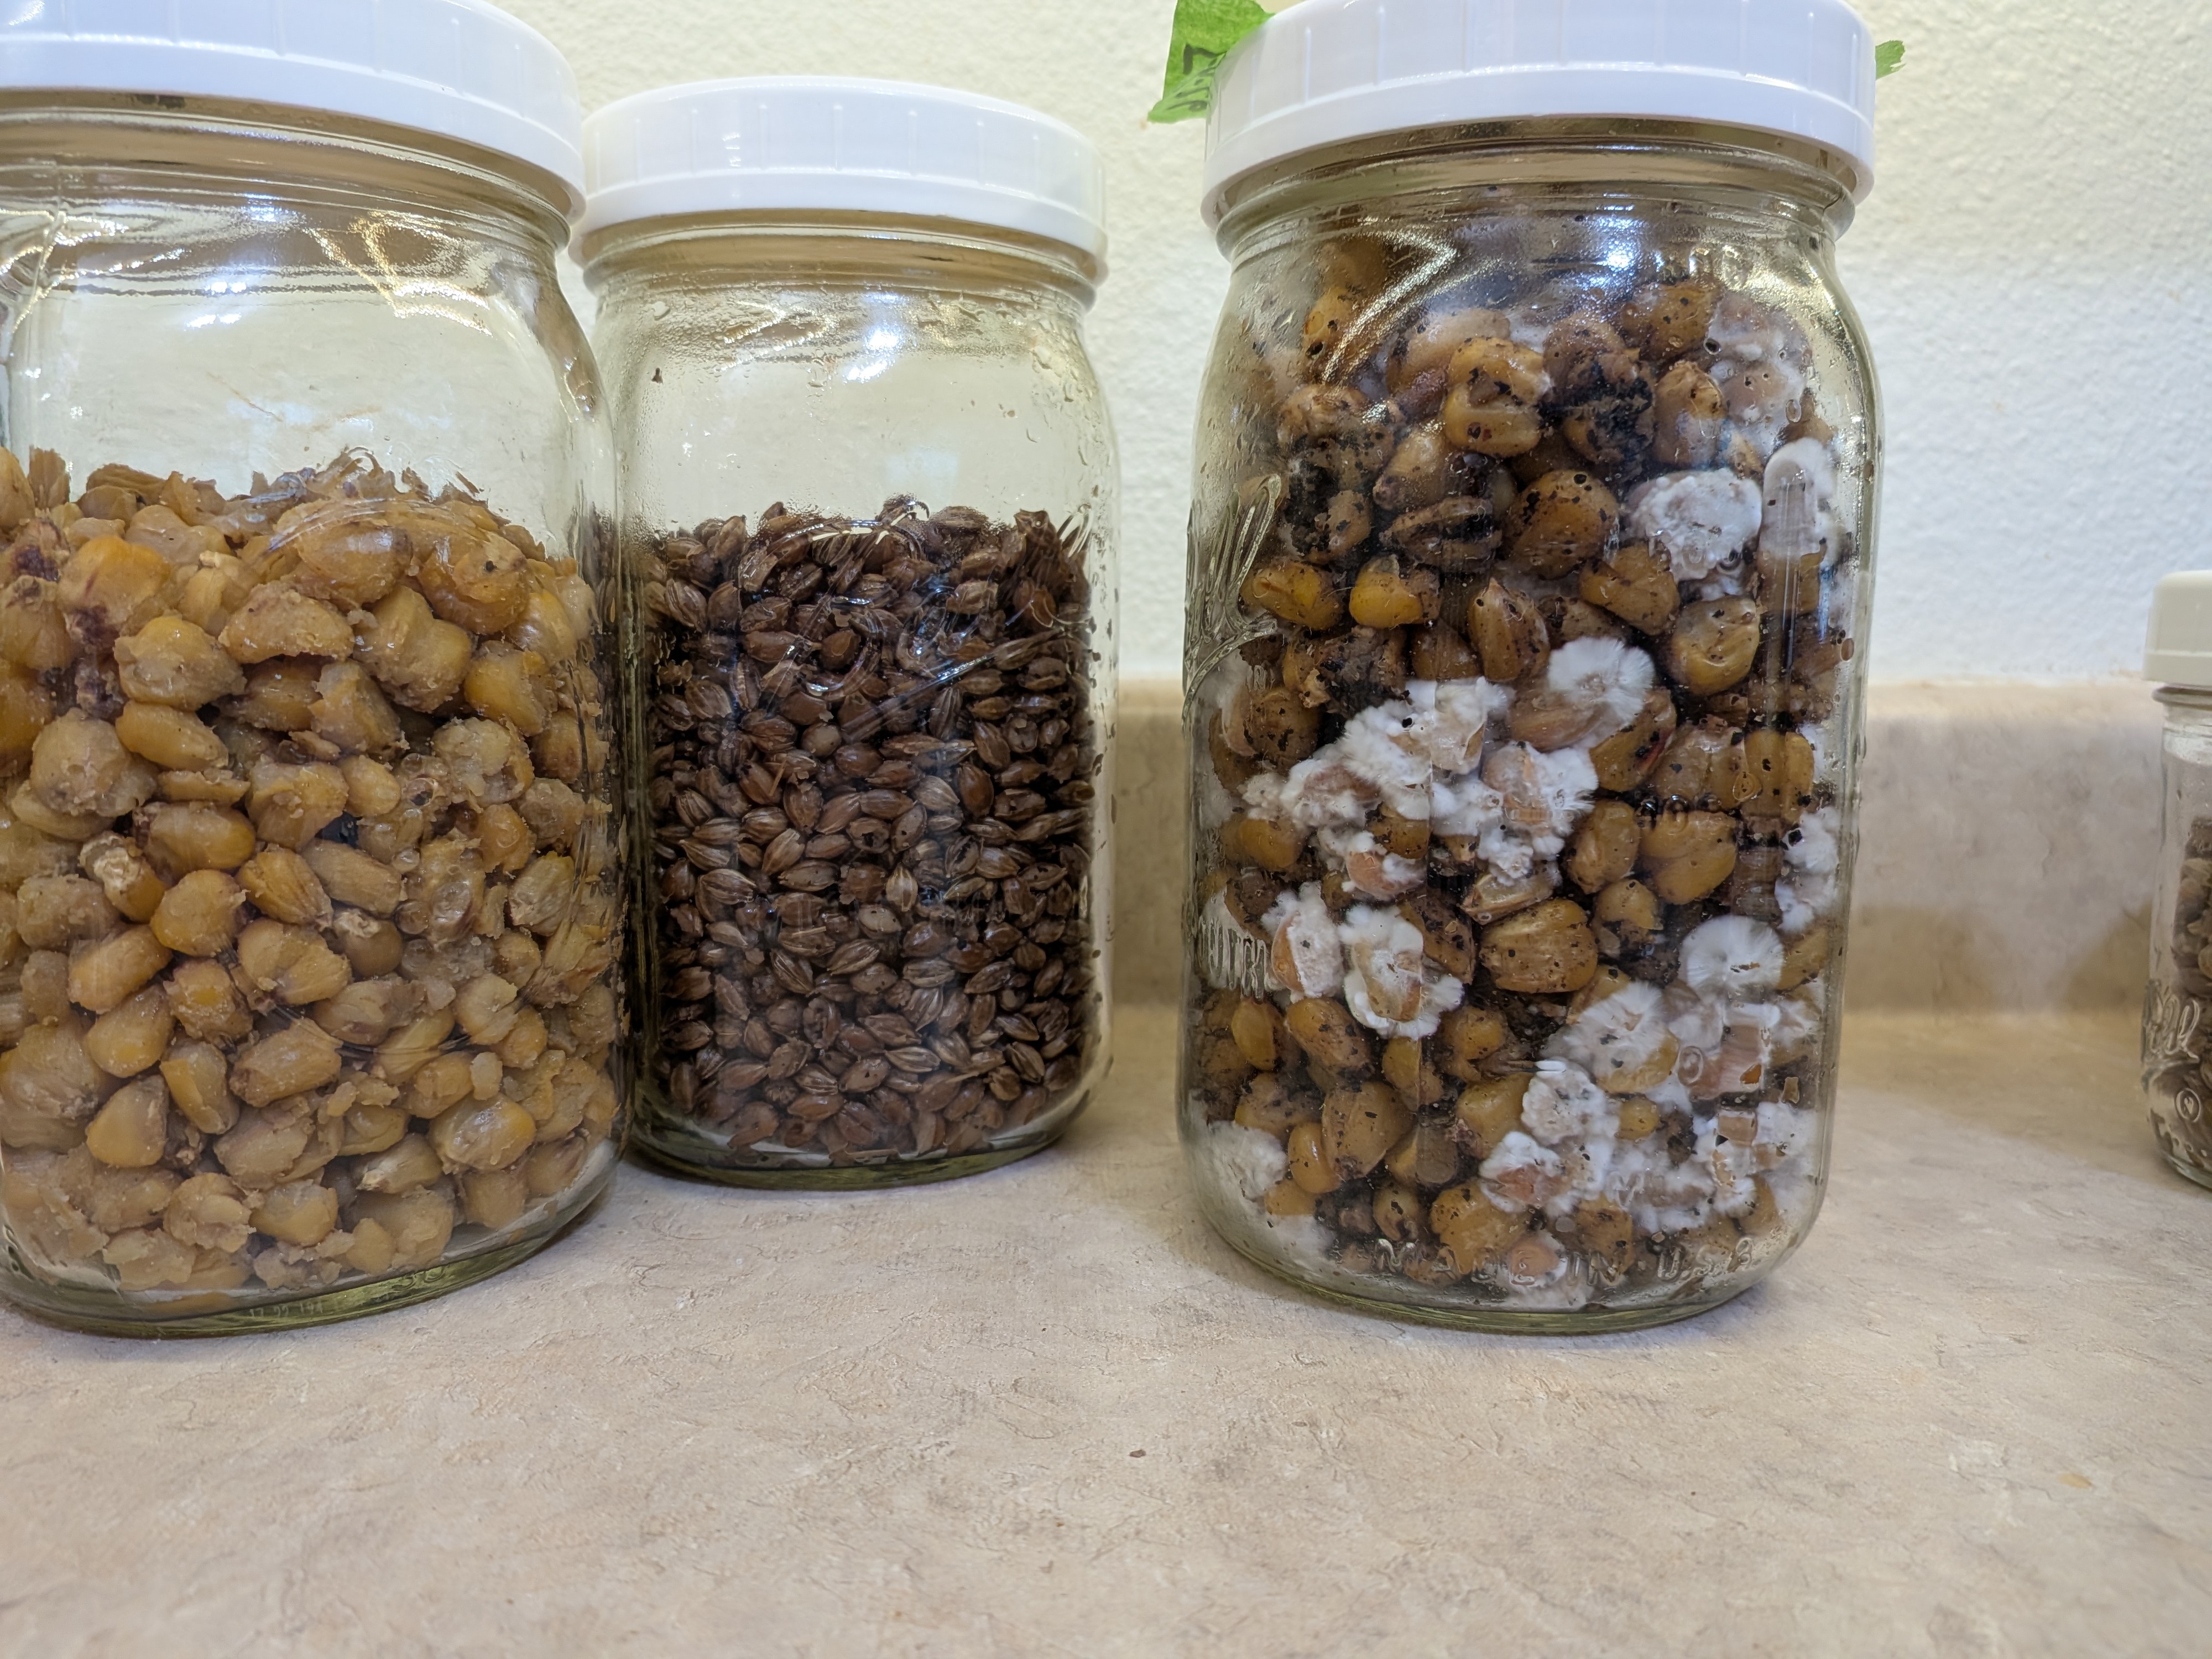
Once I have a clean plate, I move to Grain Inoculation. I usually do this via Agar to Grain (A2G), Liquid Culture (LC2G), or Grain to Grain (G2G) expansion. I've found that one fully colonized jar can easily inoculate 10 or more fresh jars.
4. Spawn to Bulk (S2B)
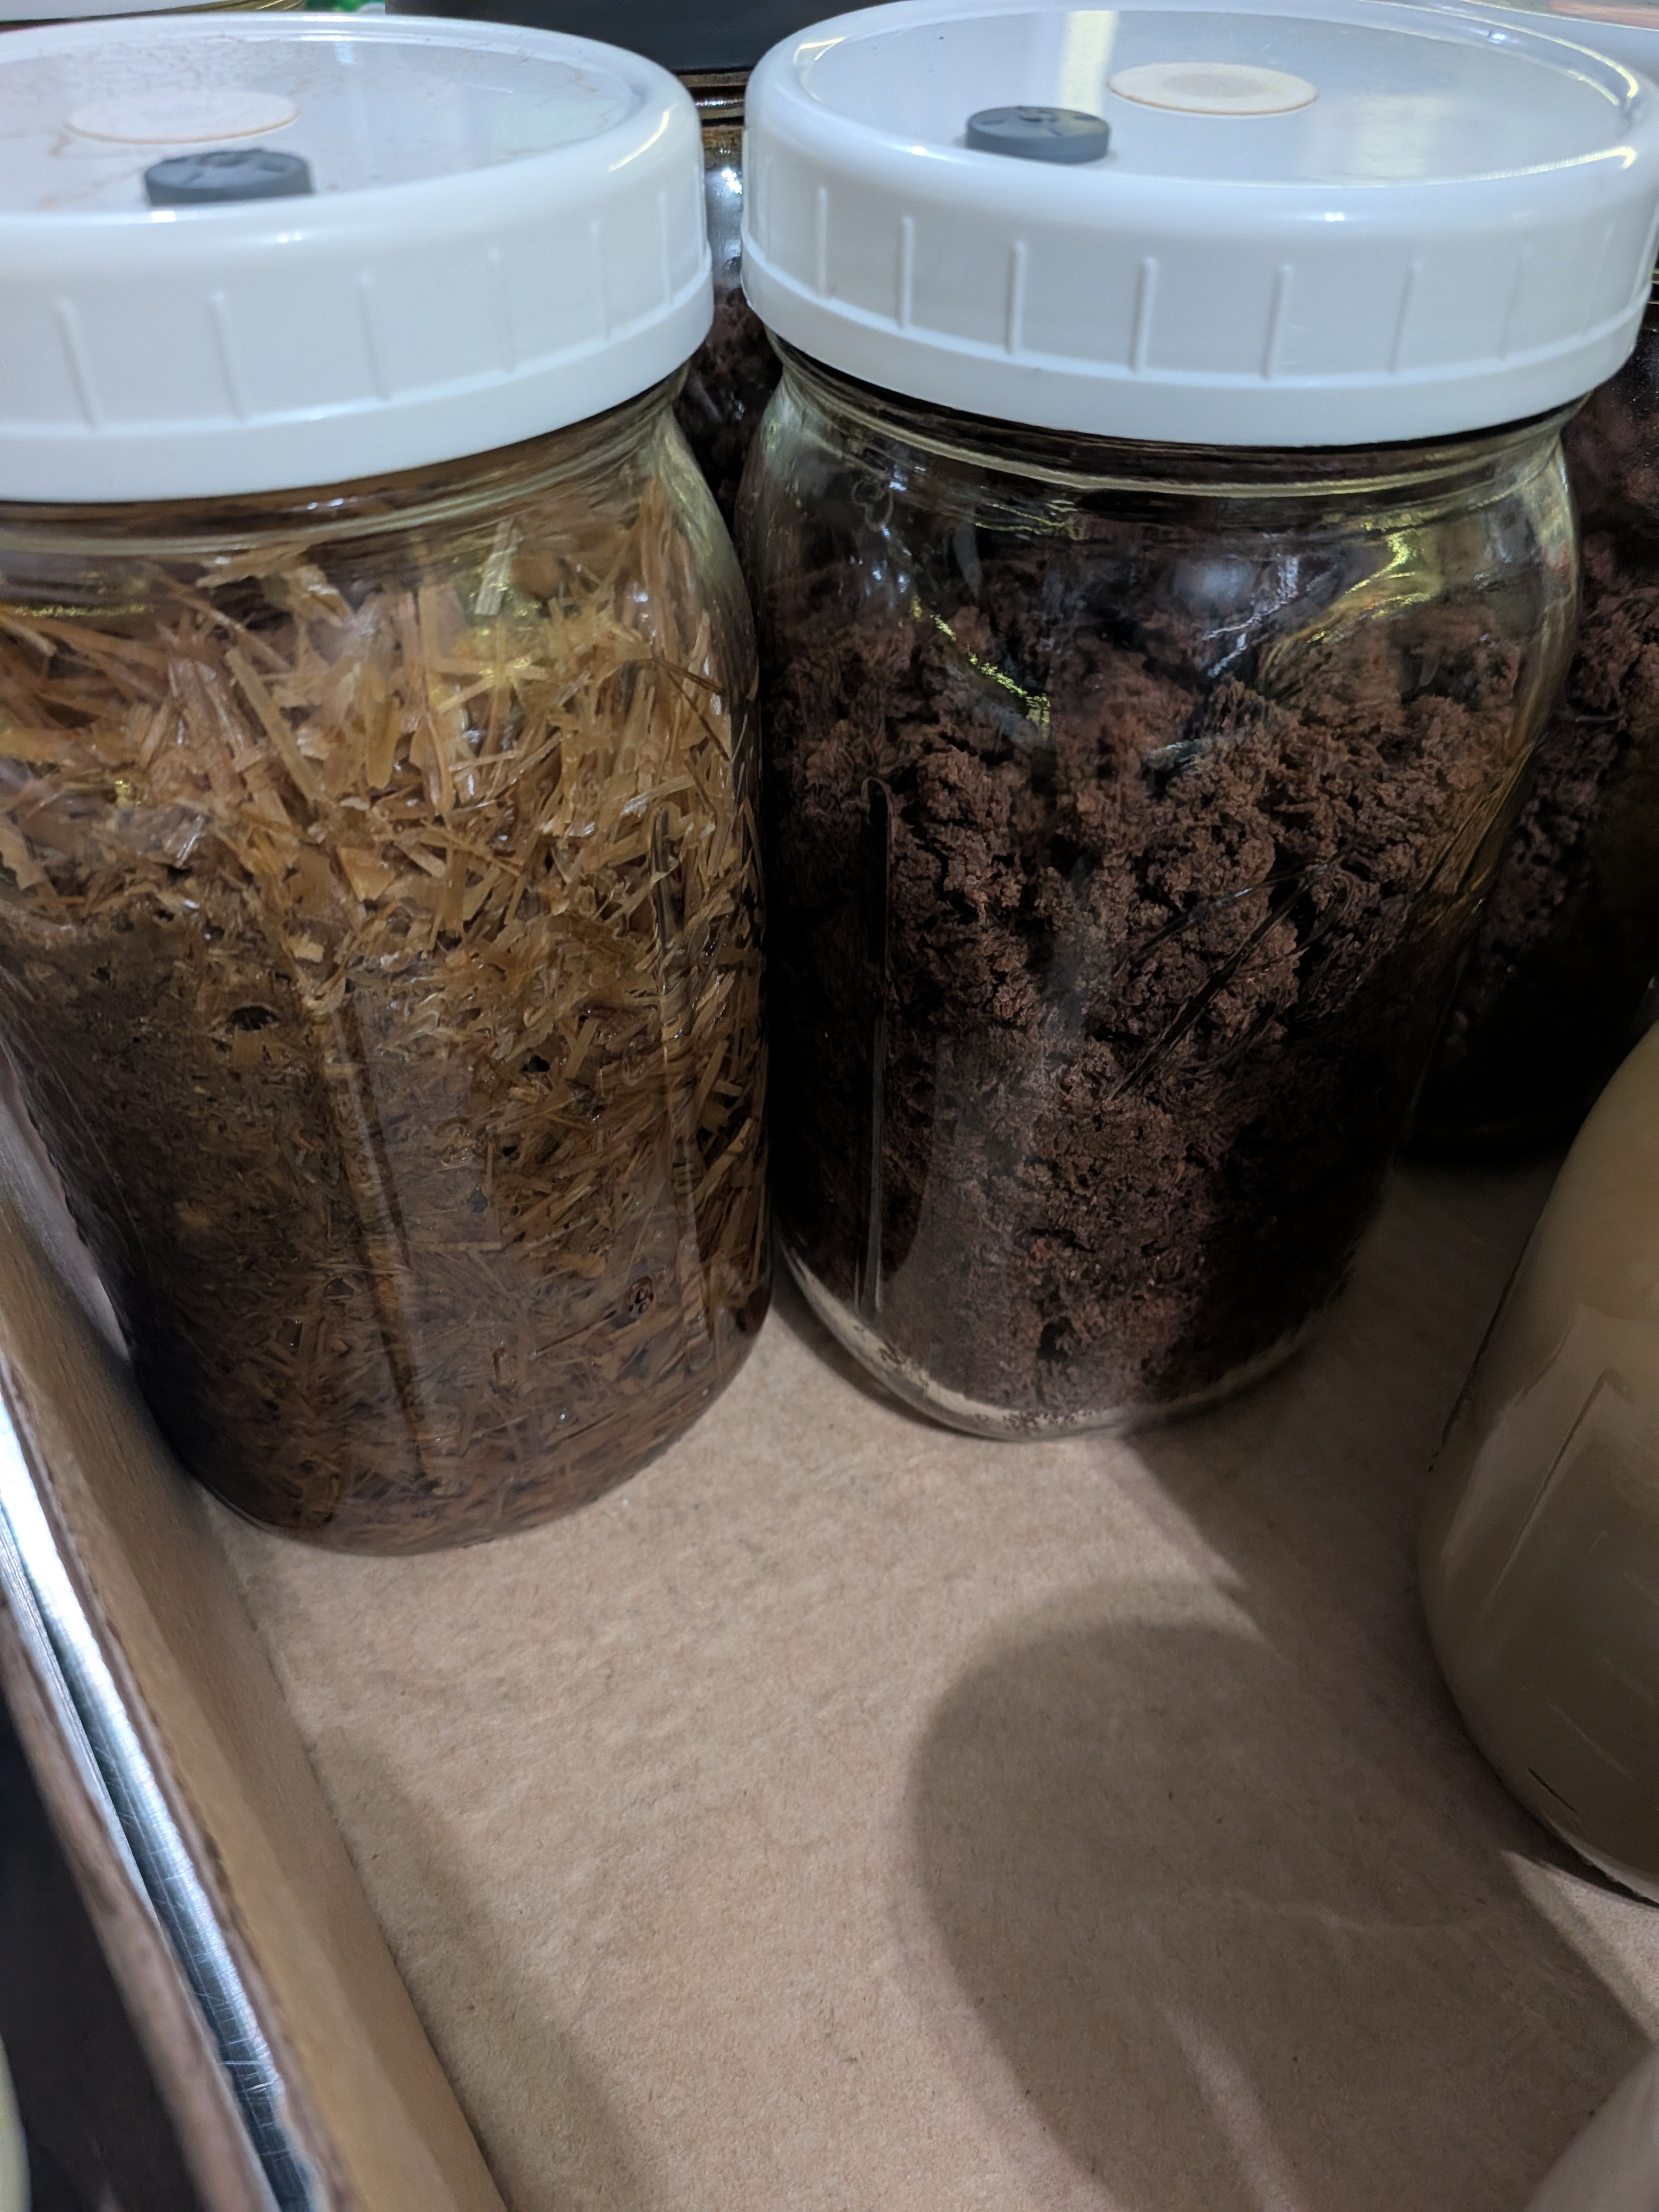
When my jars are 100% white, I move to Spawn to Bulk (S2B). I mix my colonized grain into a larger volume of pasteurized substrate (like straw or pellets) in a simple Monotub.
6. The Final Harvest
Finally, I trigger Fruiting by introducing fresh air and humidity. The cycle is complete when the mushrooms are picked and I collect new spores for the next run.
Summary of the Flow
Spore / S2A → Agar (A2A) → Inoculation → Bulk (S2B) → Fruit
Every step in this flow has helped me ensure my mycelium stays healthy, clean, and strong enough to produce a successful harvest.