Grain Inoculation
Moving life into your grain jars. These are the methods I follow in my kitchen to transition my cultures from agar or liquid into their main food source. I'm always refining these steps to achieve a cleaner, more thorough marriage between the mycelium and the grain.
1. Inoculating with Agar (A2G)
Using Agar to Grain (A2G) is the gold standard for cleanliness. Since you can see the mycelium on the plate, you know you are moving a pure culture.
2. Inoculating with Liquid Culture (LC2G)
Liquid Culture to Grain (LC2G) is the fastest way to see growth. Because the mycelium is already in a liquid state, it hits many more grains instantly.
3. Grain to Grain (G2G)
Grain to Grain (G2G) expansion is the fastest way to turn one successful jar into ten. It is all about "hot spots"—every colonized grain you move acts as a new starting point.
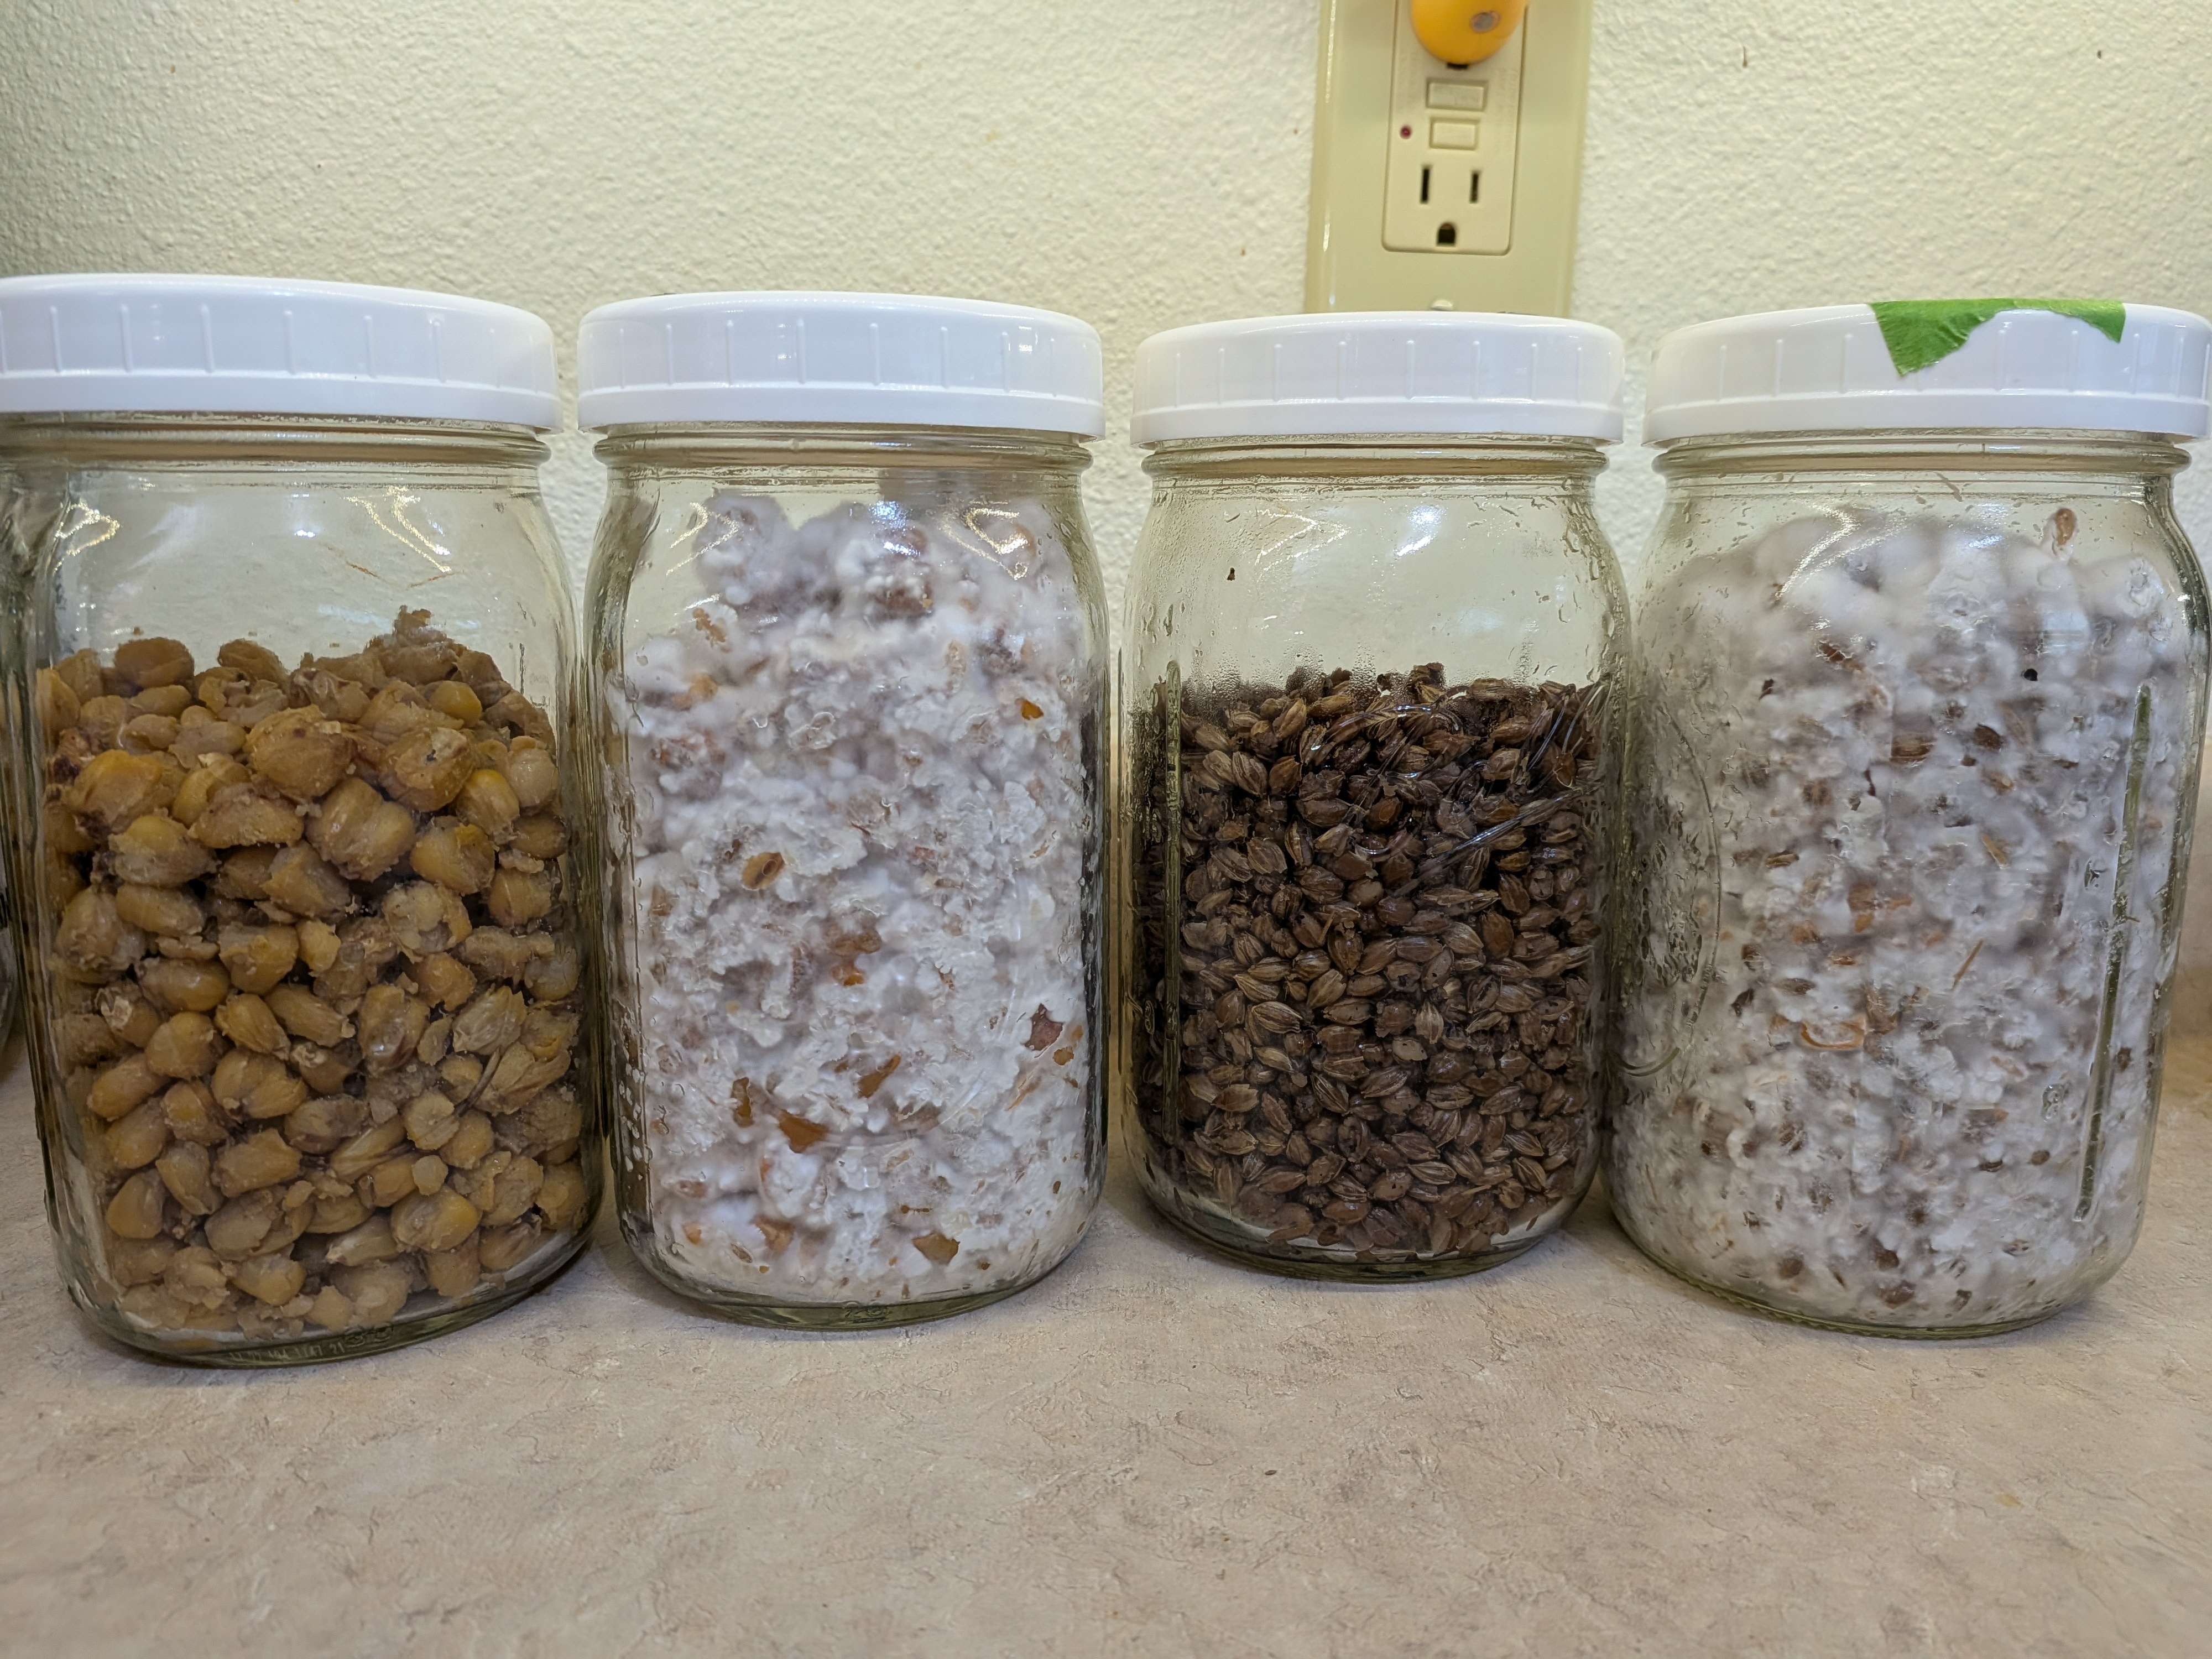
Fully colonized jar ready to inoculate fresh jars.
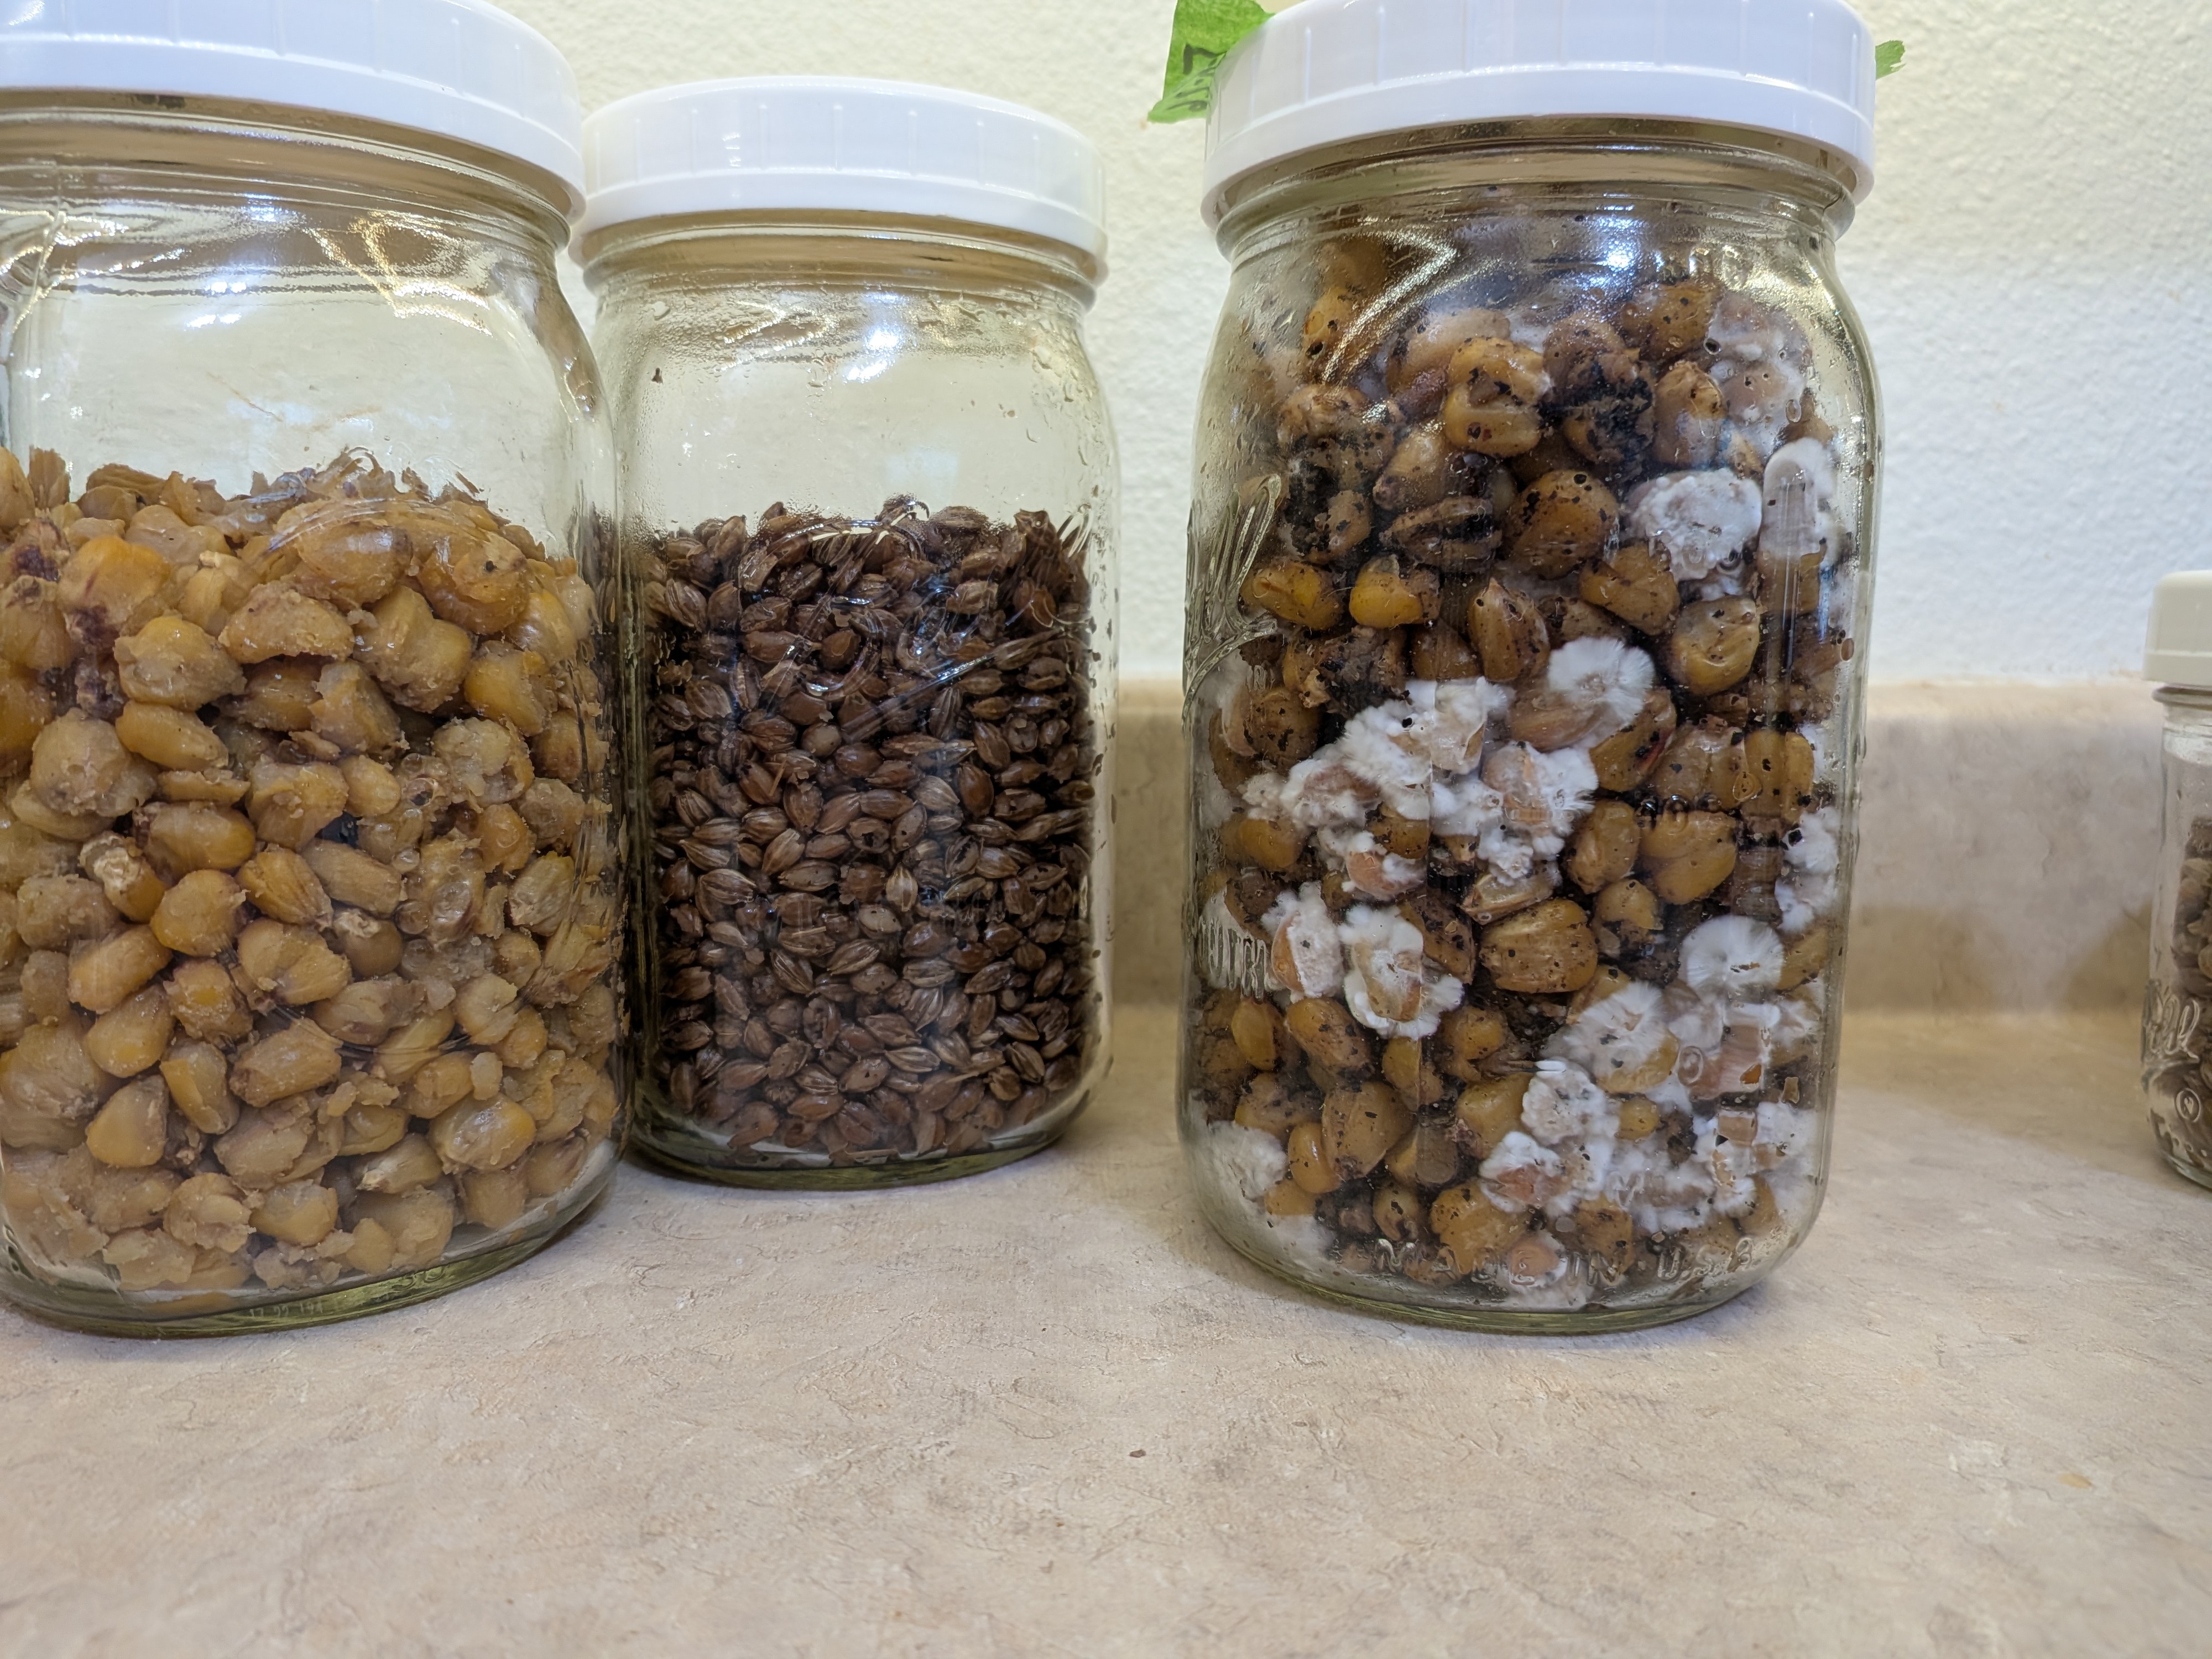
The results of a successful G2G transfer.
Headspace is Key: When preparing jars for G2G, leave **1/3 empty space** at the top. You need this room to shake and distribute the grains effectively.
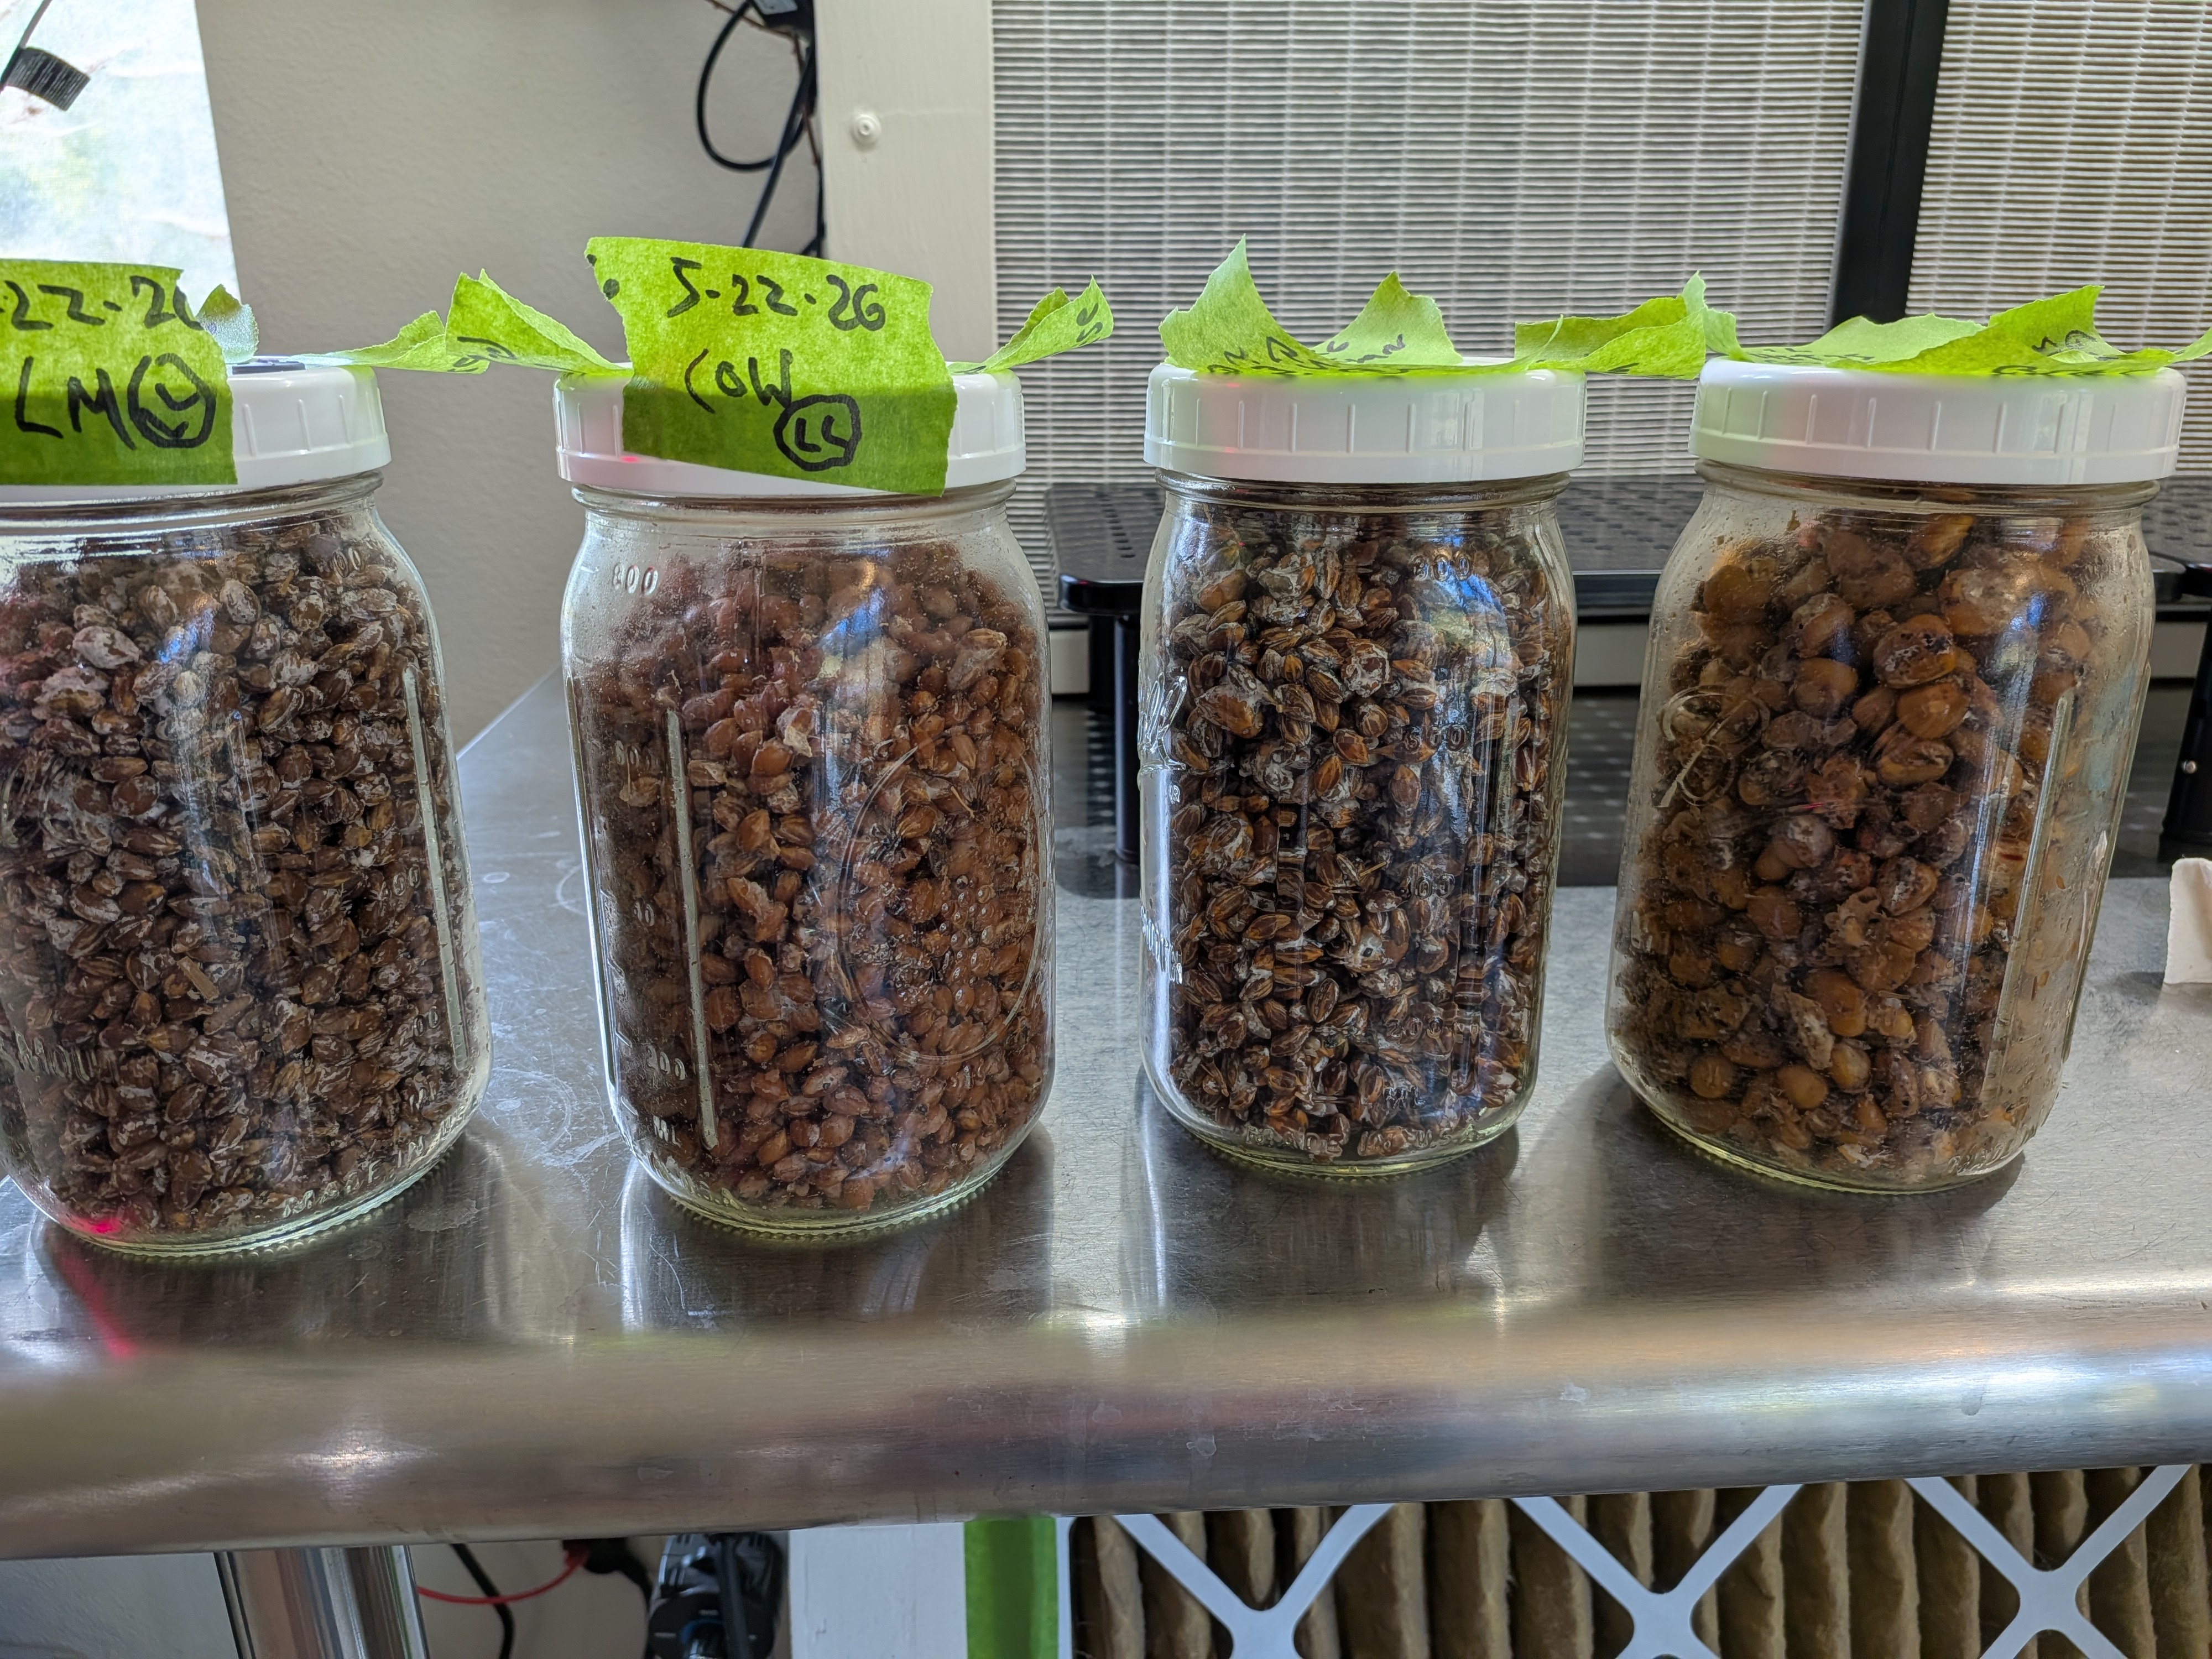
As part of the process, a final Break and Shake is done right before G2G so the colonized grains flow freely for the pour (2026-06-05).
This final shake is what allows you to actually pour the grains from the master jar into the new ones; without it, the mycelium will have bound the grain into a solid block.
The Break and Shake (B&S)
To speed up colonization, we use the Break and Shake (B&S) method. This involves physically breaking apart the clumps of mycelium and shaking the jar to spread them throughout the uncolonized grain.
- When to do it: I usually perform a B&S when the jar is about **30% to 50% colonized**.
- The Action: Shake the jar vigorously. Grains should bounce and move freely. If they are too wet and sticky, it will be much harder to break them apart.
- Recovery: The jar will look "bruised" or even dead right after a shake. Don't panic—healthy mycelium will explode with new growth from all those new "hot spots" within 24 hours.