Agar
The foundation of all sterile work. Master the seaweed-derived medium for cloning, working with spores, storage, and expansion in your own home setup.
Why I Use Agar
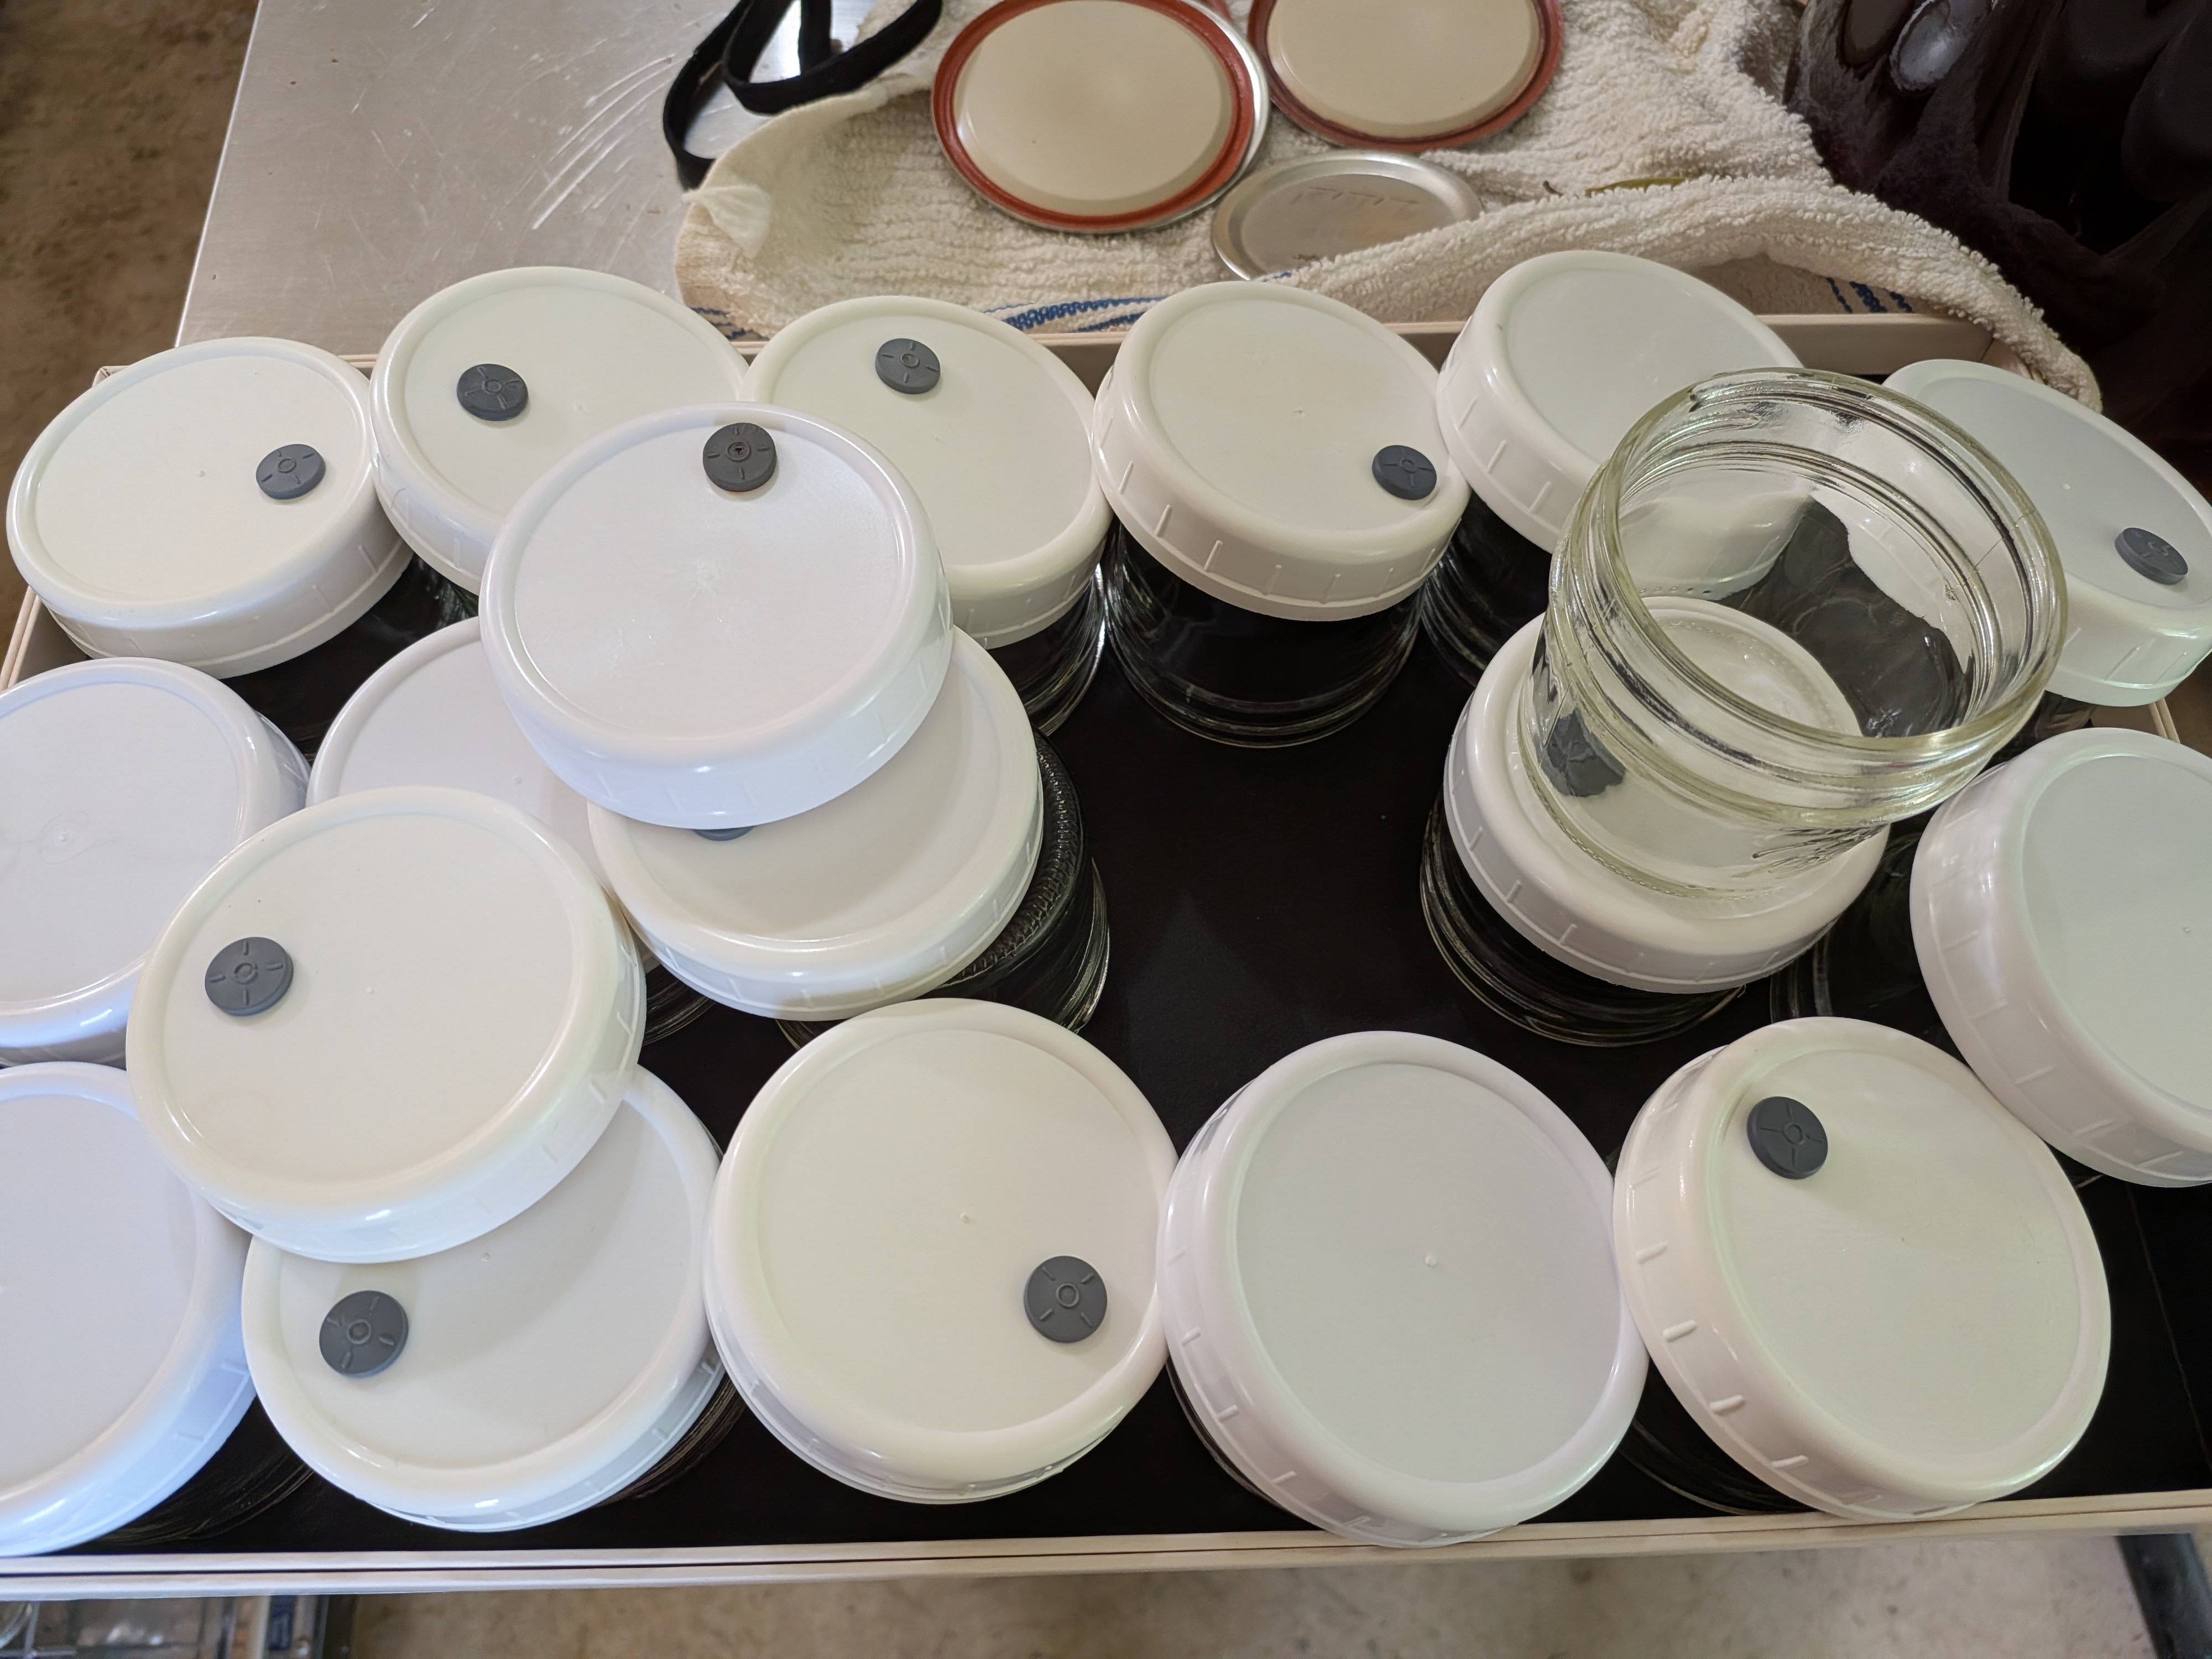
I have found that agar is one of the absolute best tools in my arsenal. It can seem intimidating at first, but in my experience, it grows healthy mycelium quite easily once you master a few basic steps.
- Tools I Find Useful:
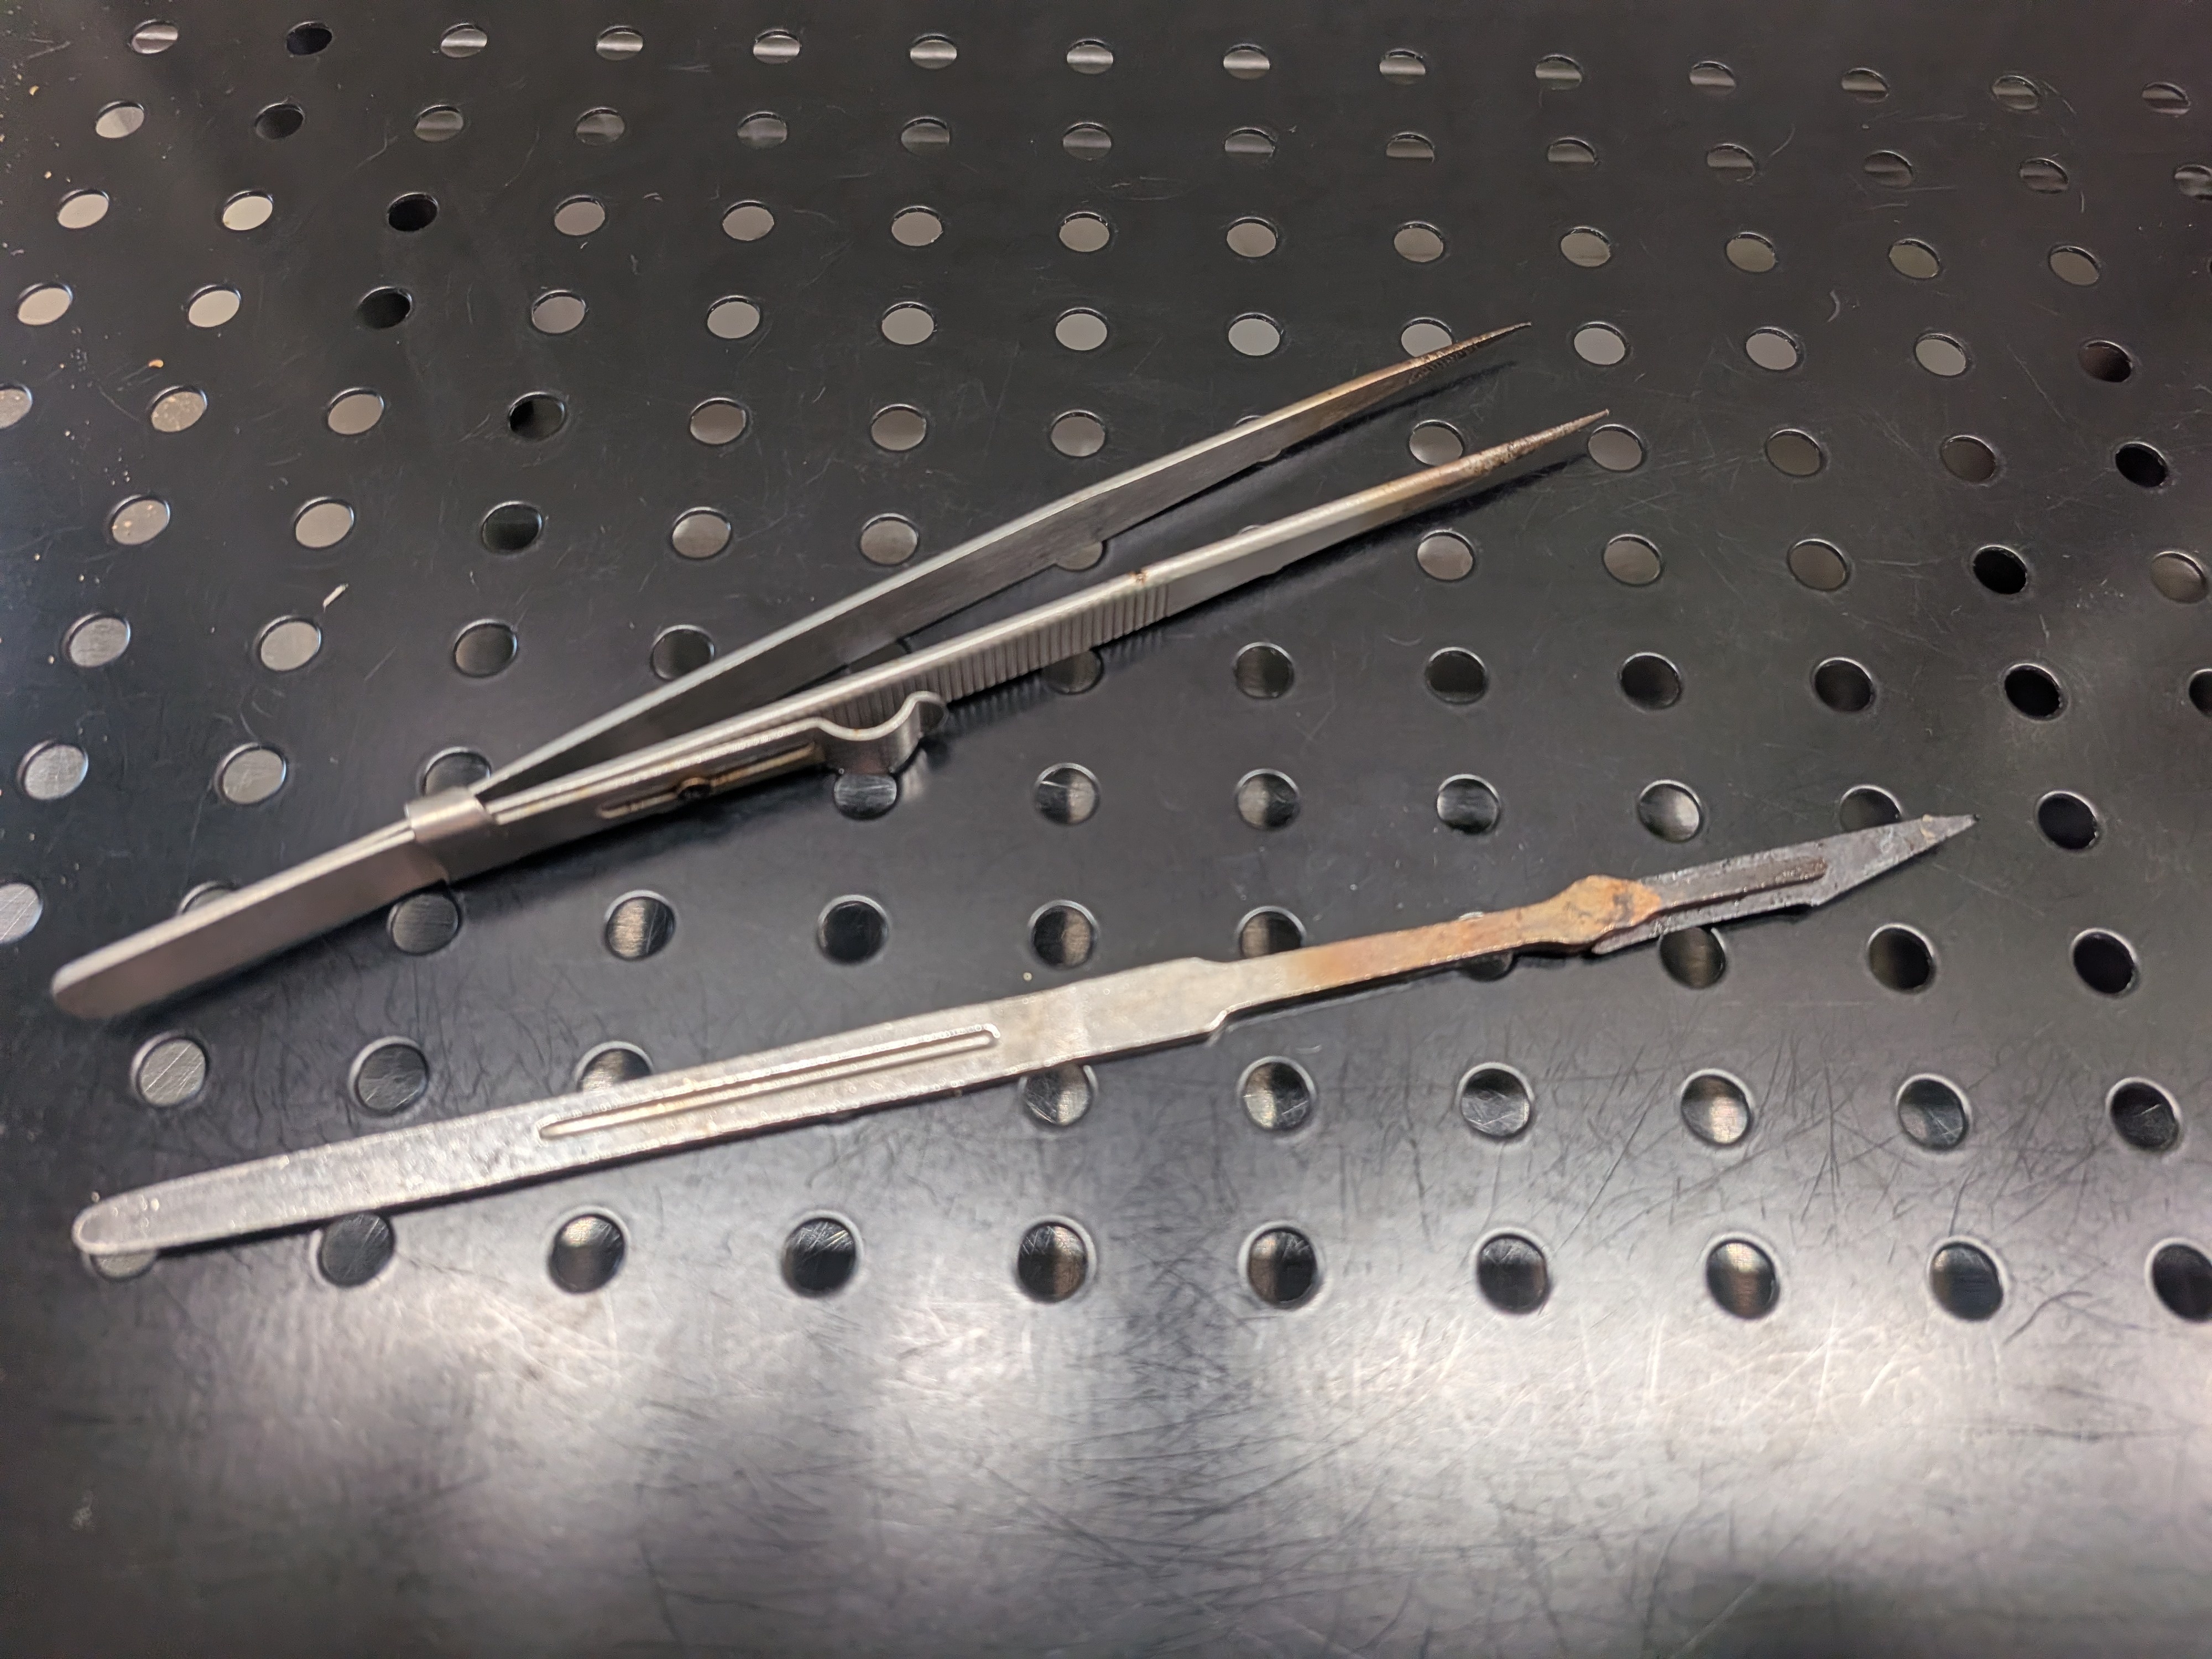
- A digital scale. I prefer measuring by weight for consistency, but spoons or packets can work too.
- A #7 Scalpel with a #11 blade. I prefer an all-metal tool because I find it much easier to sterilize and reuse. The long handle helps me keep my hands away from the work. I just changed my first blade after over 5 years of regular work—I'm not even sure when I got it, but they definitely last a long time! They are wearable parts, but I've found they can handle thousands of transfers before the mount starts to feel loose.
- Glass or Polypropylene jars. I've found these are the most reliable for the "No-Pour" technique.
- How I Prepare No-Pour Agar:
- Mix the ingredients and bring to a boil.
- Pour into final containers while hot.
- Heat sterilize (PC or Oven).
- Let cool completely in a clean environment.
The Principle of Cleanliness
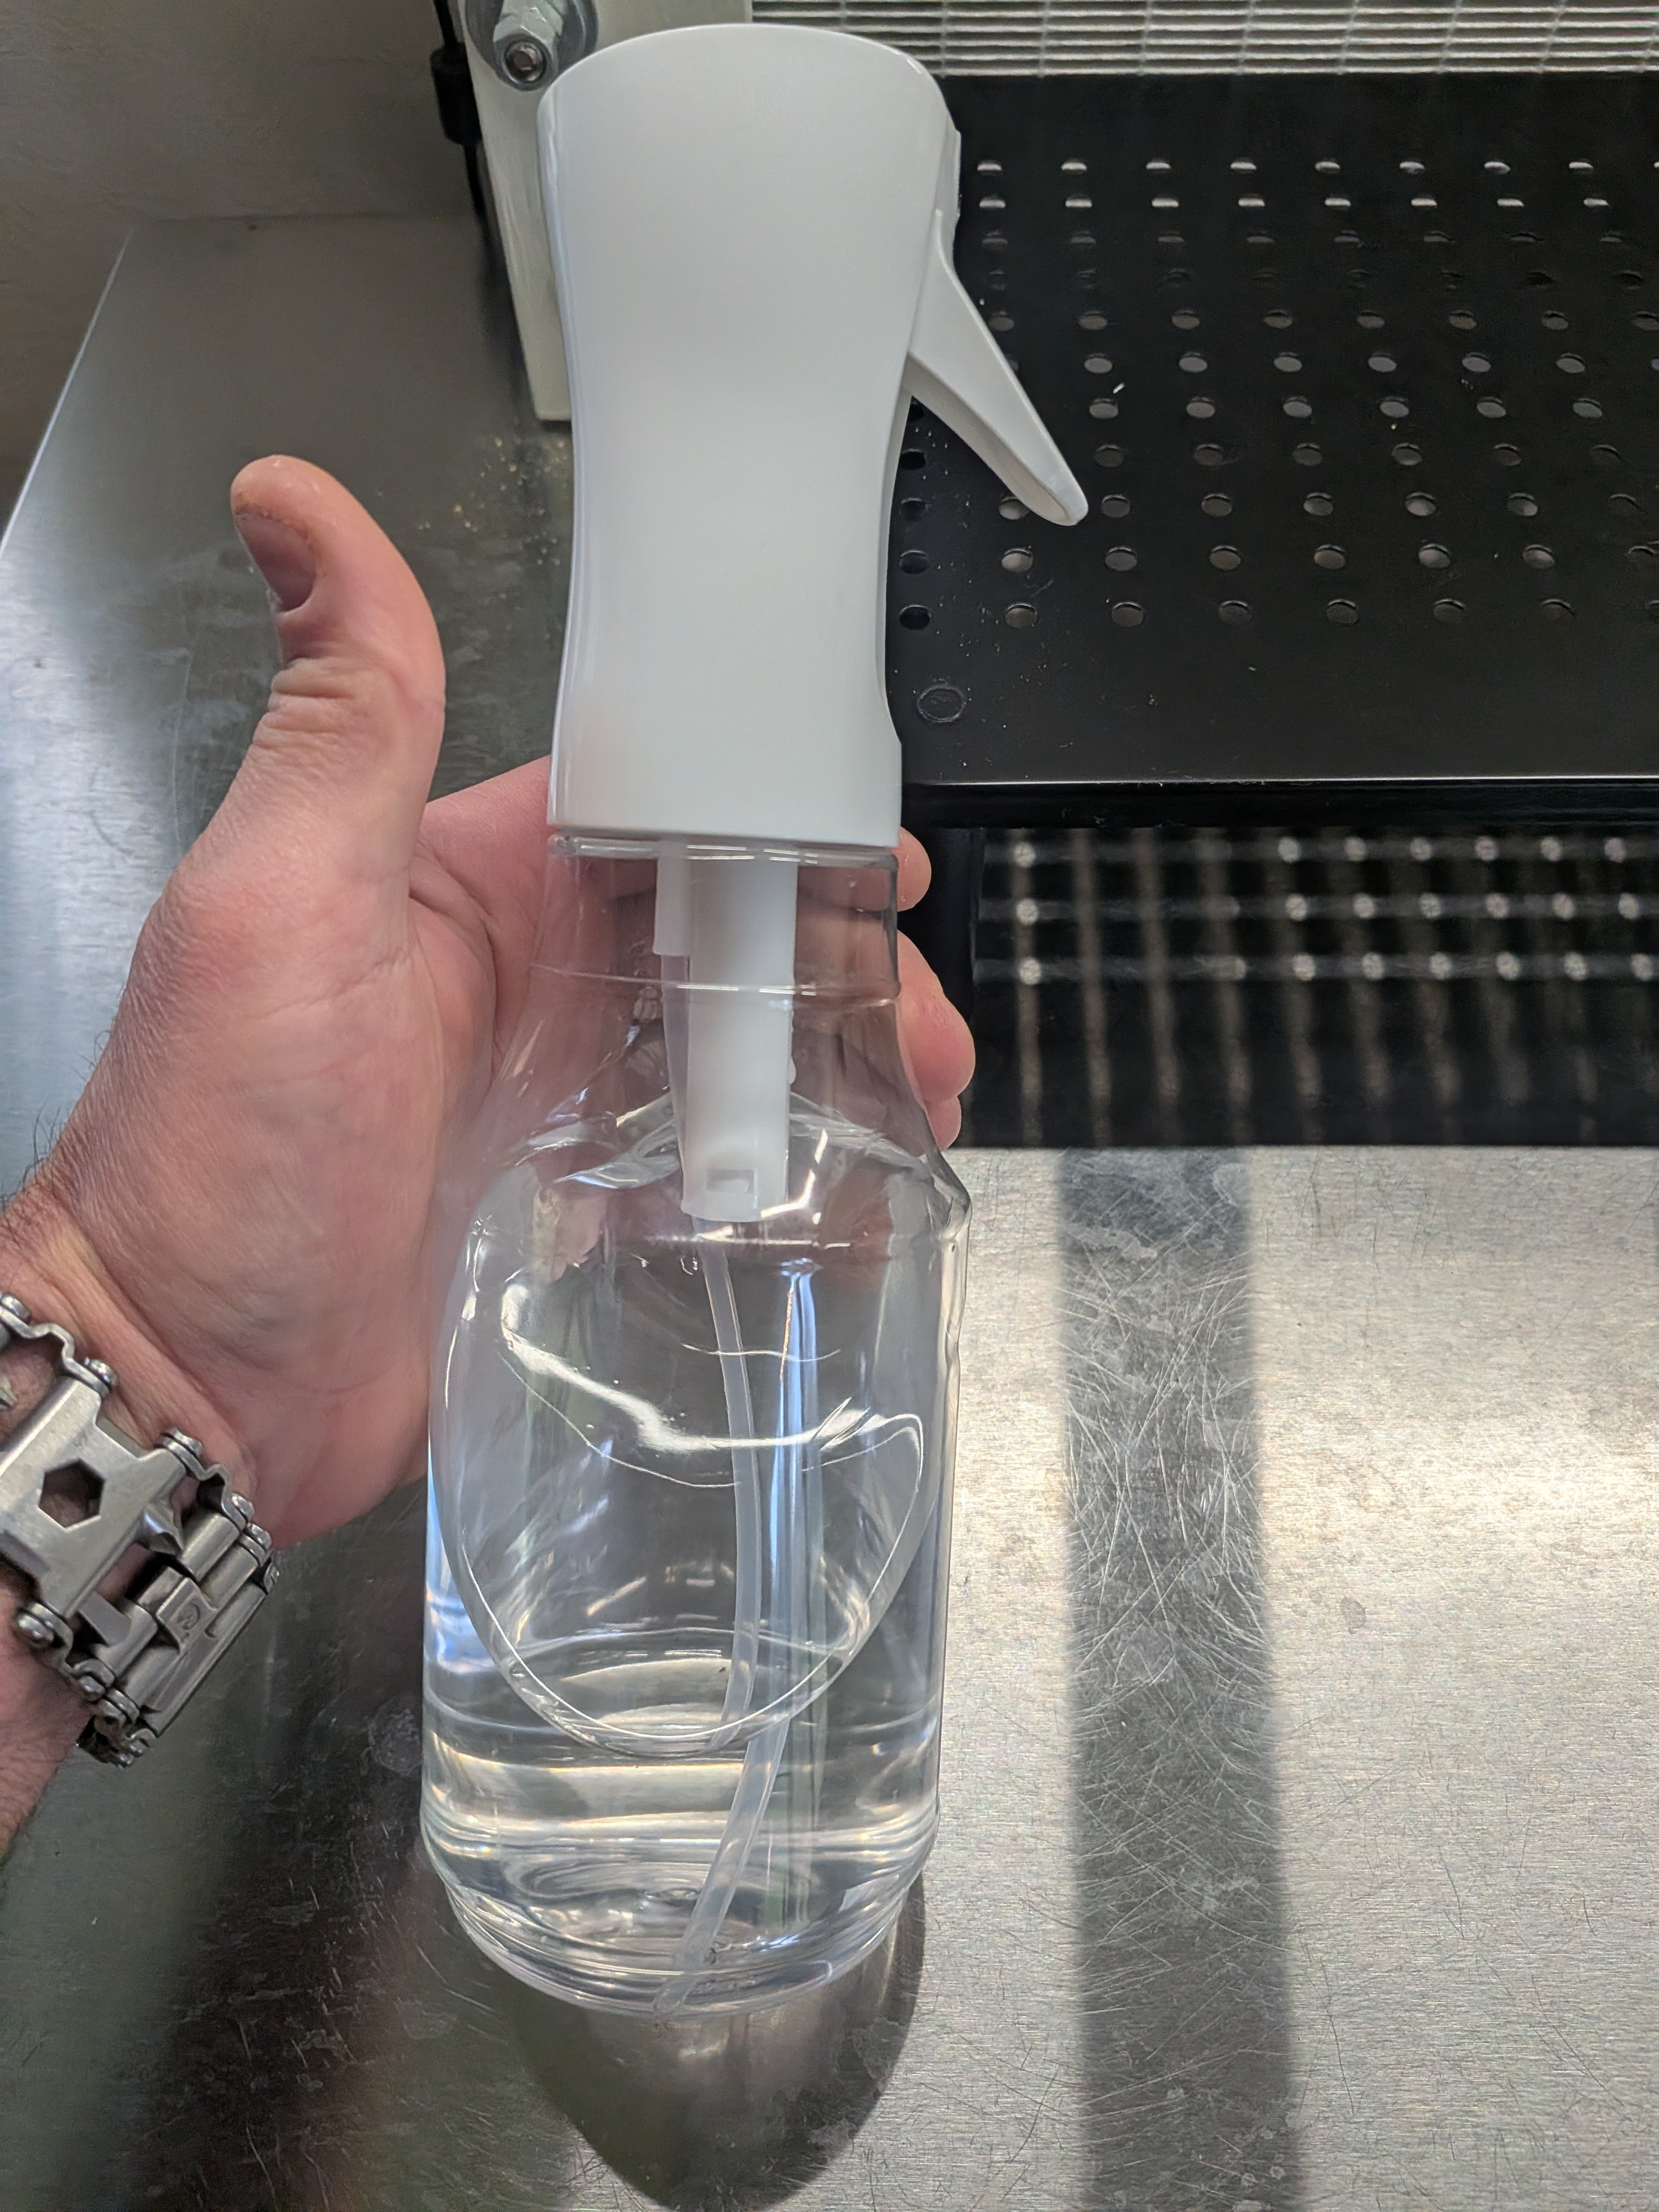
Flarisol bottle for fine ISO mist
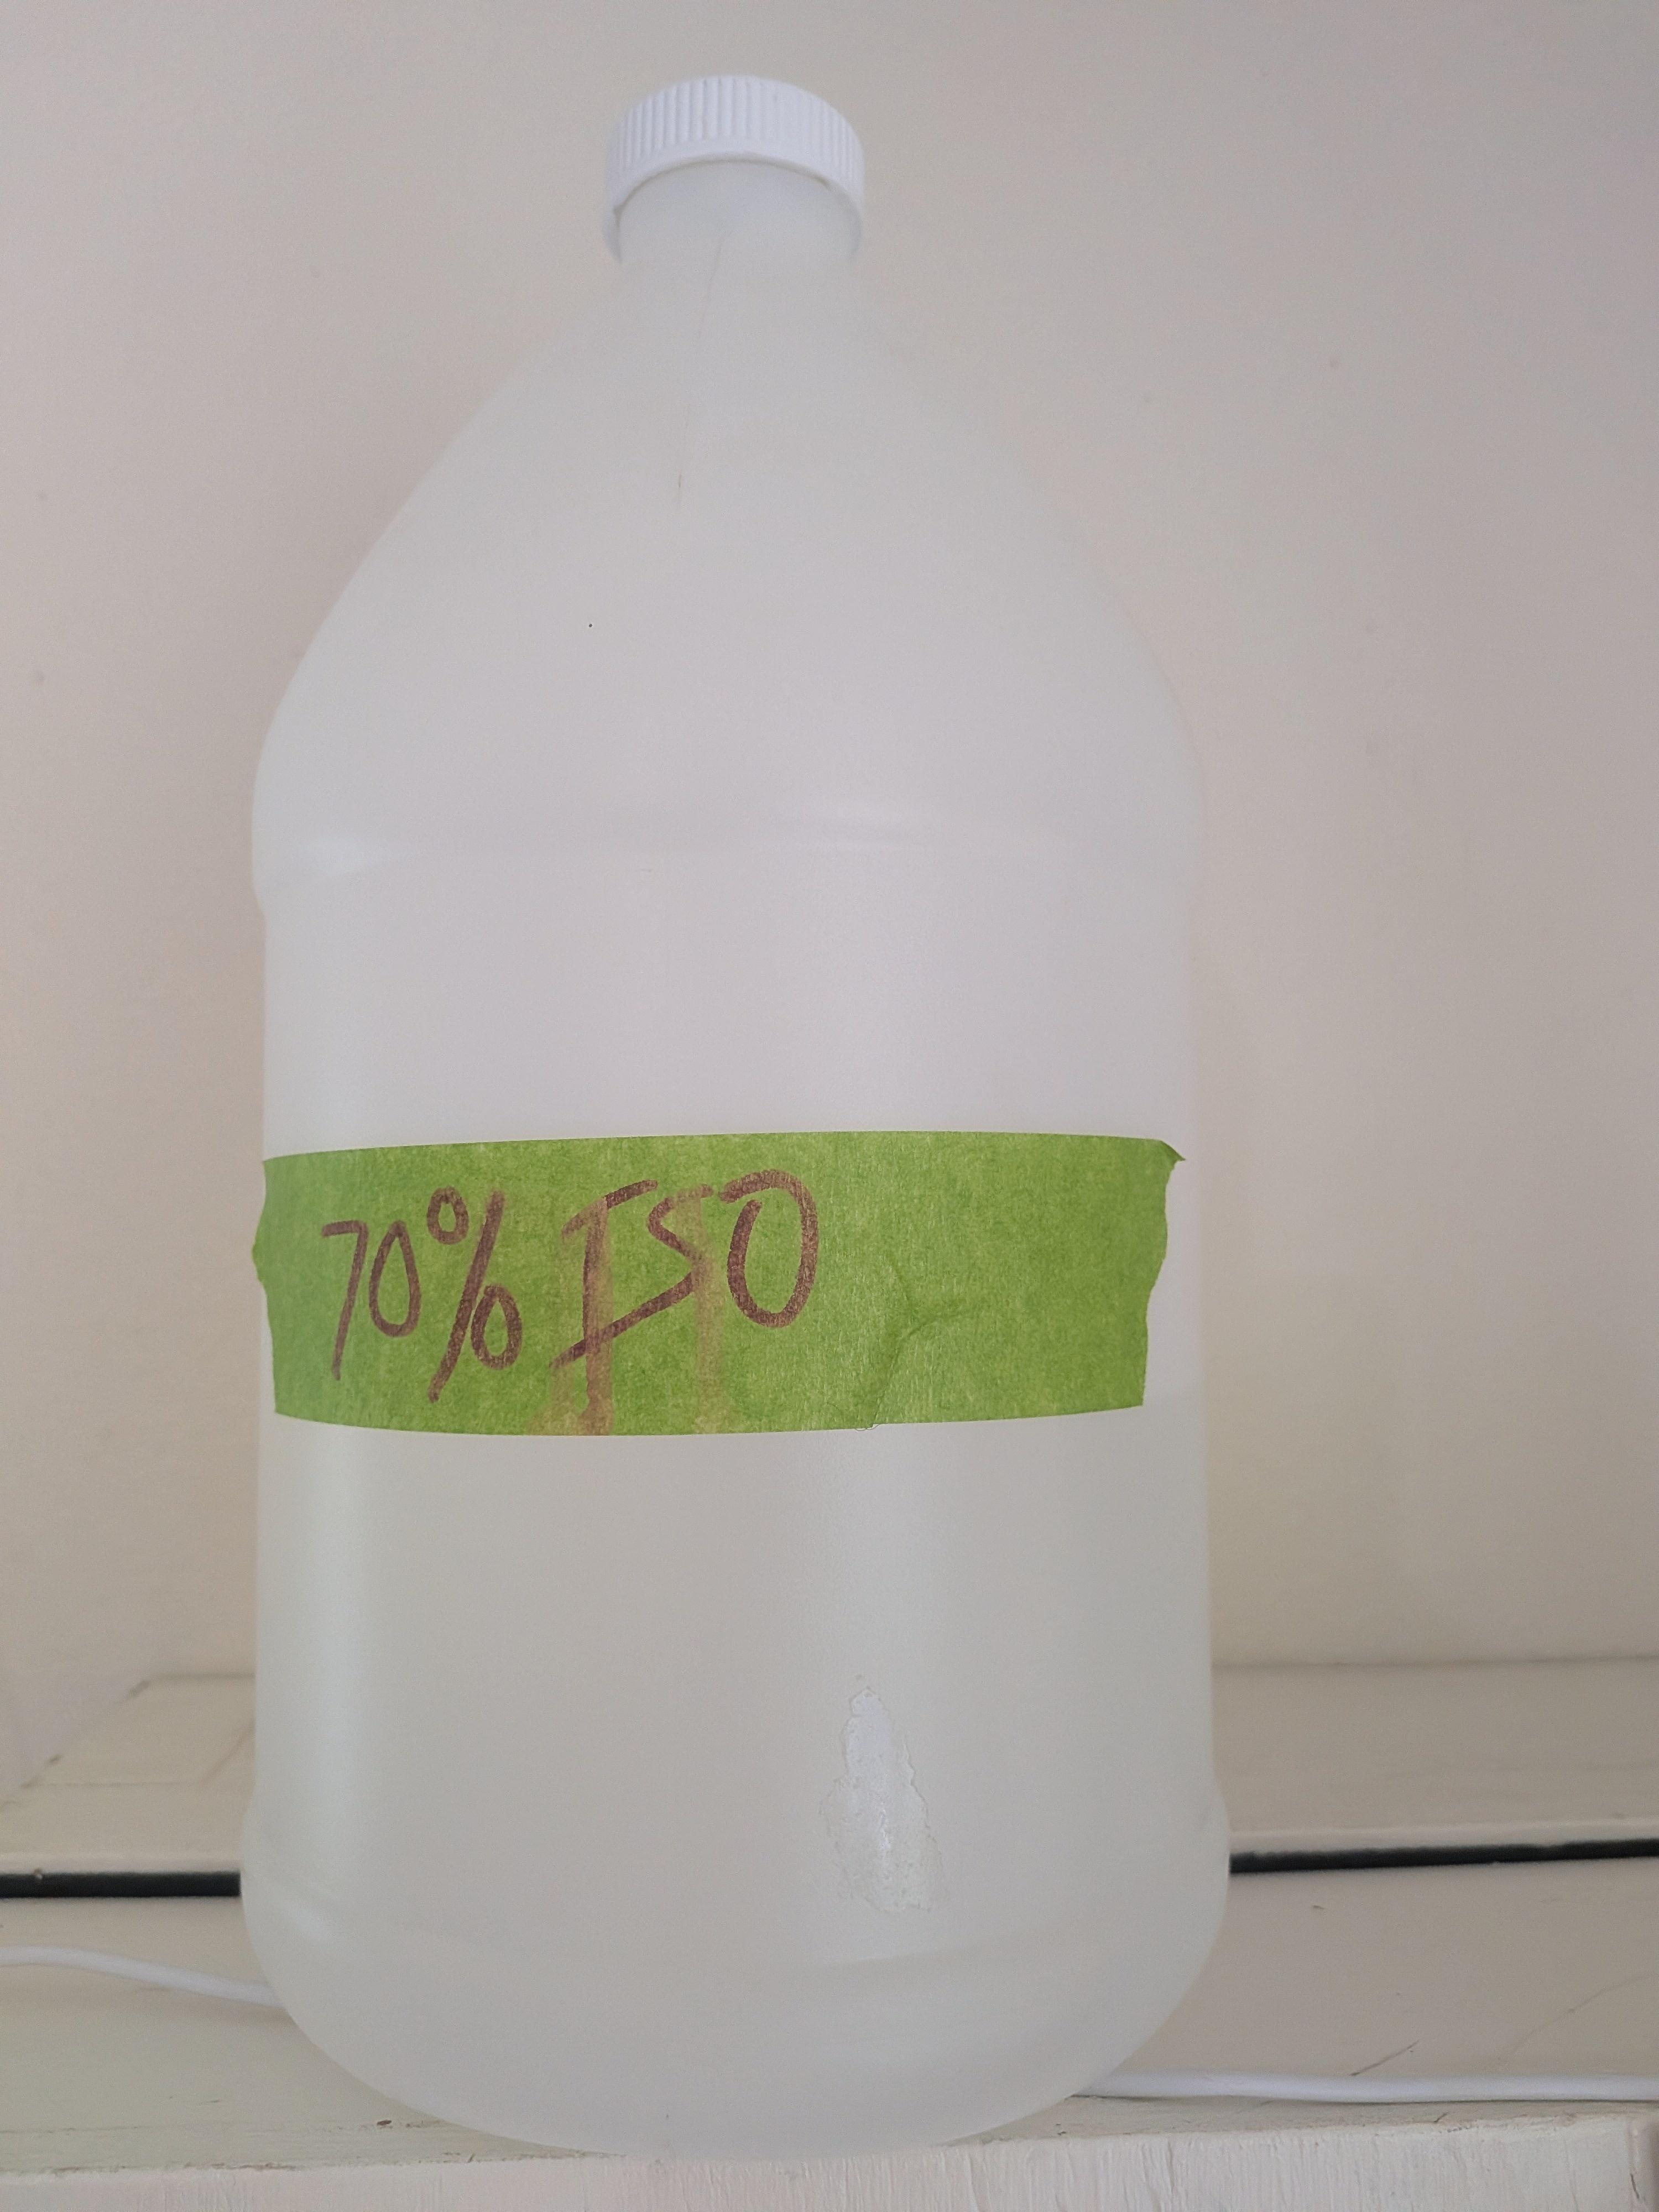
Diluting 99% to 70% ISO
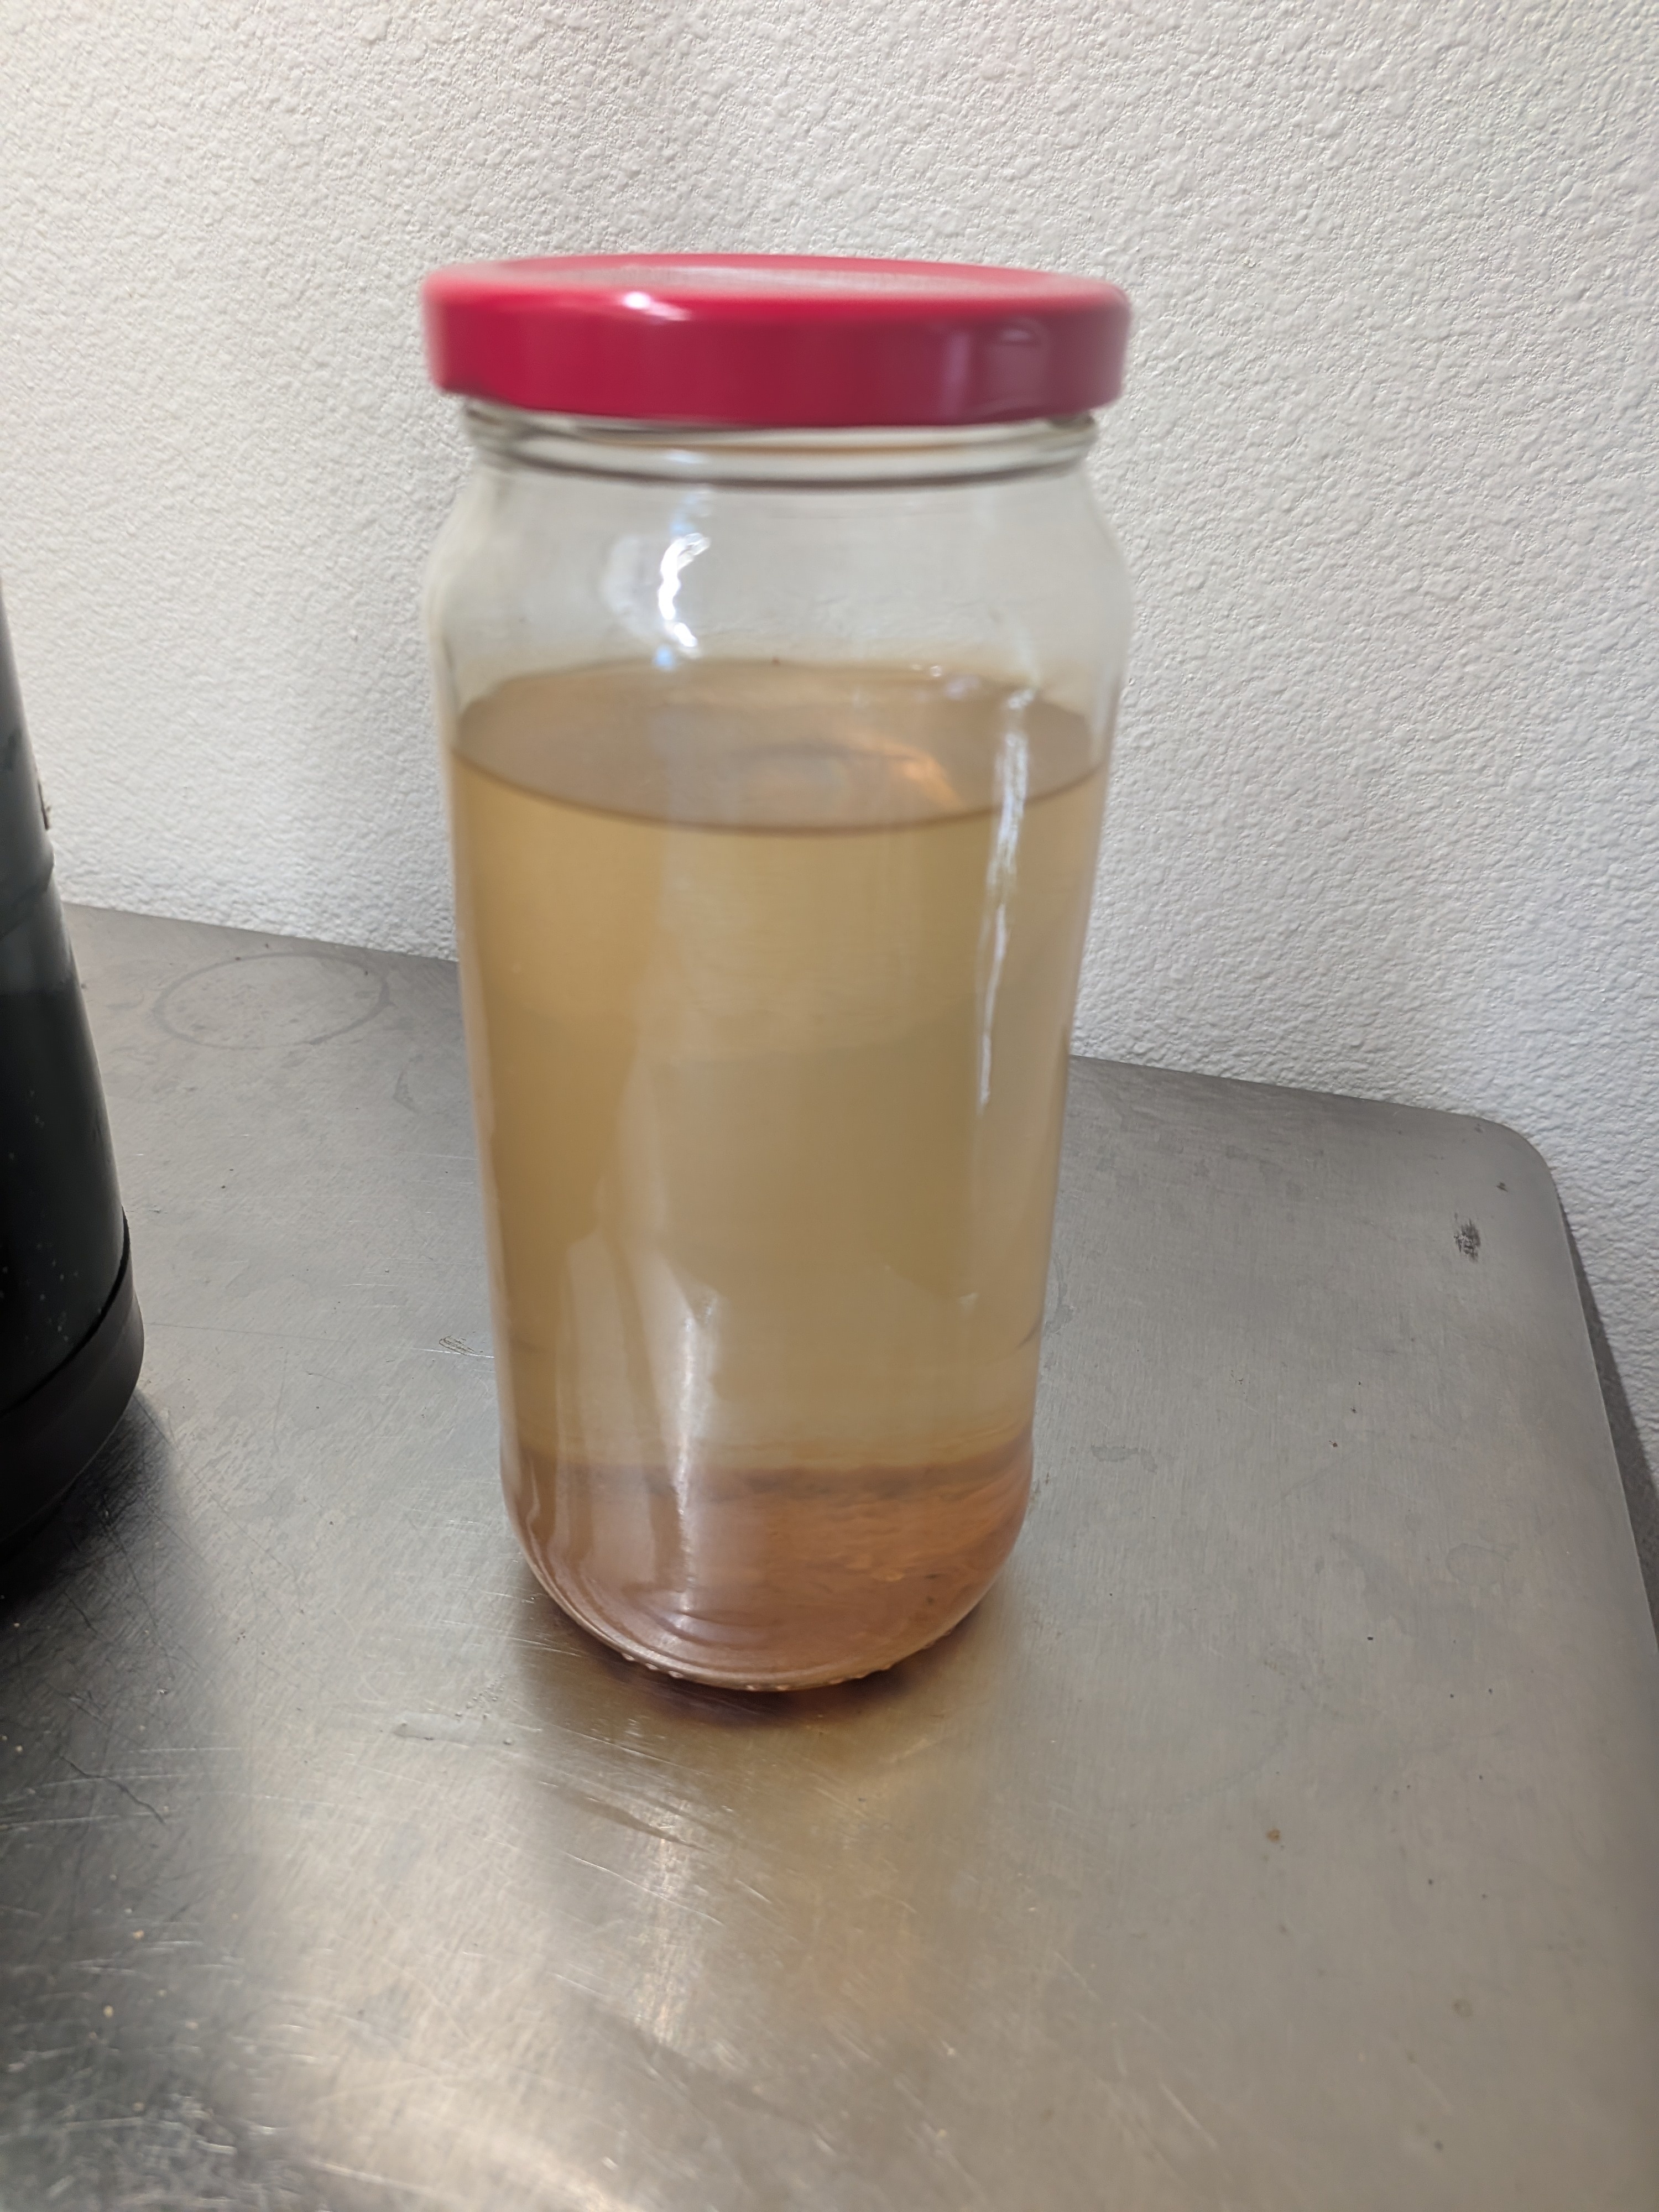
Store tools in ISO between uses
While many use disposable petri dishes and laminar flow hoods, my experience has shown it's often easier and more reliable to use reusable glass jars or PP5 containers. This "No-Pour" method drastically reduces contamination risks by sterilizing the media inside the final container.
The Preparation
Mix agar and other ingredients and bring to a boil (stove or microwave doesn't matter). Once boiling, pour it into your containers while still hot. If any gets on the mouth or outside of the container wipe off while still warm for easier cleanup and because you don't want anything growing there. When it cools it should harden.
This lets you check your work to see if your recipe is working and test its firmness. you want a solid mat that you can easily push your finger through. It will resolidify in the sterilization process later and then harden again when it cools down. any leftover agar can be stored in the refrigerator for later use or "canned" for a shelf stable option. Just heat up later when you are ready for some more.
- The Thick and Thin: You only need to pour enough agar to cover the bottom of the container. However I sometimes pour it quite thick as this allows my cultures to be stored longer. A mix of thick and thin is good so you can make a backup copy of your culture and have one that is easy to cut up and put on grains.
- A Standard Recipe: 10g Agar powder per 500ml water and approx 10g LME or corn sugar.
- My current Recipe:
- 10g agar Powder
- 10g corn sugar
- 2g nutritional yeast flakes
- 4g ag lime
- 500ml Plain Tap Water
- Food coloring: Not needed but many people use it to differentiate between batches and assist in record keeping.
Sterilization Cycles
- Recycled jar lids with a seal need to be vented. Puncture the lid with a tool of your choosing. A nail and hammer, drill etc. Then fill the hole with polyfill, a rag, a cotton ball, cover with "micropore" bandage tape, or for best results use a stick on mushroom filter patch.
- Unmodified Canning Jar Lids Flip lid upside down and tighten the ring to prevent sealing. use lids over and over again.
- unmodified PP Lids Apply lids loosely (tighten, then back off slightly). Let cool completely (overnight is best) before tightening the lid and handling.
- PC/Instant Pot: 45 minutes.
- Oven: 45 minutes at 250°F (121°C).
Contamination Identification & Cleanup
Identifying contamination early is a critical skill. Even "redundant" examples help you recognize the subtle differences in how mold and bacteria behave. We have a dedicated guide to help you identify your competitors and safely remove them from your workspace.
Learn to Manage ContaminationAdvanced Techniques (Not for Beginners)
Warning: If you are just starting out, stay away from these techniques. Stick to the KISS principle (Keep It Simple, Silly) and use the standard recipe above until you have mastered the basics. These are for experimental use only once you have a solid foundation.
- Unconventional Nutrients: While almost anything organic (cat food, flour, potato flakes) can be made into agar, they often increase the risk of contamination or make identification harder.
- PH Buffering: If using acidic materials (like V8 juice), add a small amount of agriculture lime to help the agar set properly.
- Water Agar: Use just agar and water (no nutrients) to "starve" out aggressive contaminants and clean up dirty cultures before moving them back to nutritious media.
Inoculation
More coming soon! start here for how to work sterile at home without special equipment. If you have an oven you can do this!
Go to Sterile Workspaces