Spawning to Bulk (S2B)
My transition to harvest. This is the path of discovery I follow to prepare my substrate and move my grain spawn into the final containers.
Substrate Preparation
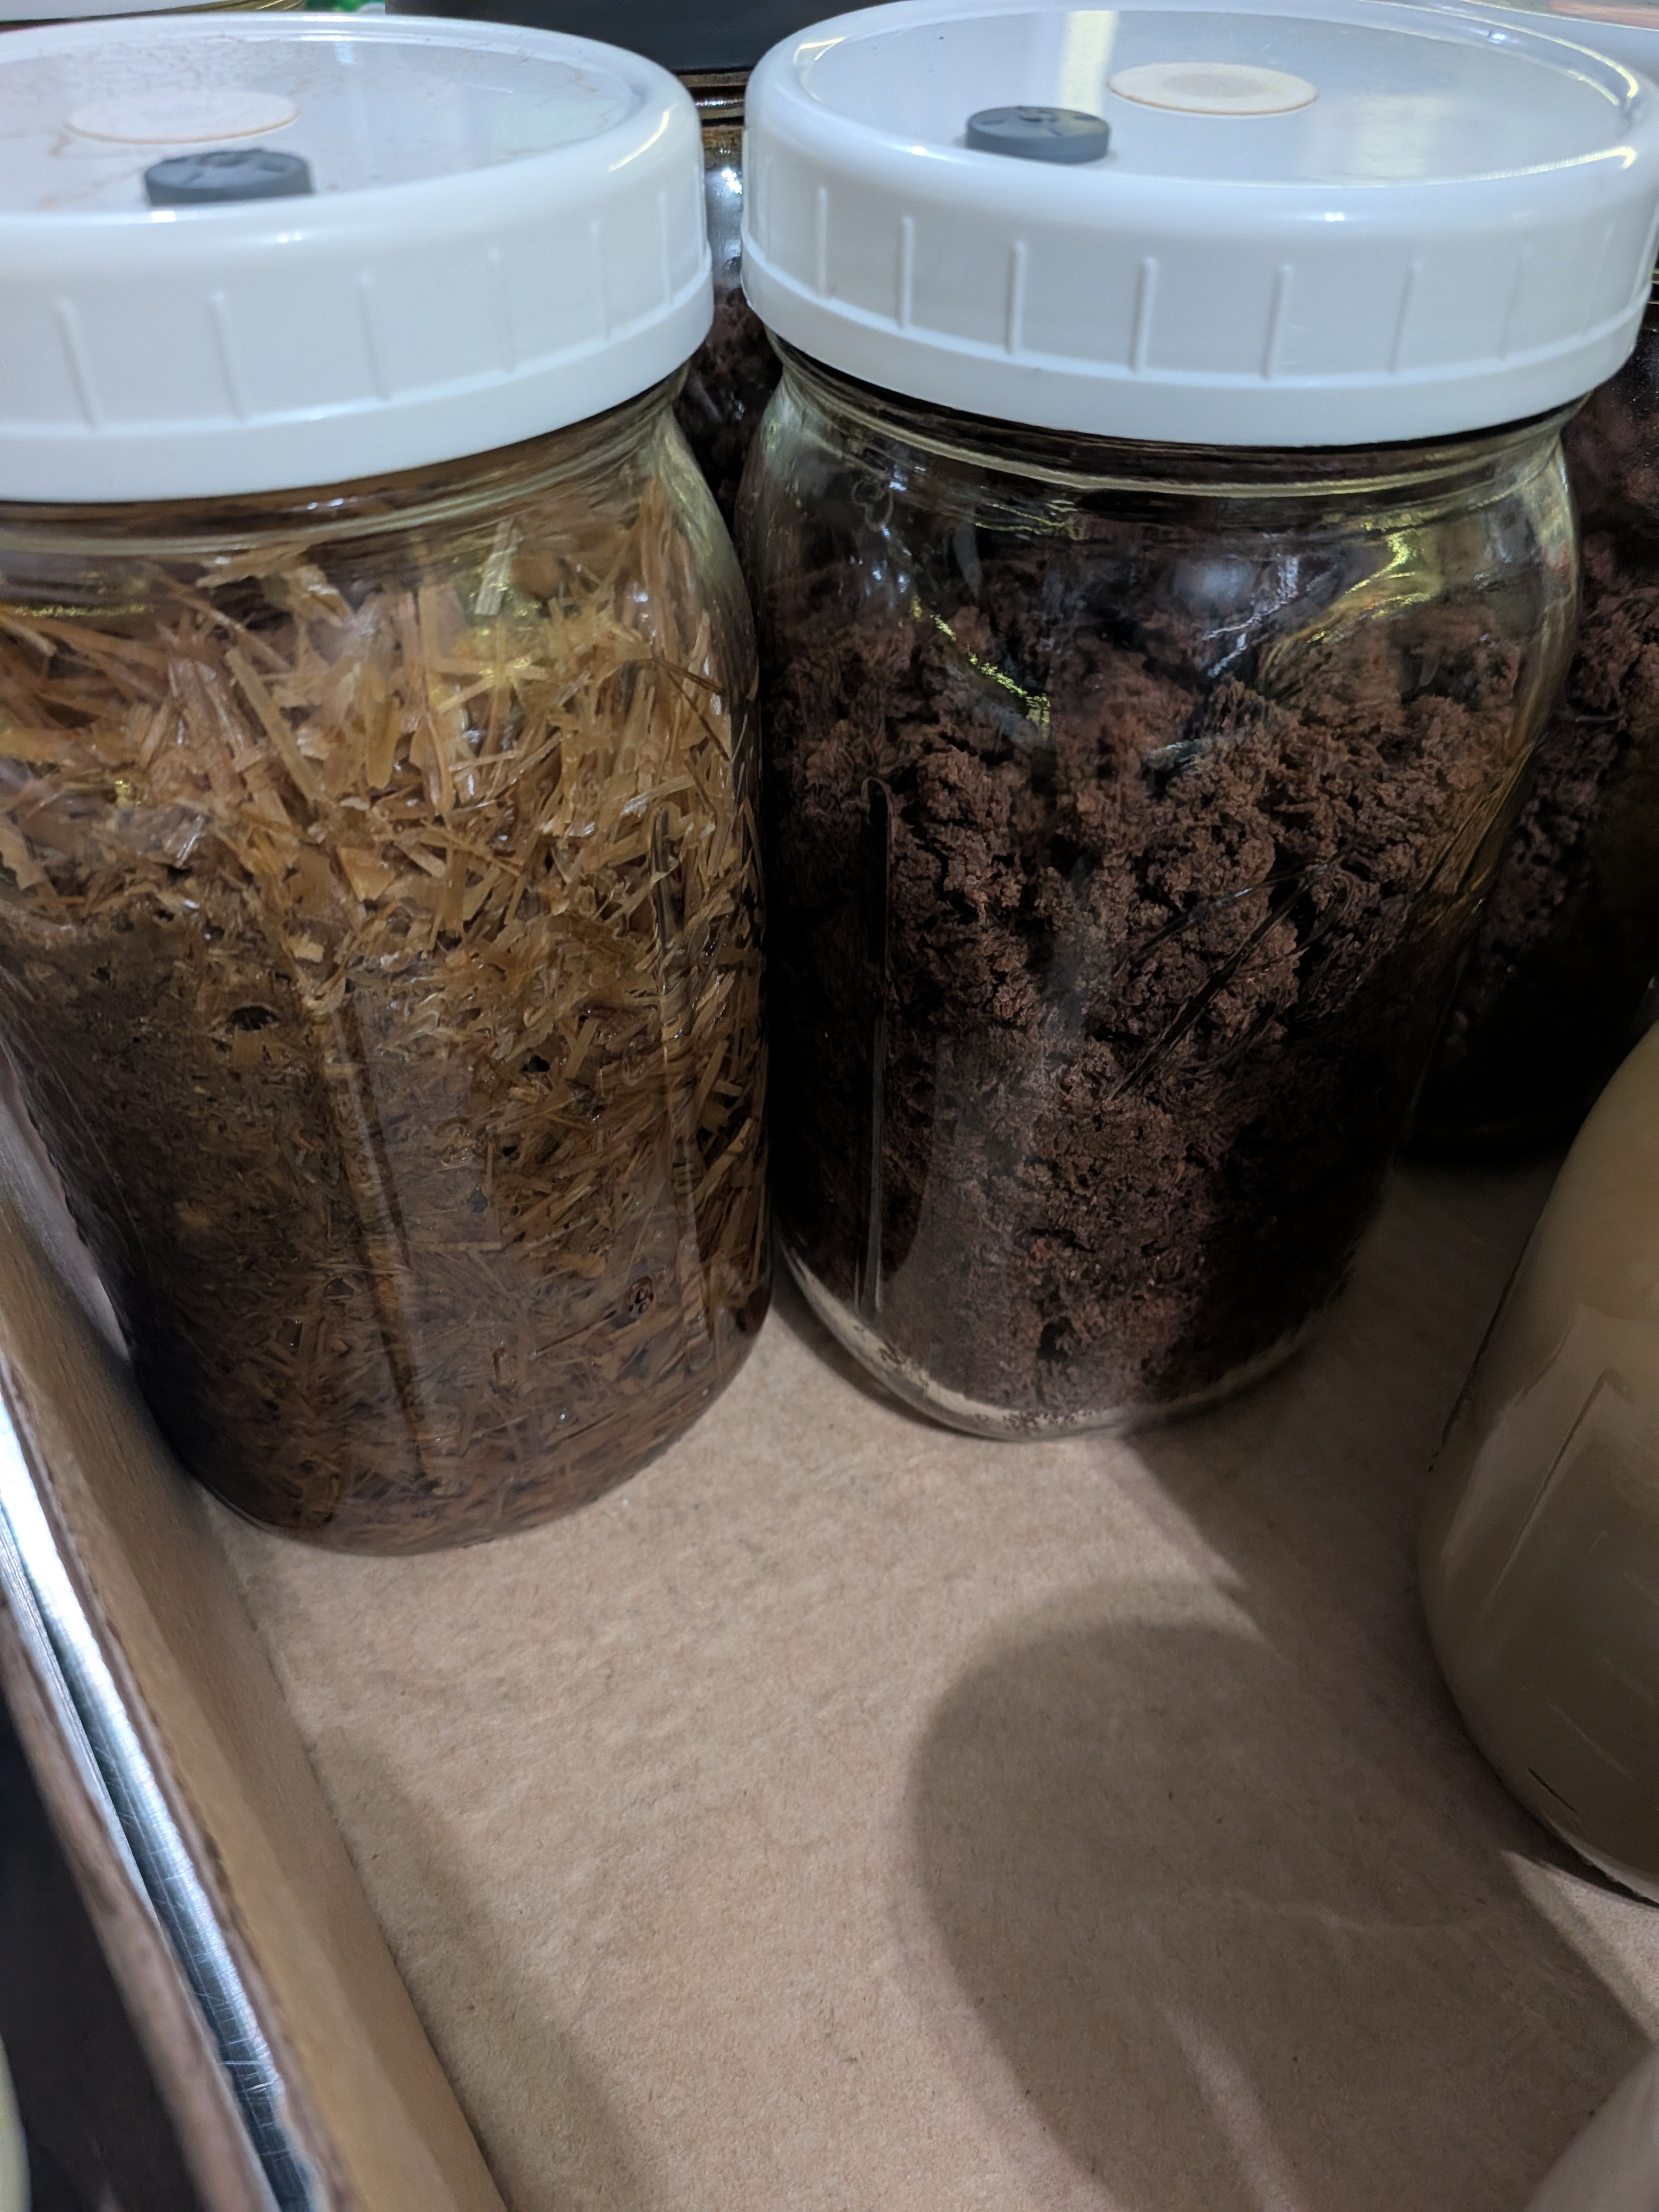
Standard materials: Grain spawn, bulk substrate (straw/pellets), and water.
Pasteurization ensures your substrate is clean enough for the mycelium to conquer without competition. I use the Boiling Method:
- Boil: Bring your substrate and water to a boil in a large pot.
- Heat: Once it hits 210°F (99°C), hold that temperature for 30 minutes.
- Cool: Turn off the heat and let the pot sit (covered) until it is completely cool (usually overnight). Never mix hot substrate with your grain spawn, or you will kill the mycelium.
The Future: I am currently researching Anaerobic Fermentation. This involves submerging substrate in water for over a month without air to ferment it—a low-energy alternative to boiling. Look for a live trial on this soon.
Practical Cleanliness
Cleanliness is important, but it's not as extreme as people make it out to be at this stage. Once the mycelium has fully conquered the grain spawn, it is growing rapidly and can outcompete most contamination, especially since the bulk substrate has very little nutrition compared to the grain.
- Real-World Setup: I do my S2B in the dirtiest room in my house, often with the windows open and a breeze coming through. I rarely have issues.
- My Process: I wash my hands and arms thoroughly with soap and water. I don't always wear gloves, but if I do, I use reusable kitchen scrubbing gloves that I simply wash with soap and water.
- Sanitization: I recommend a bleach dunk for your tubs. While a standard ratio is about 1 cup per 10 gallons, I use the "Swimming Pool Test": I keep a dedicated bucket of water with a lid on it at all times. If it smells like a swimming pool, it's ready to use. If not, I just eyeball it and add a splash of bleach until it reaches that scent. I usually toss my tubs in first and let them soak (about 10 minutes) while I get my other materials ready, then pull them out and wipe dry with a clean cloth towel. No timer needed—just let them soak while you prep.
- The Real Culprit: Most contamination at this stage is actually caused by bad grain prep earlier in the process, not the environment where you mix your tubs.
The S2B Process: Step-by-Step
This is the actual physical process of moving your grain to bulk substrate. It's hands-on and straightforward:
- Sanitize: Toss your tub into the bleach dunk (10 mins), pull it out, and wipe it dry with a clean cloth towel.
- Grains In: Dump your fully colonized grain jars directly into the tub.
- Break Them Up: Use your hands (cleaned with soap/water) to break the grains back into individual pieces. They will be stuck together in clumps; you want them separated for an even mix.
- Add Substrate: Add your boiled and completely cooled substrate on top of the grains.
- Hand Mix: Mix the grains and substrate together thoroughly with your hands. The more uniform the mix, the better. Your goal is to have "hot spots" of mycelium distributed everywhere.
- The Race for Colonization: Thorough mixing is your best defense against contamination. The better you mix, the faster the mycelium can conquer the entire tub. You want to achieve 100% colonization before any competing molds or bacteria have a chance to take hold.
- Pack the Cake: Once mixed, firmly pack the mixture down to form a flat, even "cake" or mat.
- Wipe the Walls: Use a clean towel to wipe down the inside edges of the tub. Removing bits of substrate stuck to the walls helps prevent early contamination.
- Incubate: Put the lid on and walk away. **Do not open the tub** until the substrate is 100% colonized (white). This is easiest to monitor using clear tubs.
- Move to Fruit: Once fully white, your tub is ready to be moved into your fruiting environment.
Mixing Your Tubs
Field Capacity vs. My Method: Most guides recommend a firm squeeze that only releases 2-3 drops of water. However, I run my tubs much wetter. Mushrooms are mostly water and they love moisture. My rule of thumb is to keep as much water as possible that can remain suspended in the medium without it puddling at the bottom of the tub. I squeeze out enough that it doesn't pool, but I leave a "good stream" of water available for the mushrooms. I believe I get away with this because of my spawn ratios (1:1.5 to 1:4) and the use of Vermiculite, which is excellent at holding onto that extra hydration without drowning the mycelium. While a little less moisture is probably okay, I've found it's much more productive to give the mycelium as much as possible without triggering bacterial contamination from being too wet.
Ratios: I usually run anywhere from a 1:1.5 to 1:4 ratio of grain spawn to substrate for fast colonization and healthy growth.
Substrate Types
Poo / Nutritious Lovers
For species like Agaricus bisporus (Button mushrooms). For home growing, I recommend sticking to simple, less nutritious substrates like Coir, Vermiculite, Peat Moss, or Straw. Save the heavy nutrients for your grain spawn; keeping the bulk substrate simple drastically reduces the risk of contamination.
Wood Lovers
For species like Shiitake or Lions Mane. These thrive on Wood Pellets, Sawdust, or Chips. While the common advice is to only use hardwood, I have found that softwood works just as well. Wood lovers are generally more resistant to contamination in bulk, allowing for more flexibility in your environment.