Grain Spawn & Sterilization
Preparing the substrate for life. These are the techniques and rules that have allowed me to achieve consistent success in my kitchen.
Containers & Lids
Being self-reliant means using what you have. You don't need expensive equipment, and in many cases, simpler is better.
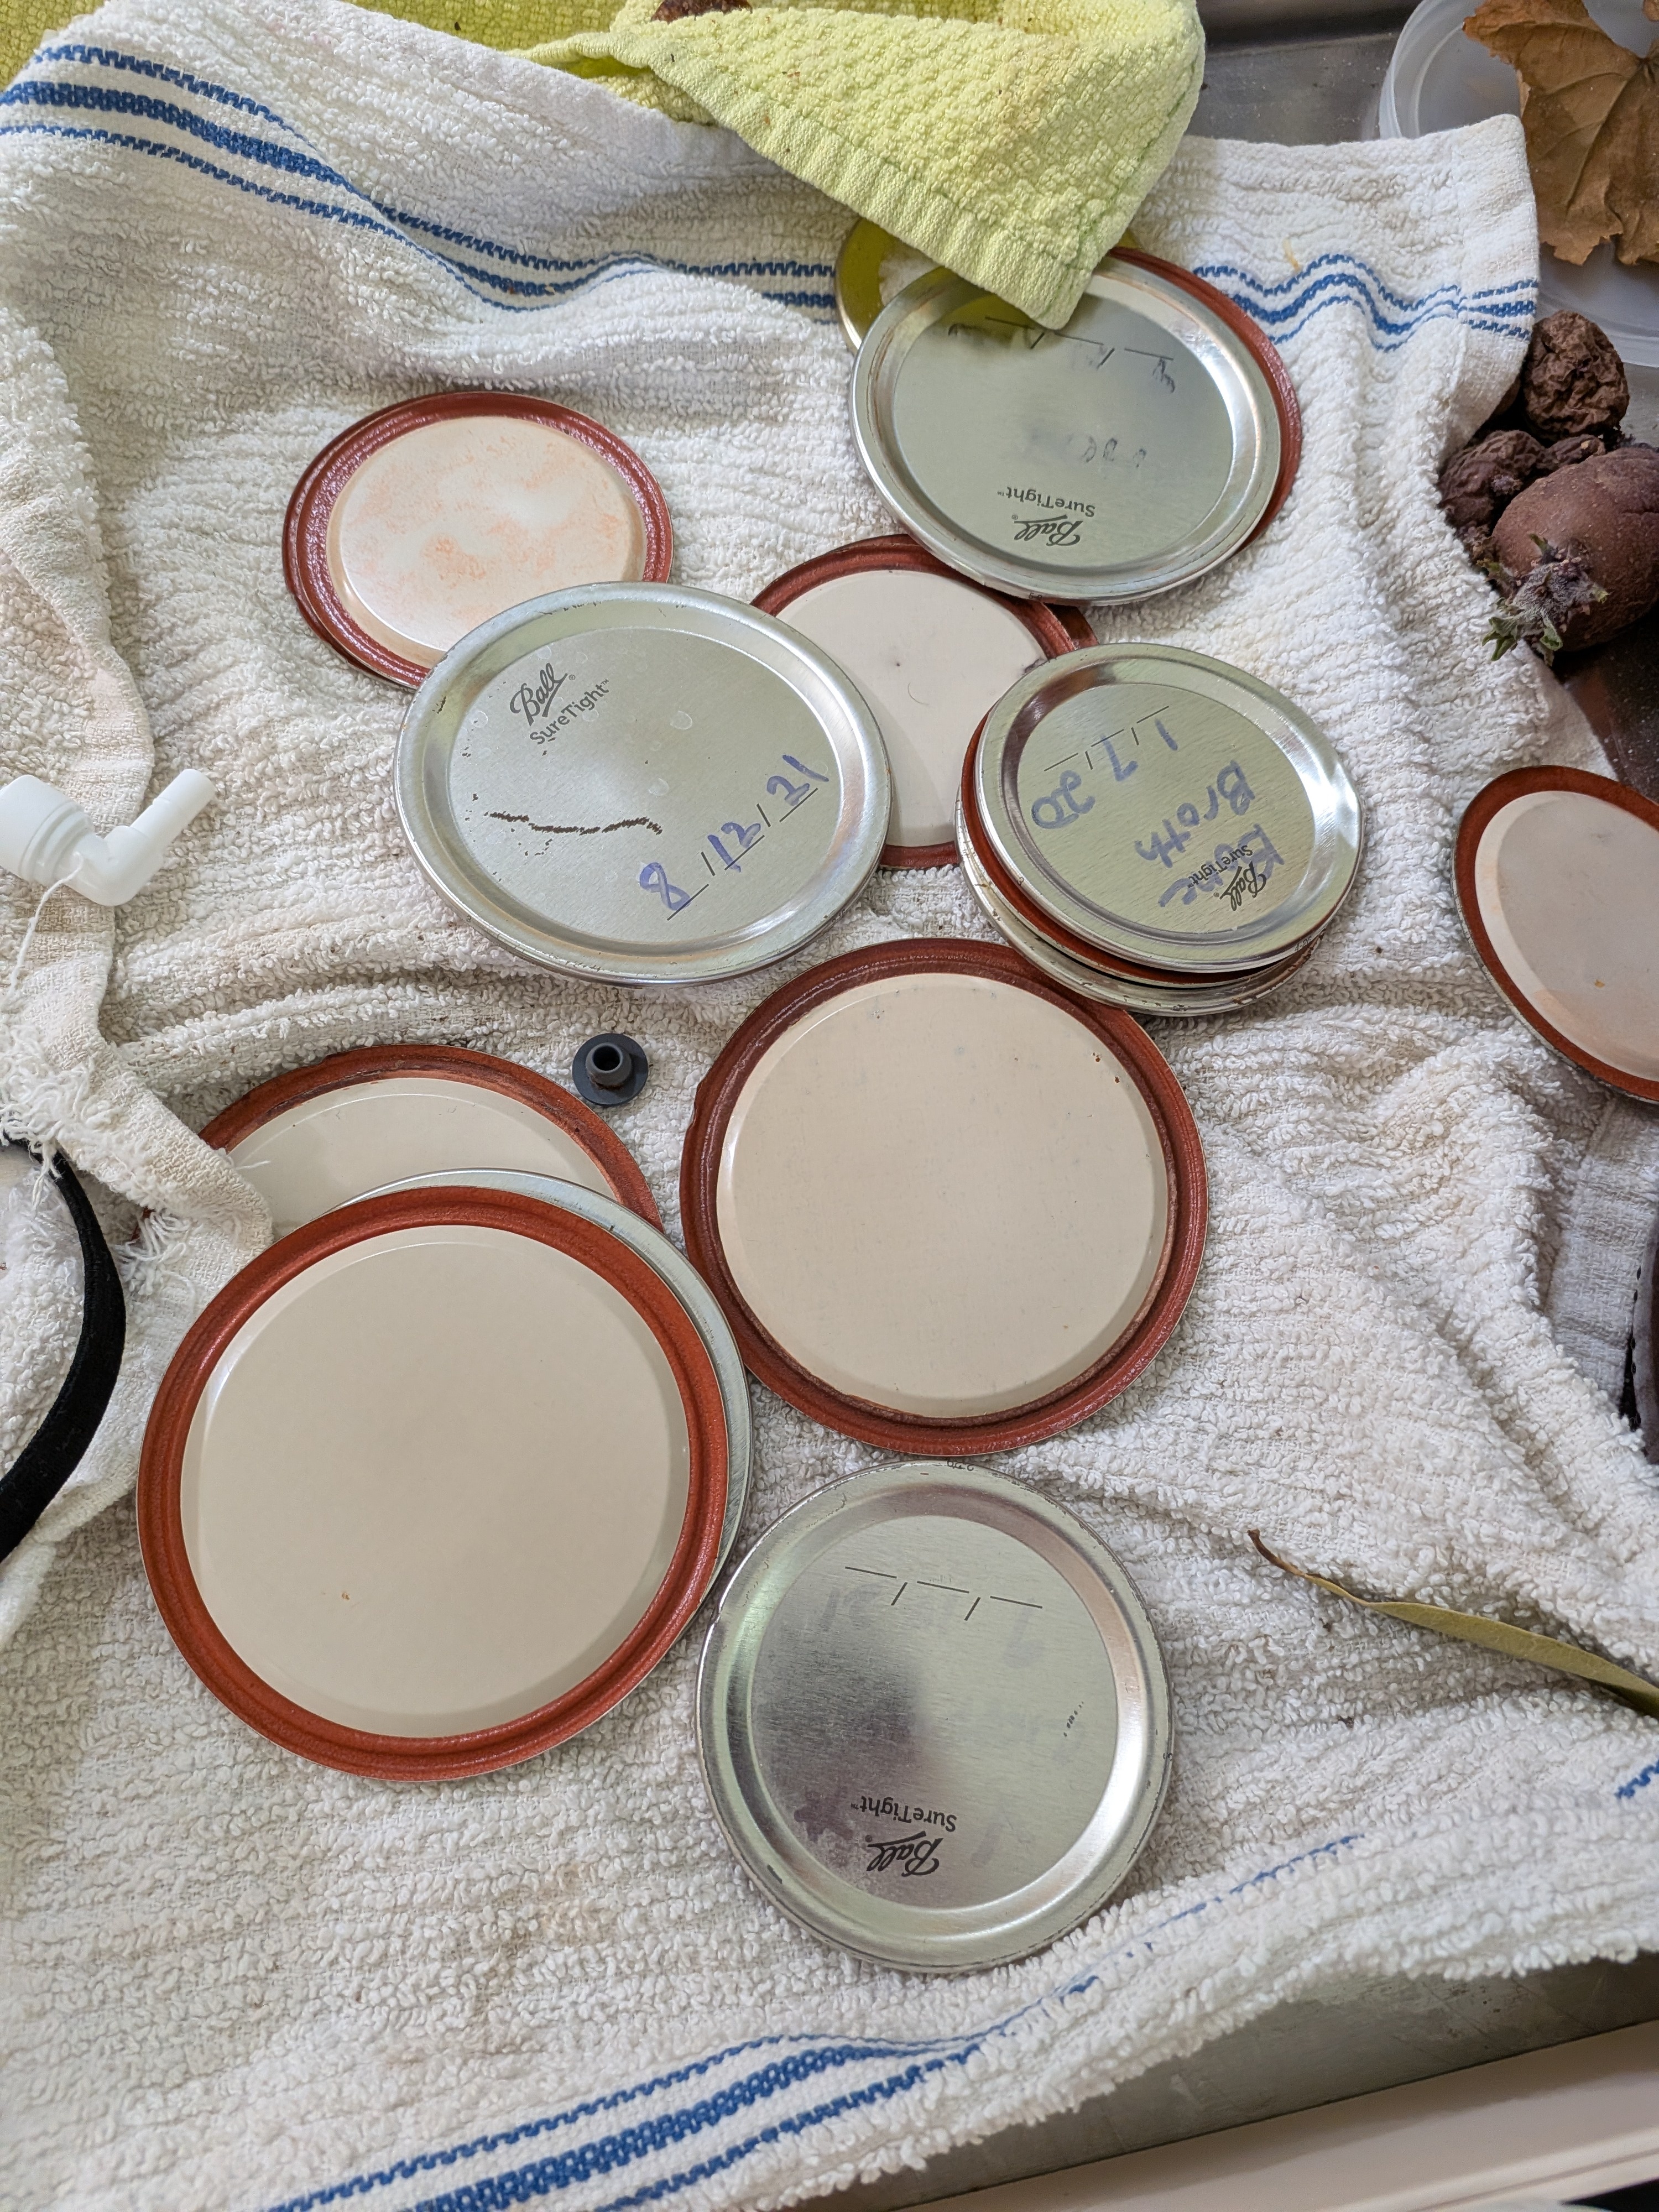
Recycled jars work just as well as Mason jars.
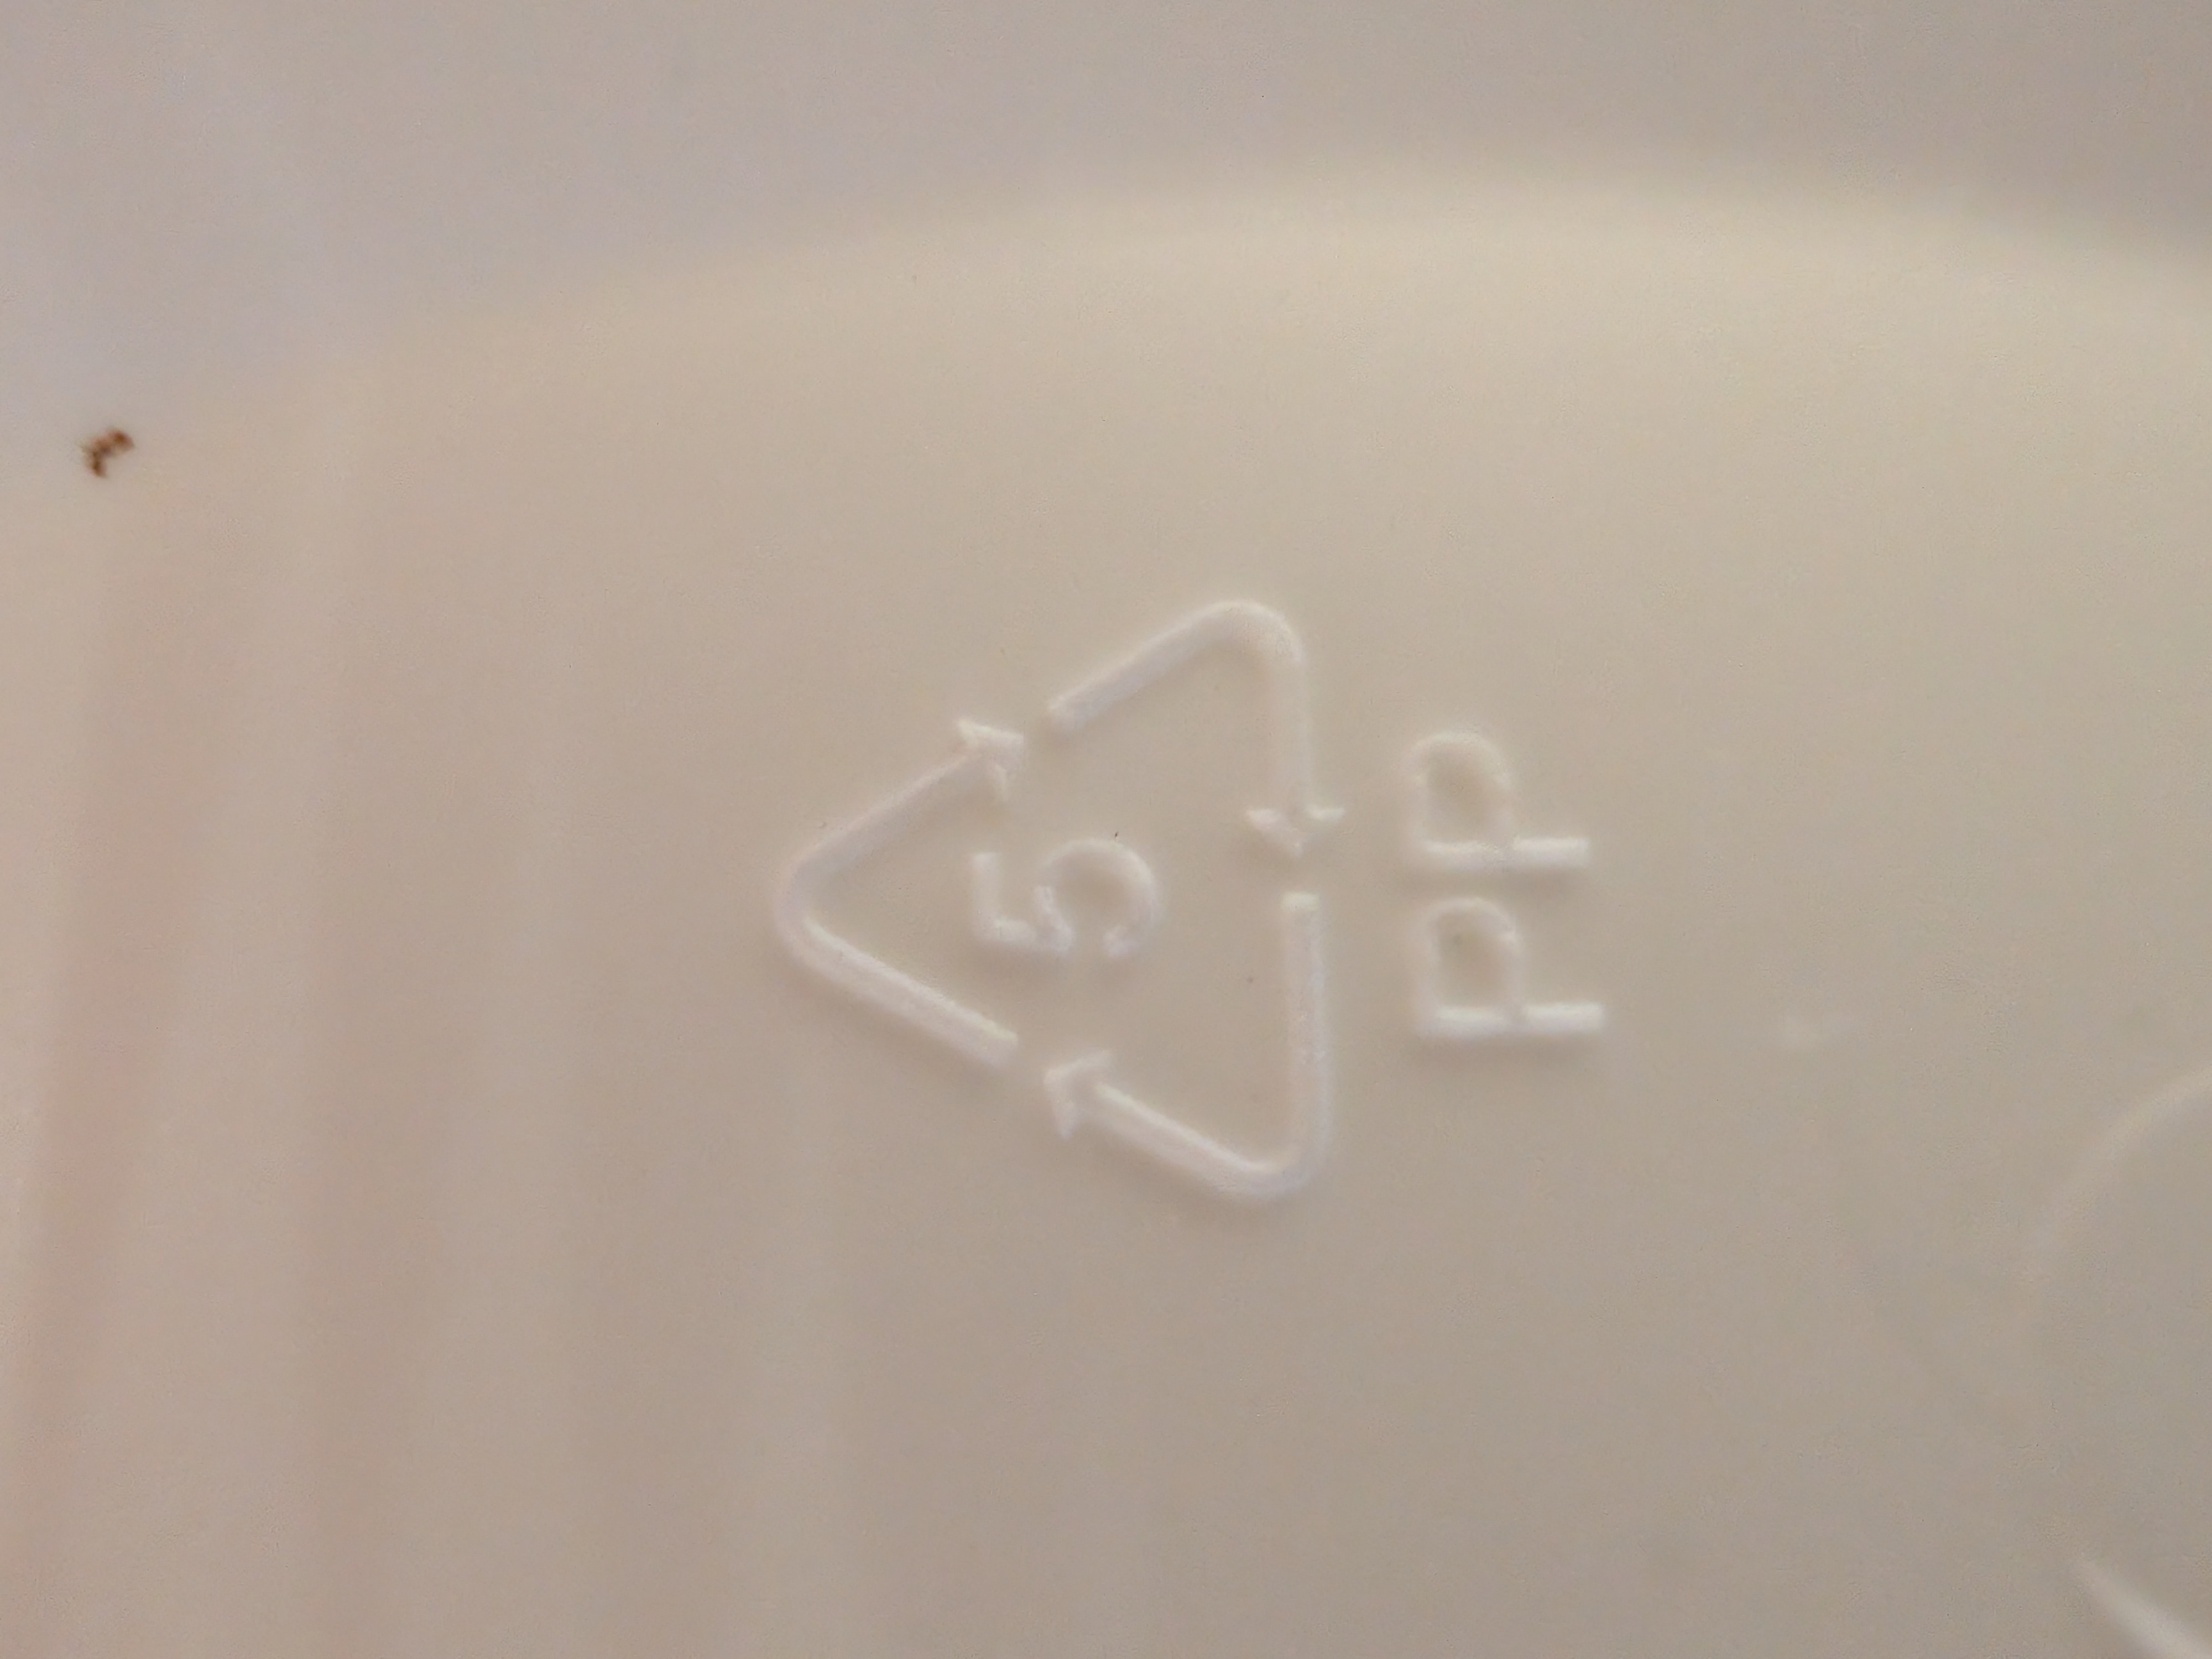
Look for the PP5 symbol for heat safety.
Filters and SHIPs are NOT necessary. While they are convenient, you can achieve perfect results with standard lids. I currently use completely unmodified **PP5 lids** (like the ones found at Walmart).
Tips for Success with Unmodified Lids:
- Headspace: Try to leave a bit more air space in your jars—this ensures there is enough air trapped inside for the mycelium to complete the full growth cycle.
- Gas Exchange: If growth stalls, you can leave the lid slightly loose (like in the 1/4 turn method) or "burp" the jar by loosening the lid for a few seconds in a sterile environment. Both methods carry a fairly low risk of contamination, but keep your environment clean when you do it.
- The 1/4 Turn Method: Simply close the lid, then back it off about 1/4 turn. This is just enough to let steam escape during sterilization so your jar doesn't explode, but not enough to let contaminants in. Once the jar is cool, you can tighten the lid completely.
- Unmodified Metal Lids: If using canning jars, just flip the metal disk upside down before tightening the ring. This prevents the rubber from sealing, allowing for air exchange.
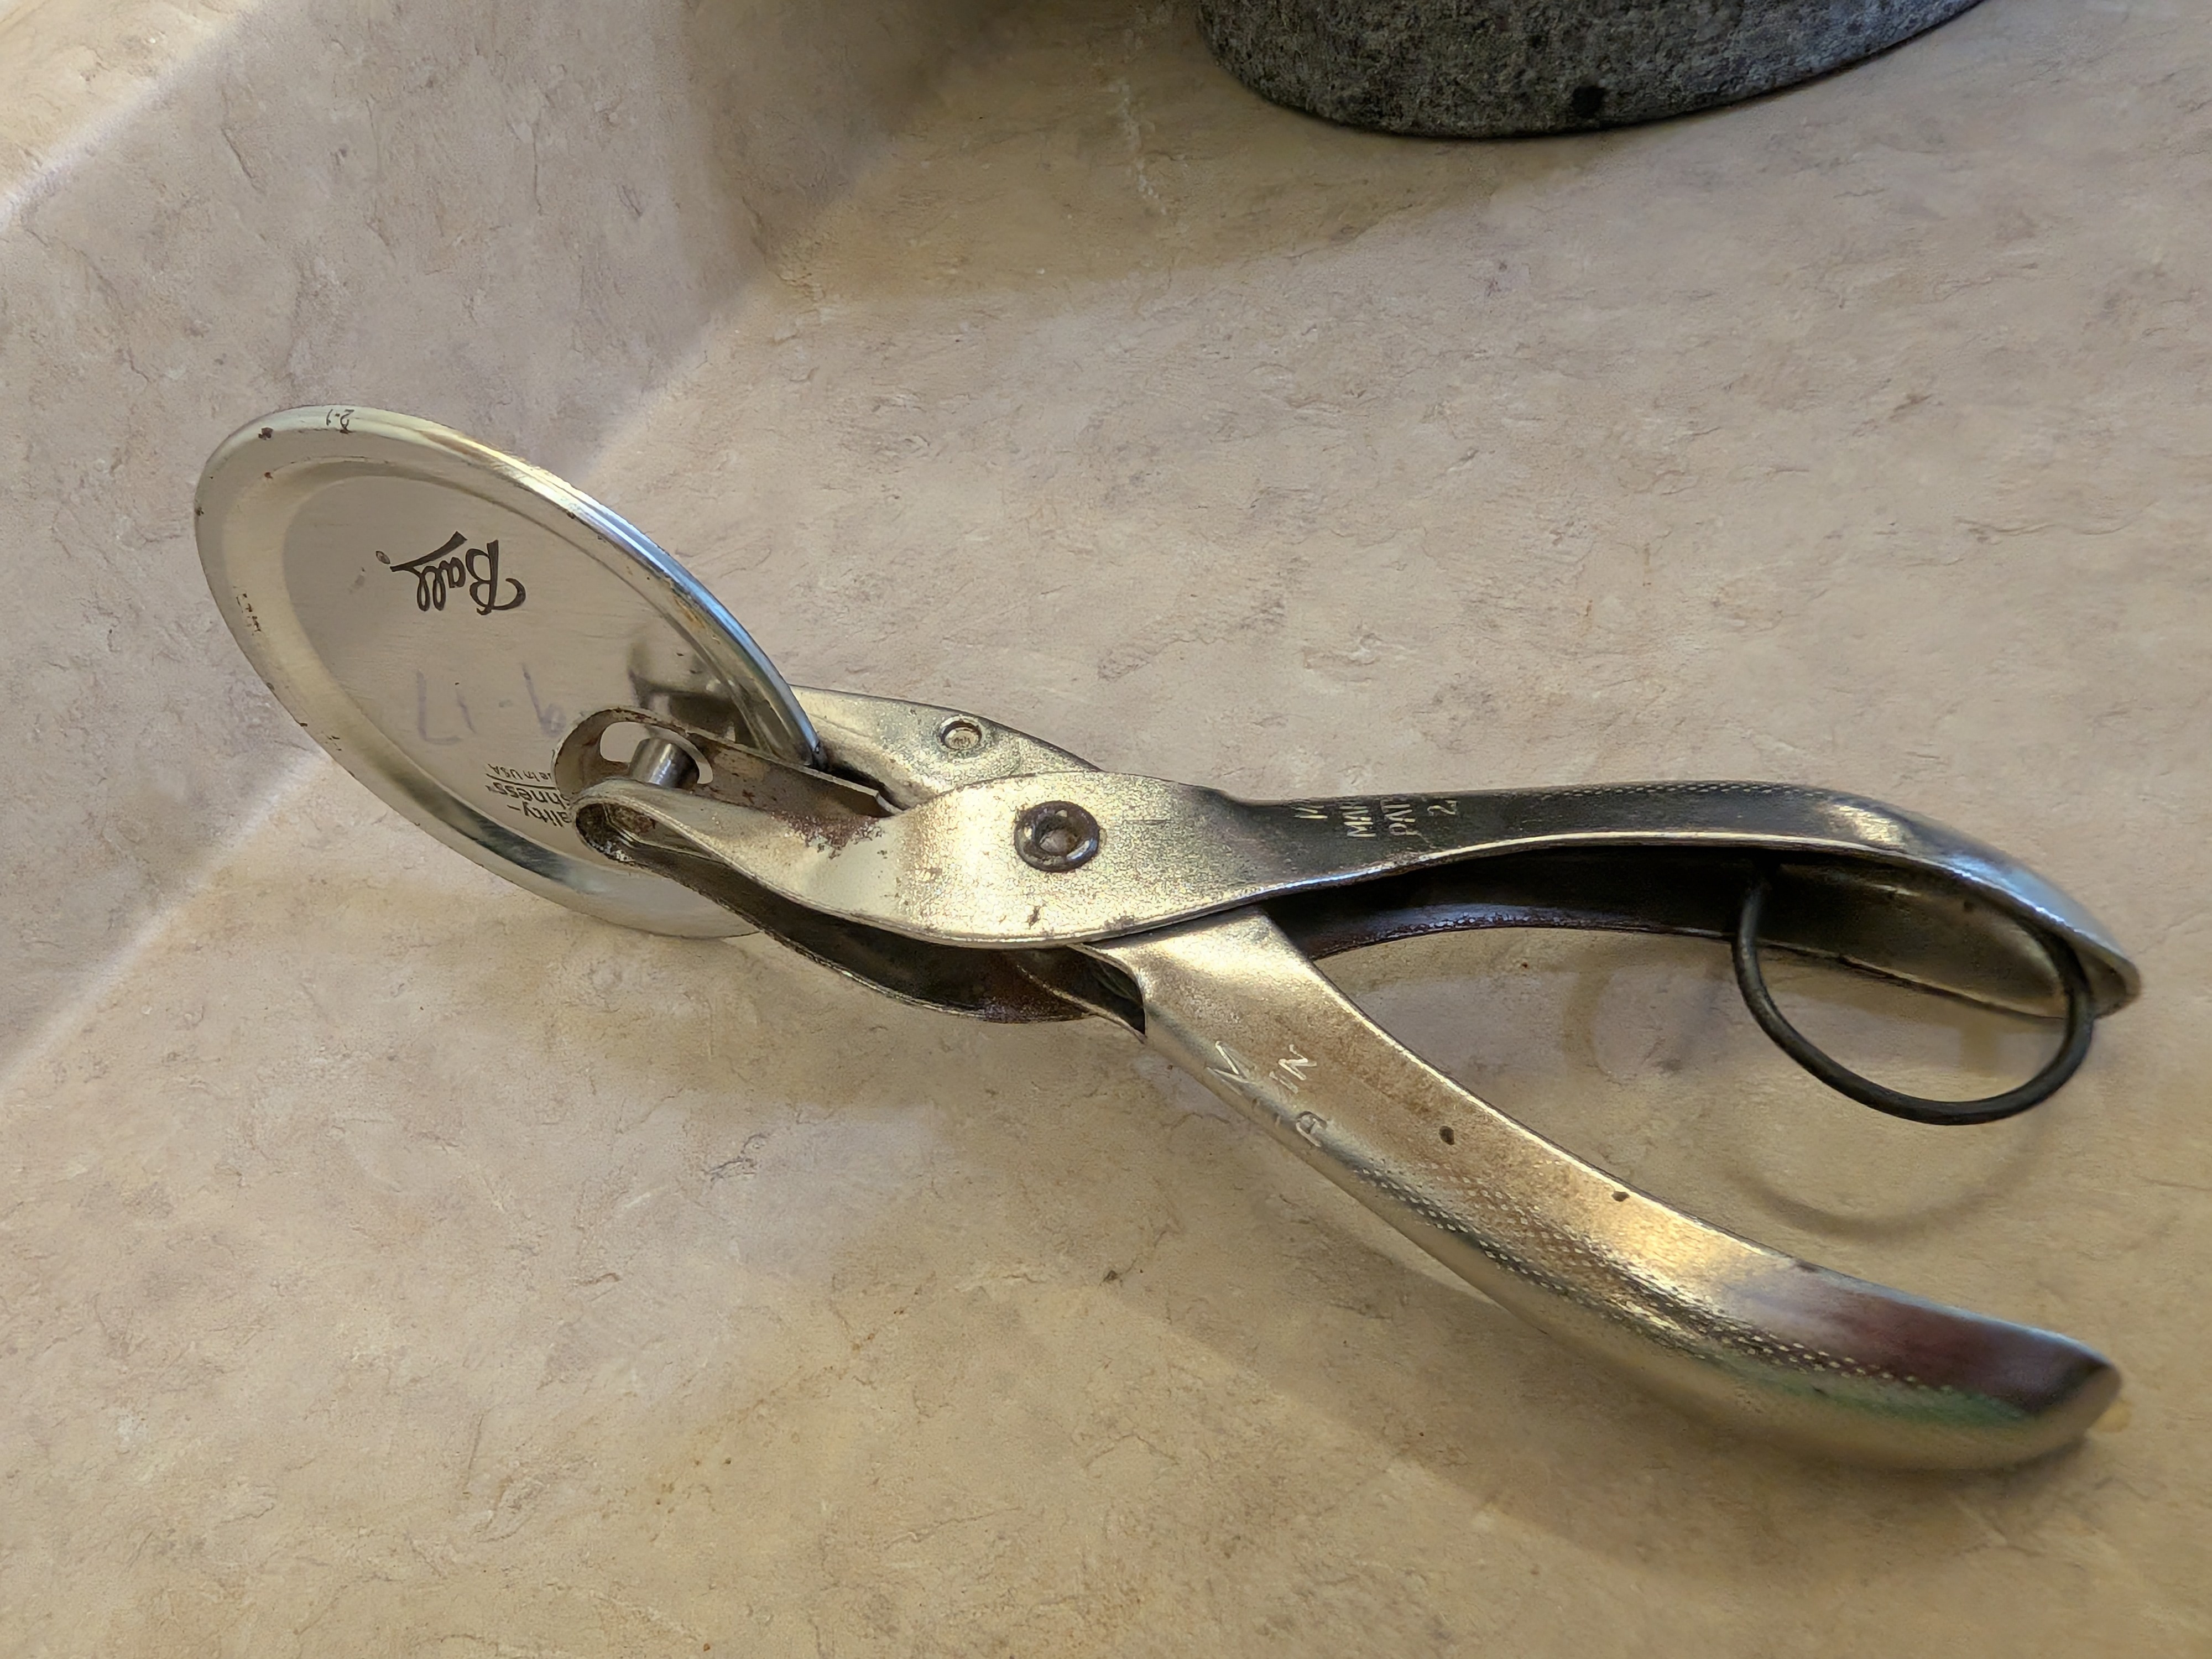
Simple tools for optional venting.
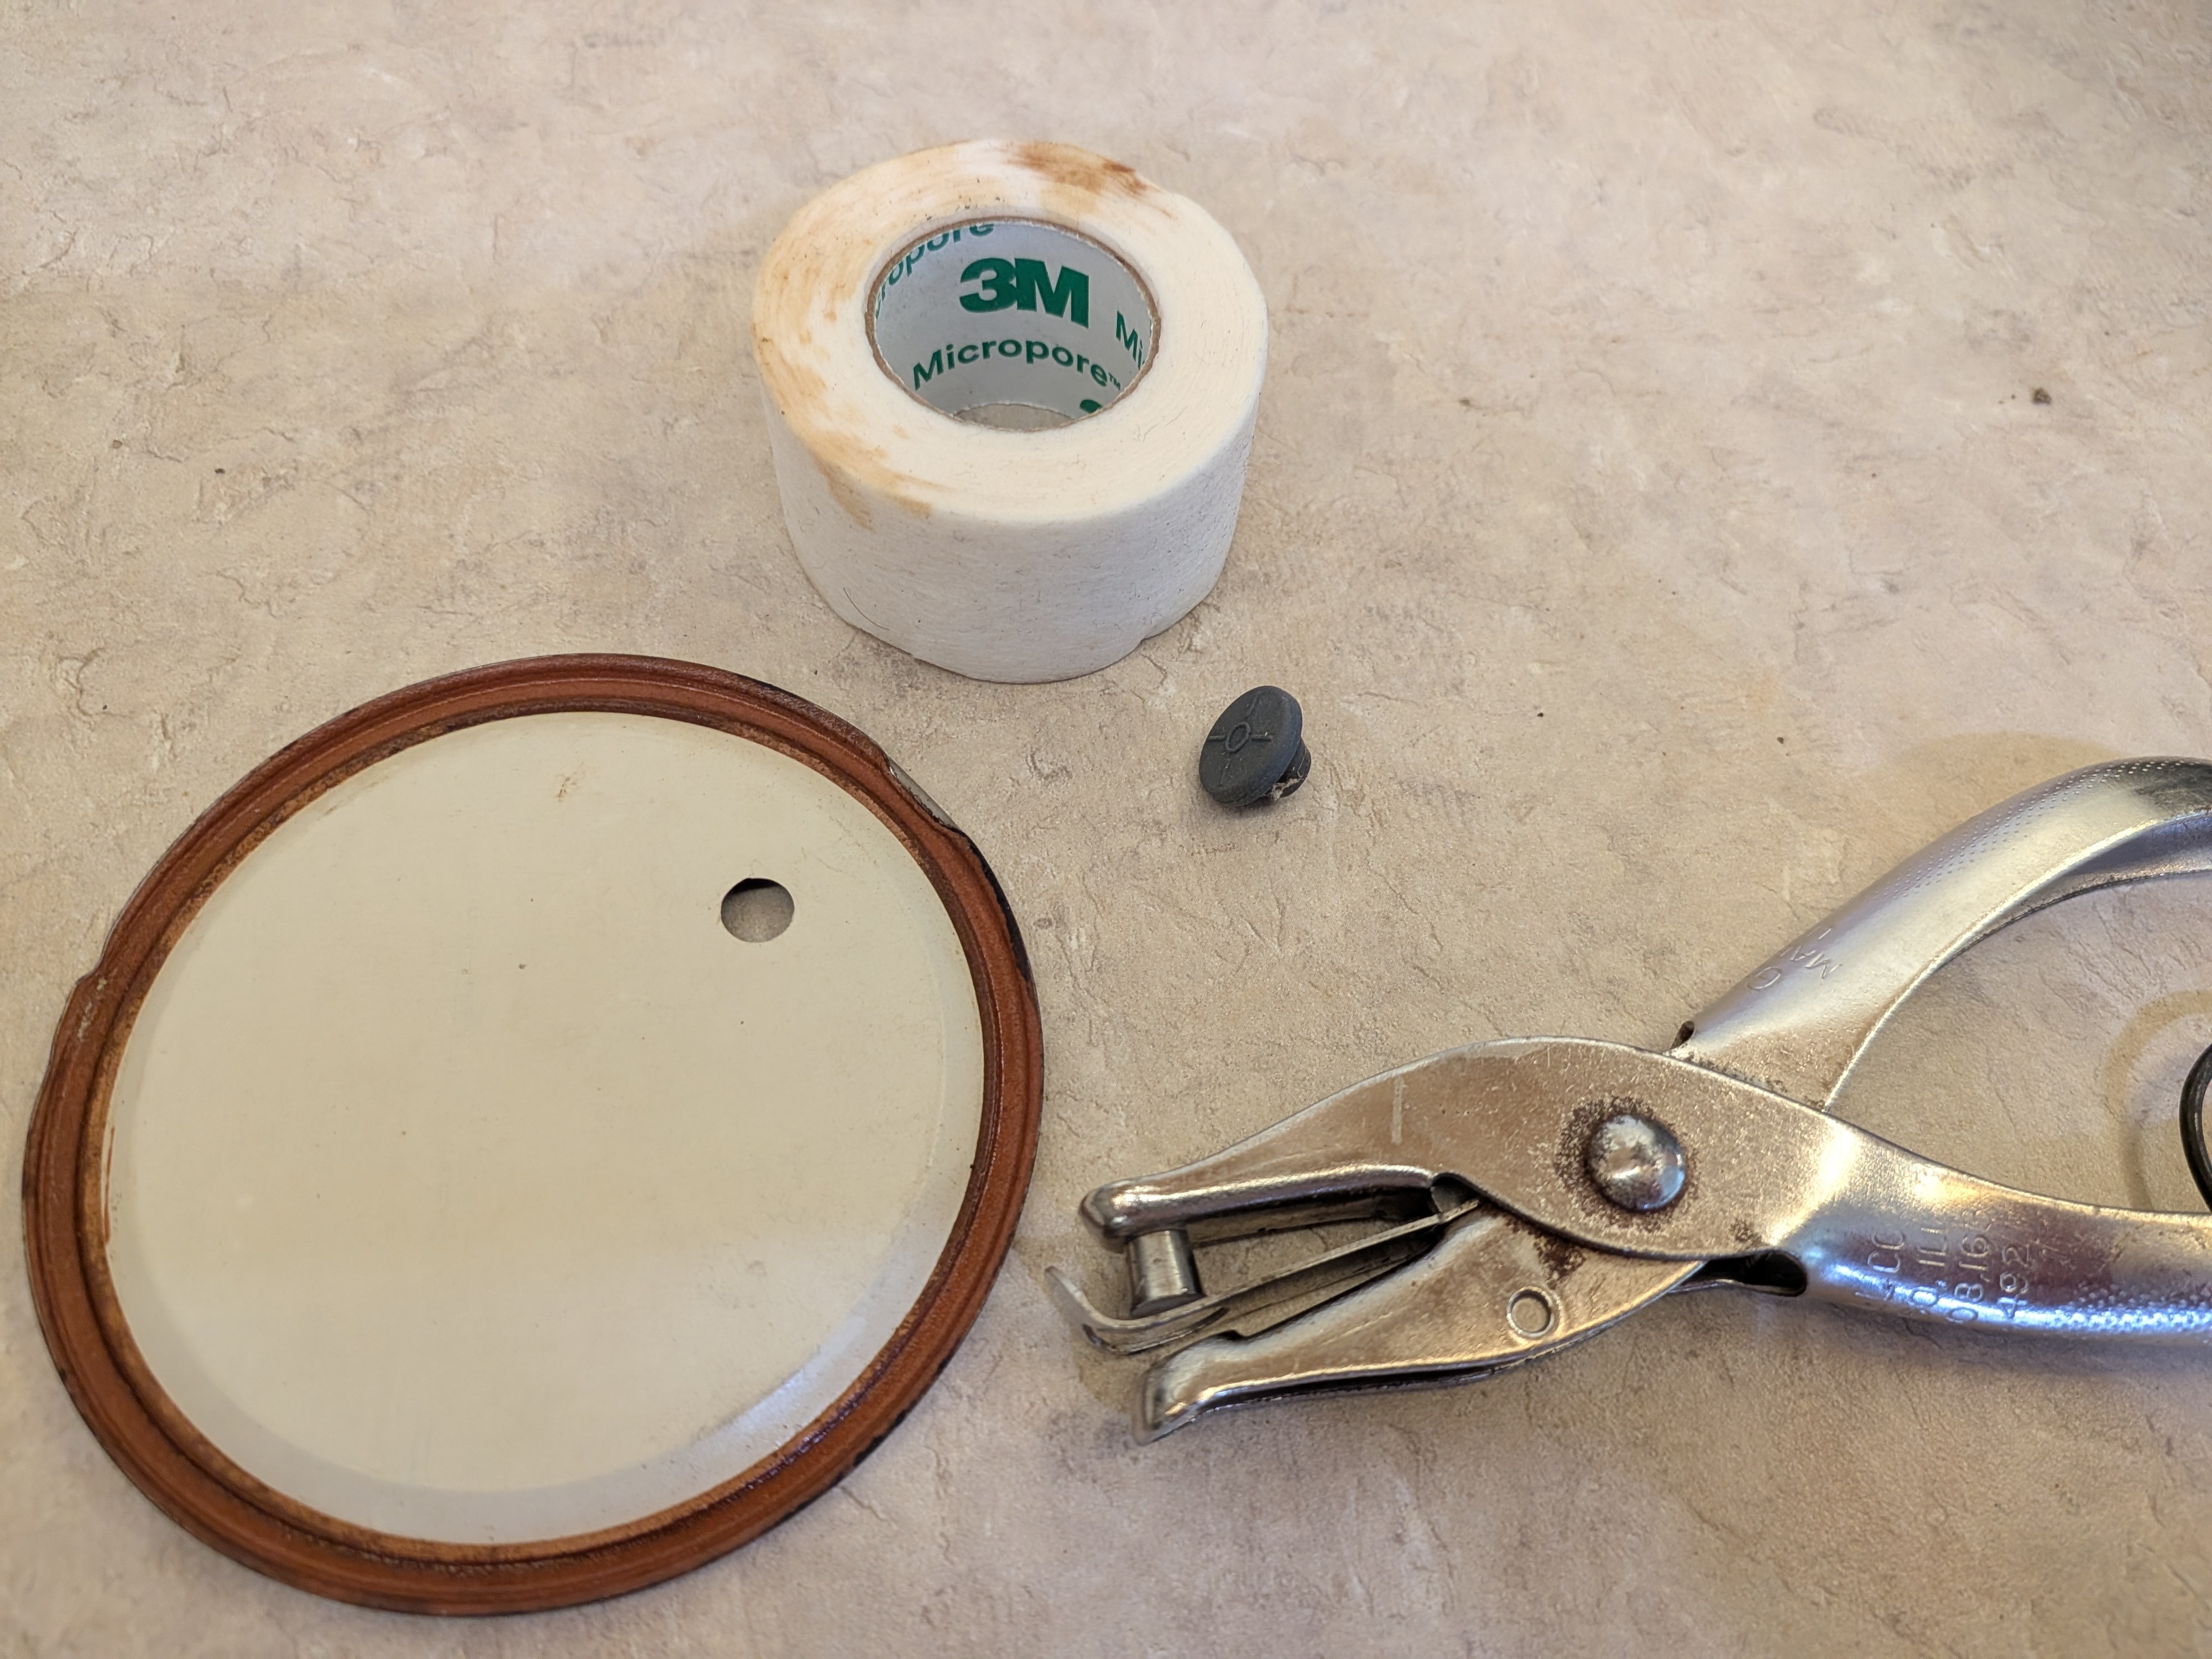
Optional ports and patches.
Hydration
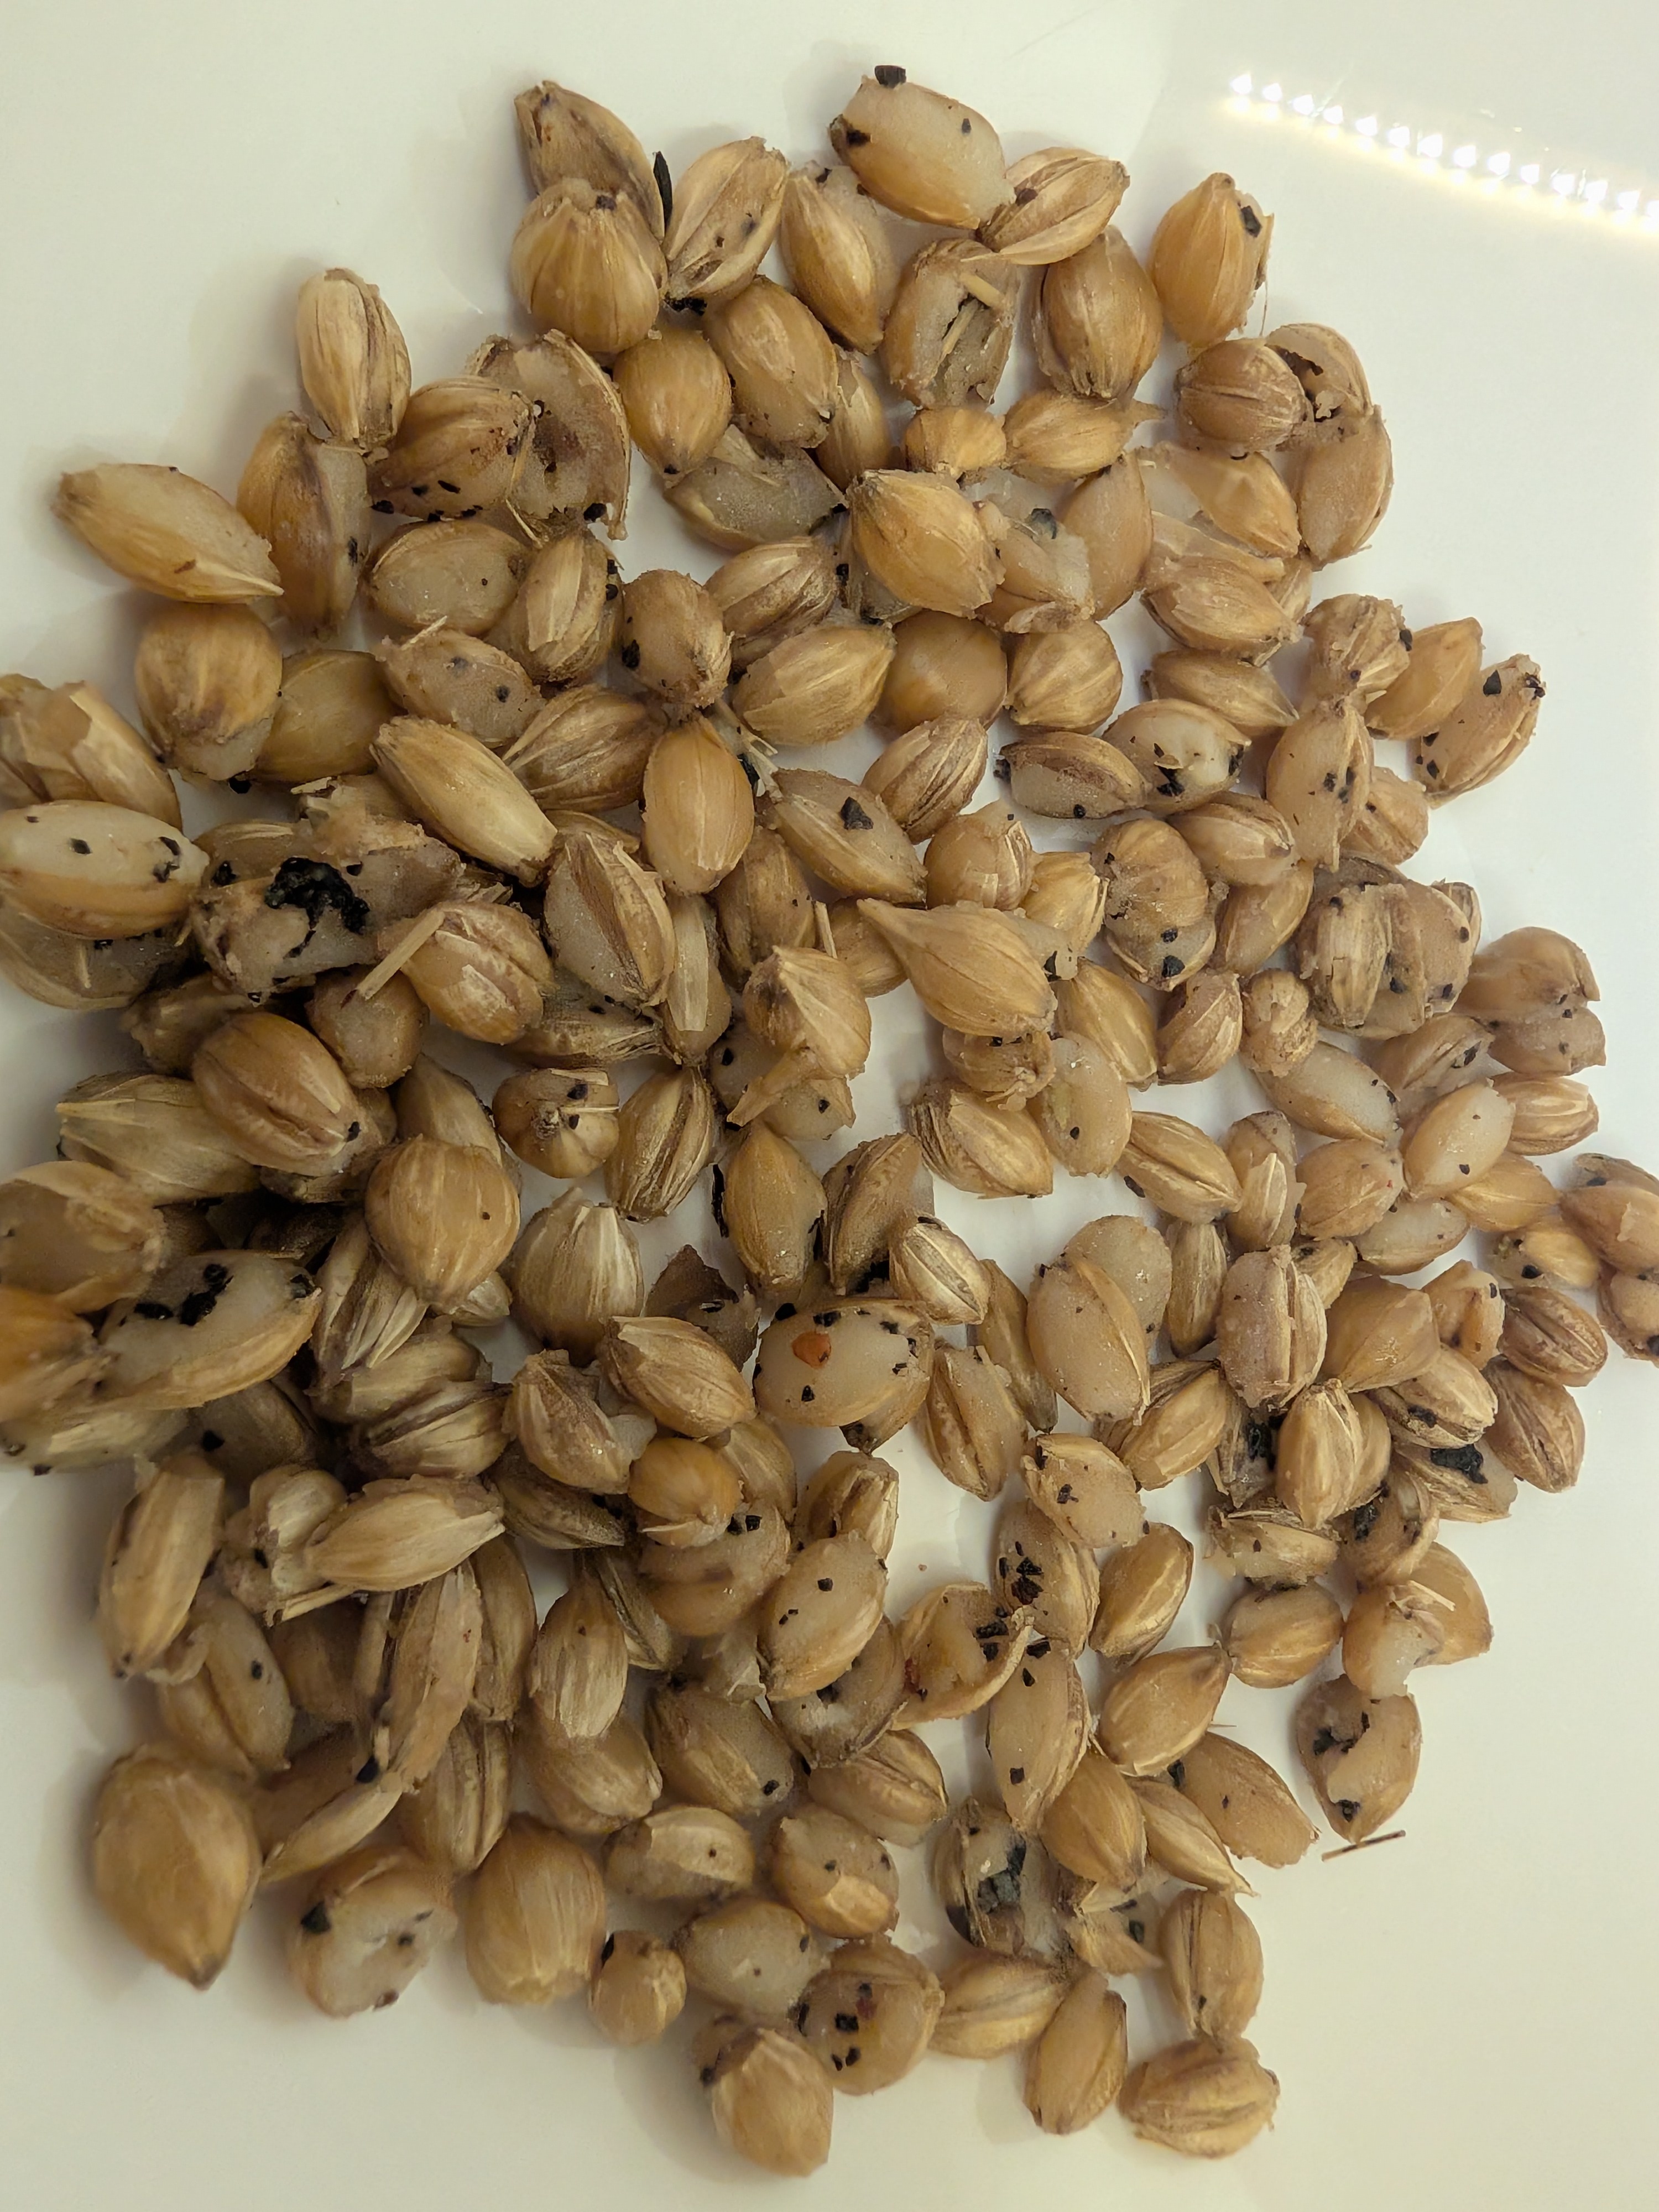
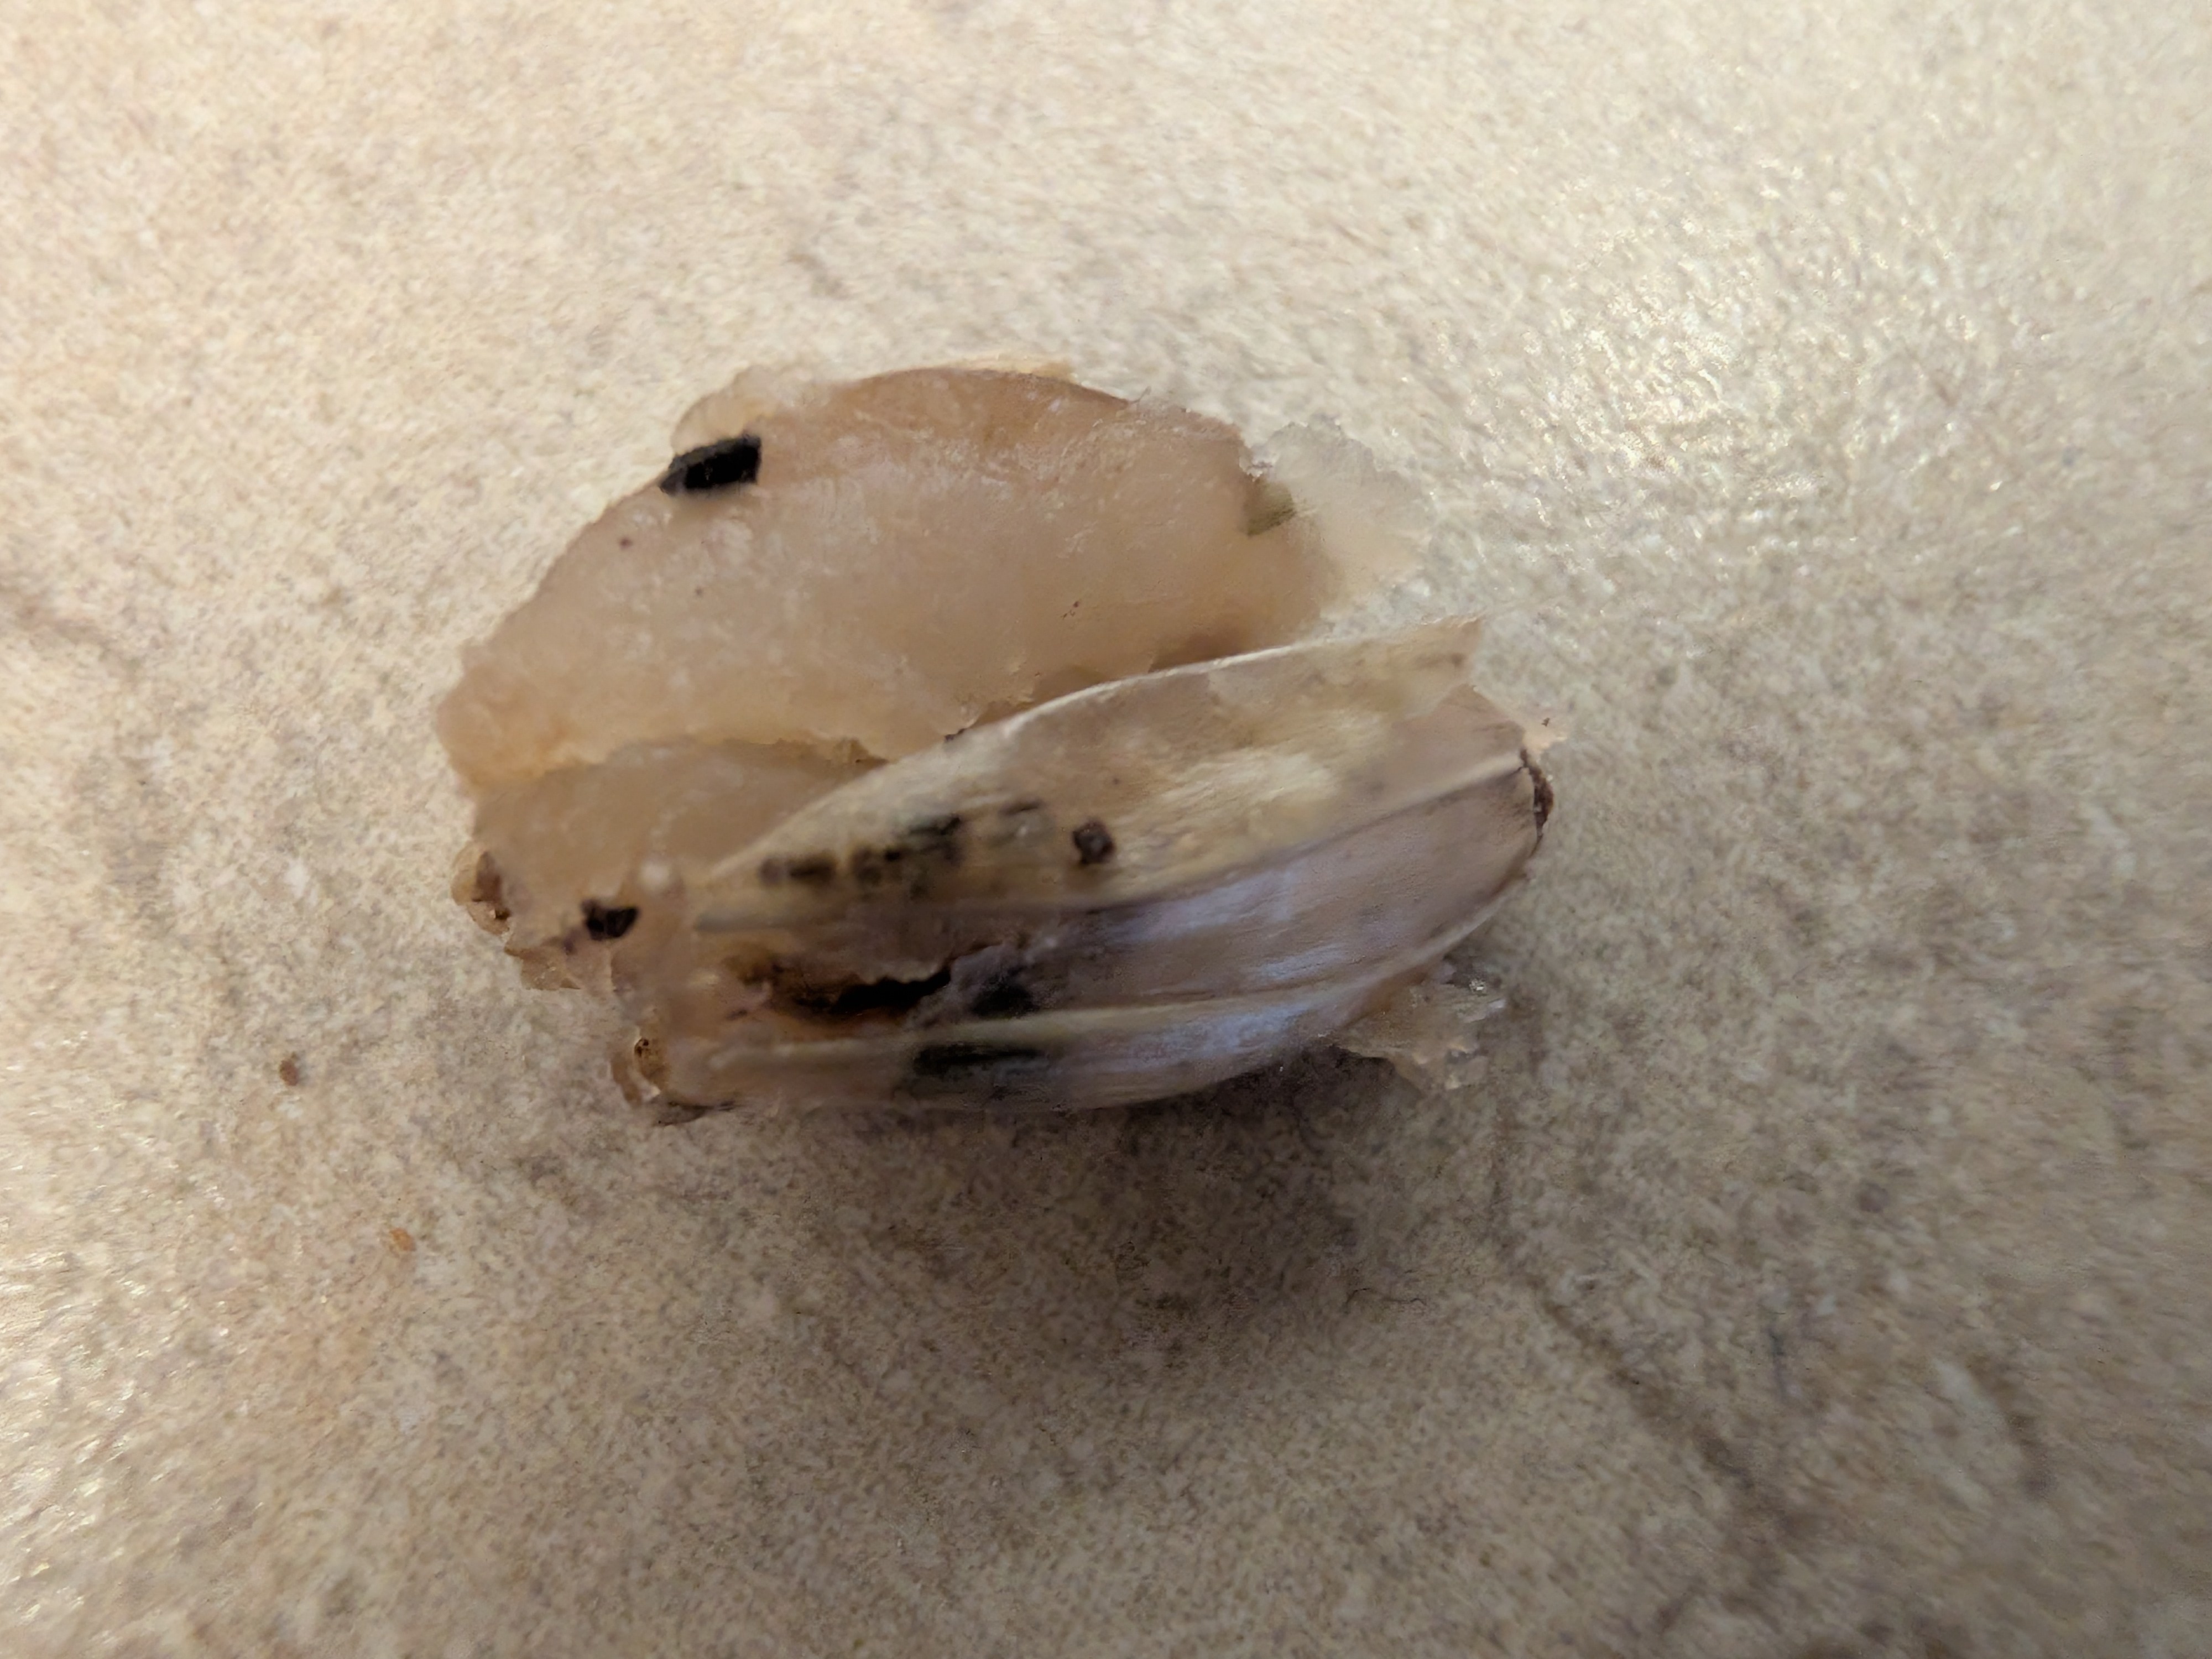
Avoid the Shortcuts: I do not recommend "No-Soak-No-Simmer" (NSNS) techniques. You will have much better success by getting the maximum amount of water into the grains before sterilization.
Cook grains submerged in water until soft enough to chew but still firm enough to stay separated. Once hydrated, drain and spread them out to dry until the outside is dry to the touch.
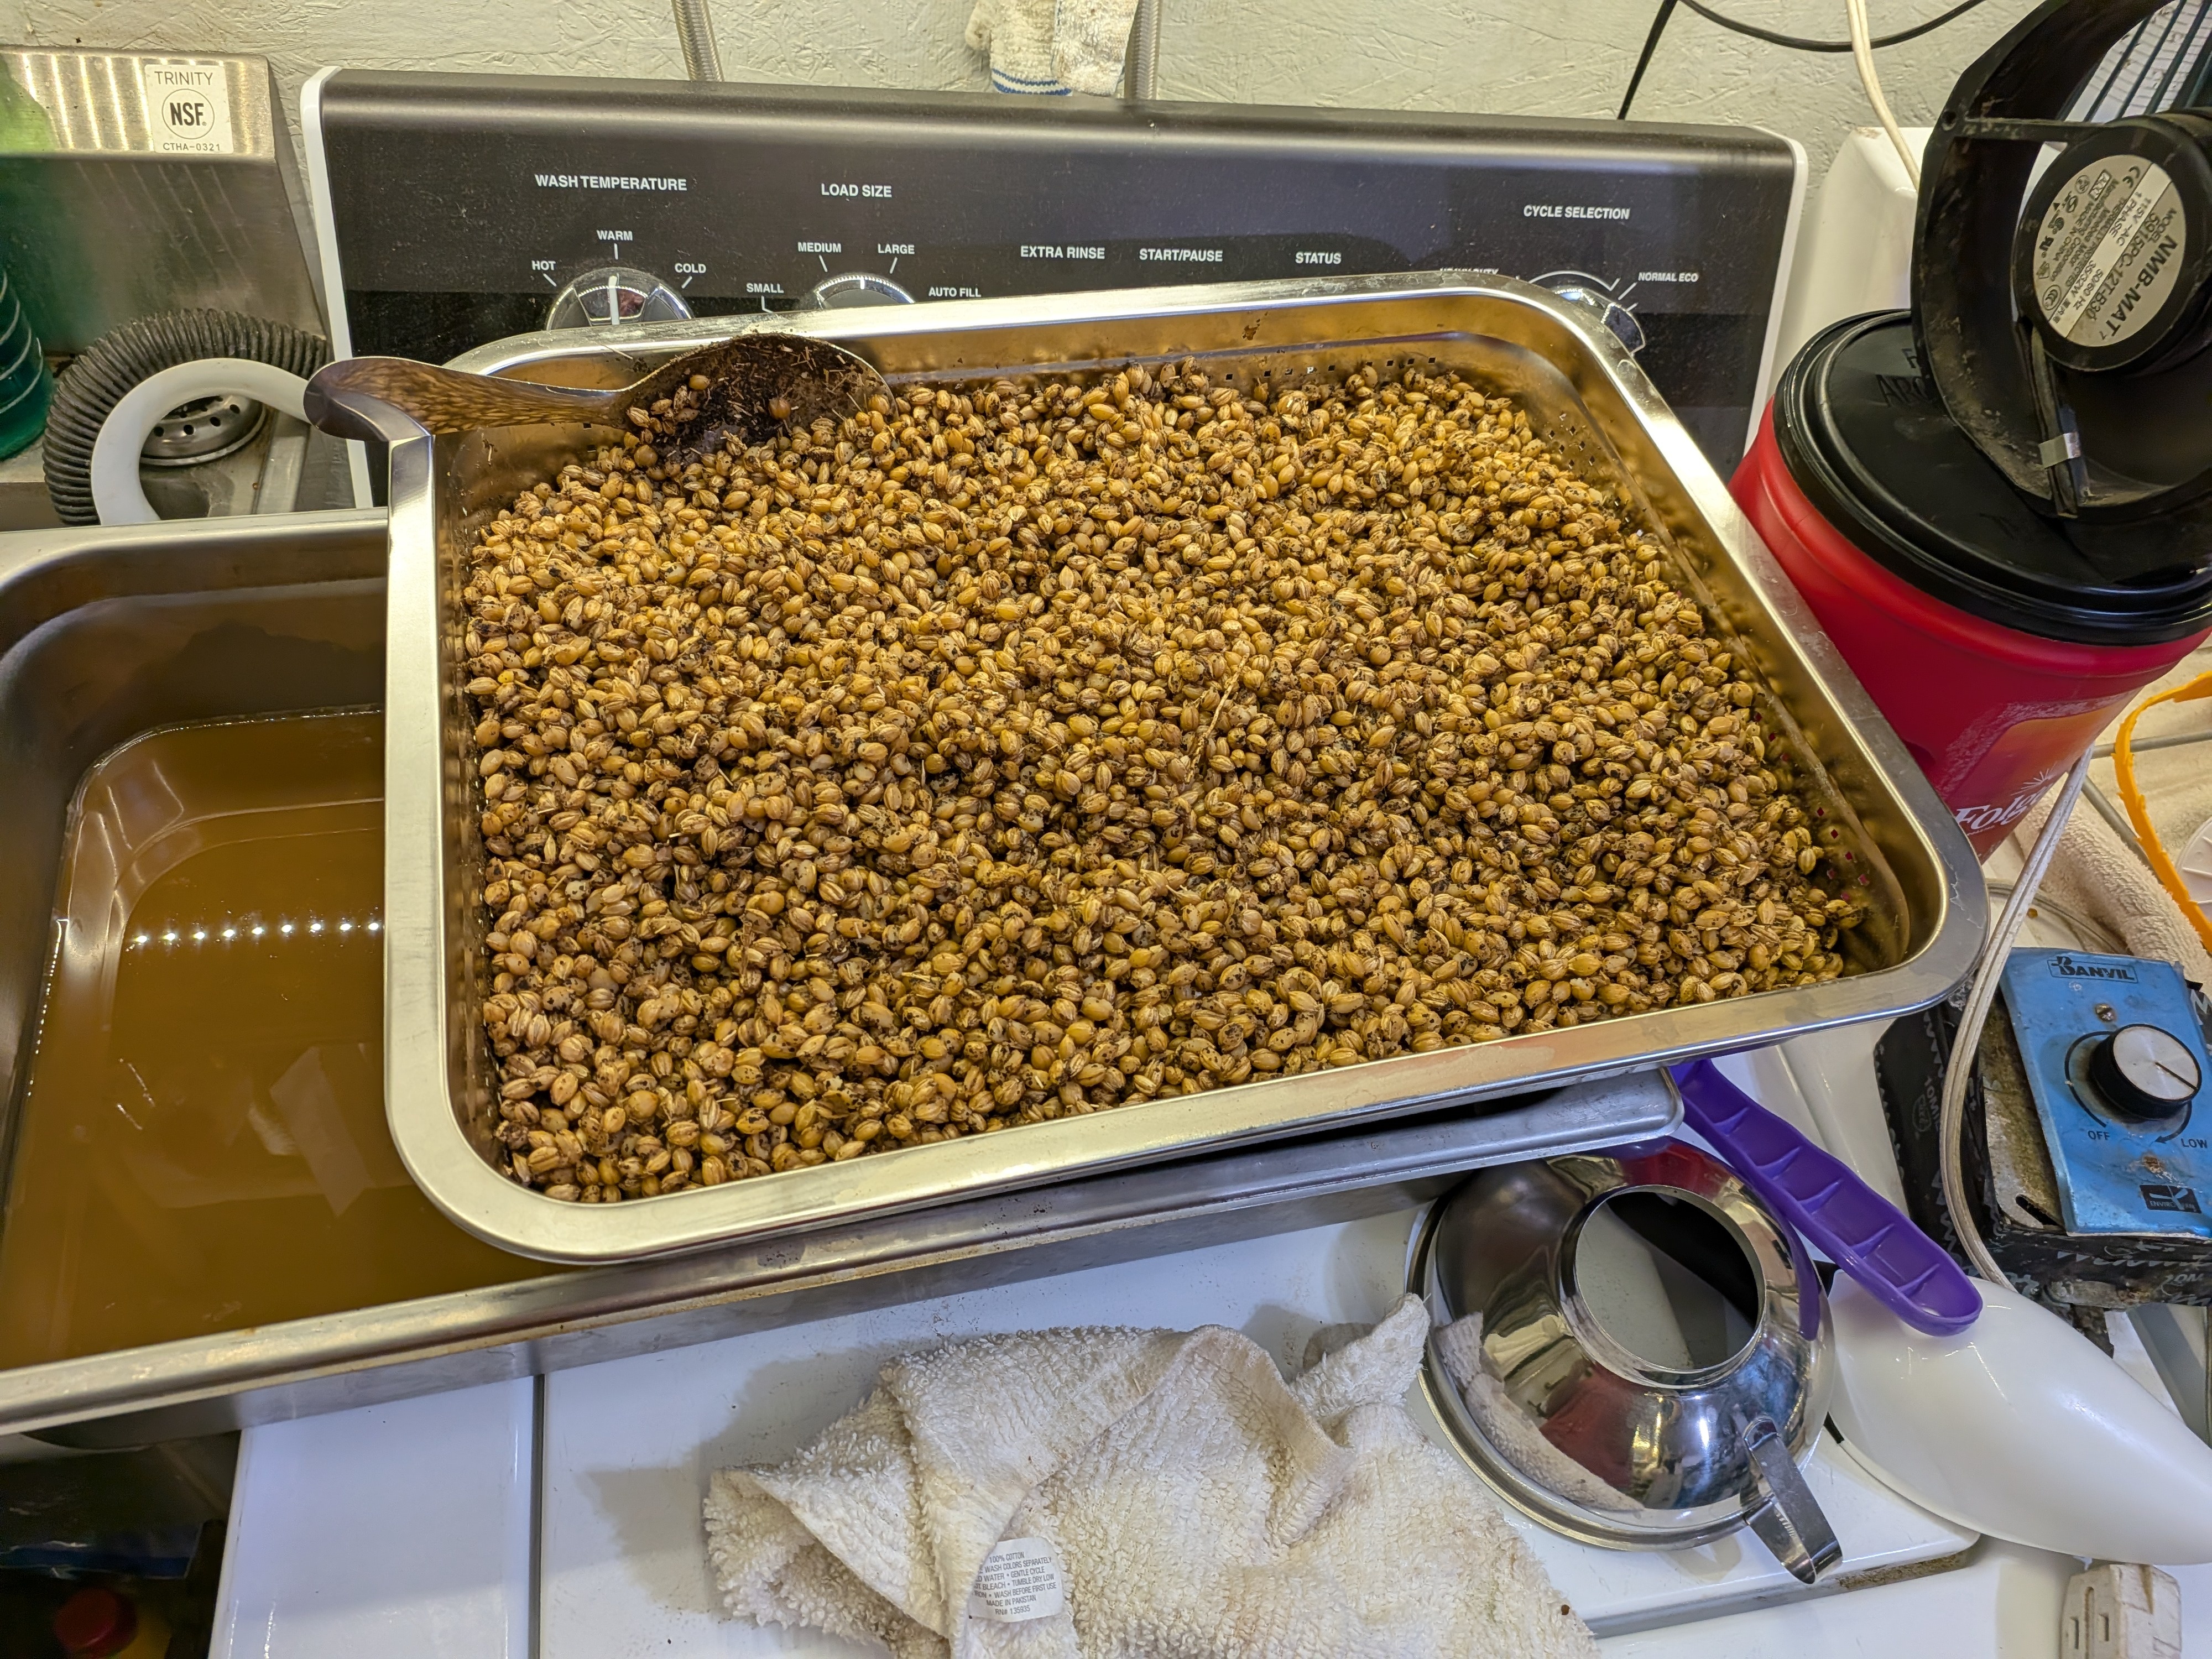
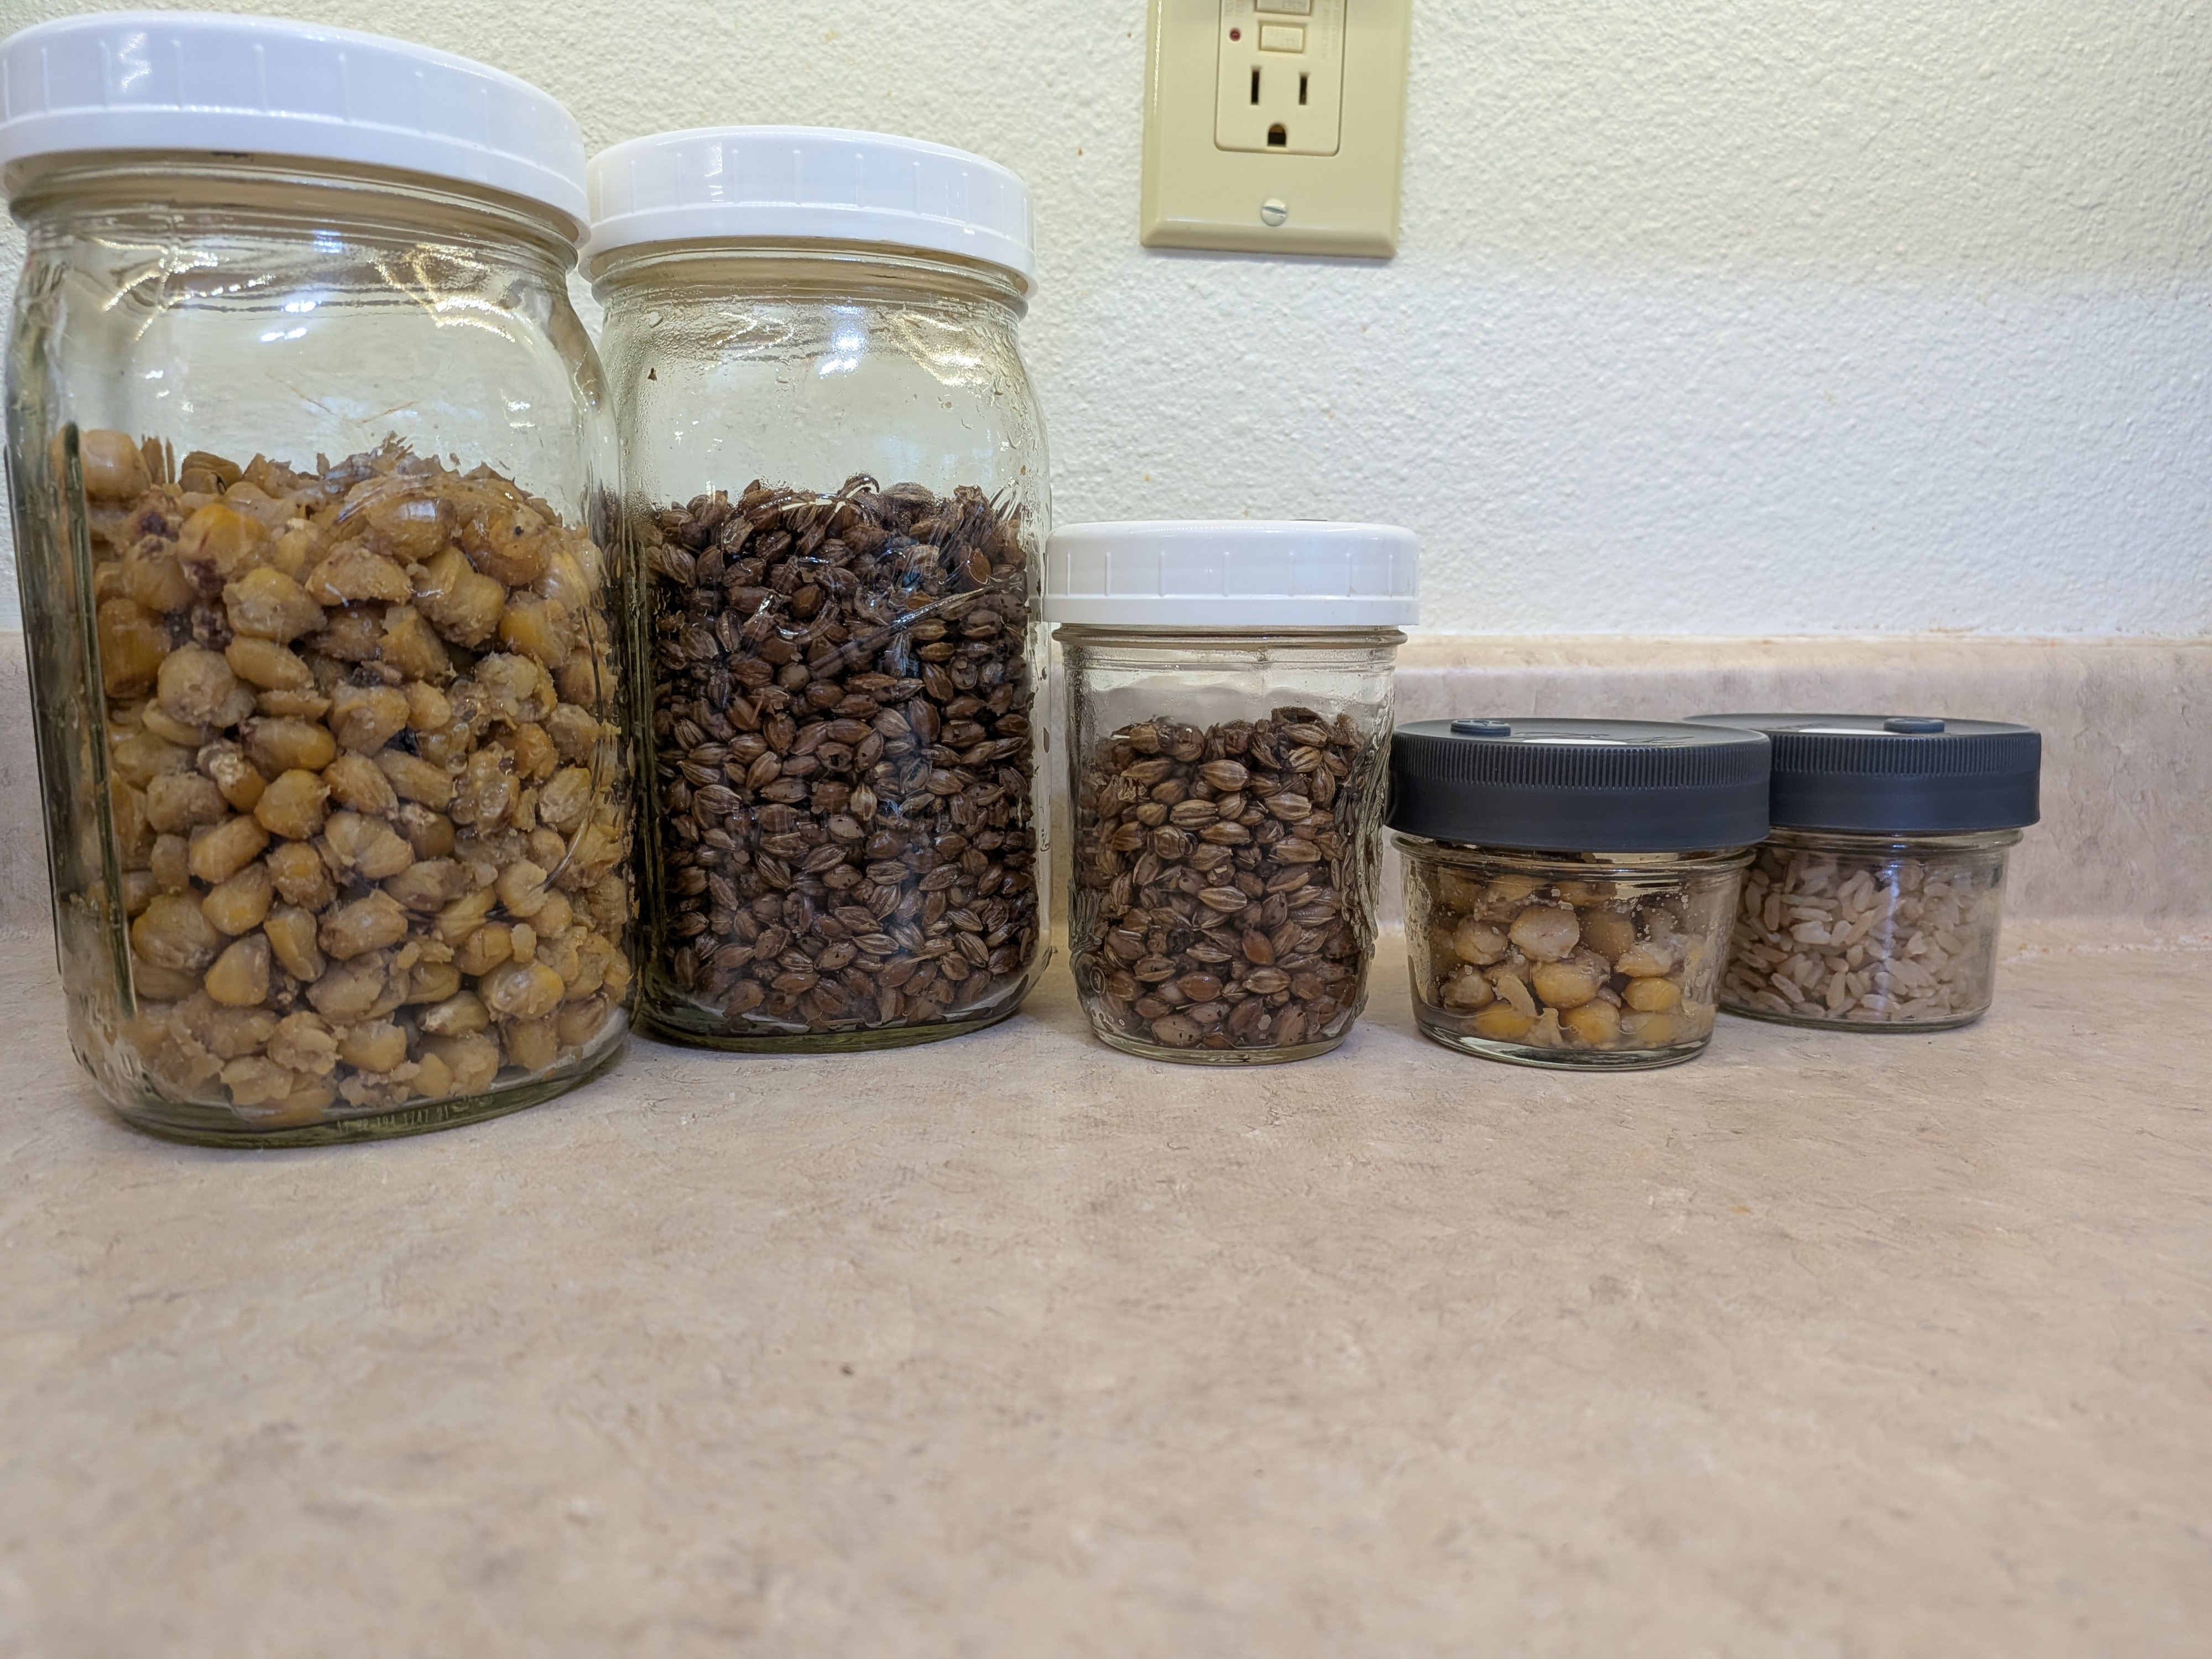
When loading into jars, leave about 1/3 headspace for easy shaking and transfers.
Pro-Tip: Save that initial drain water and pour it in the garden to feed the soil.
Instant Pot Hydration Shortcut
These hydrated grain timings (before loading into jars) have proven successful:
- Barley: 0 minutes (bring to 10 PSI and shut off).
- Deer Corn: 11 minutes (10–15 PSI, then shut off).
Note: During this hydration stage, raw grains expand rapidly. Use plenty of water and do not overfill. You want to finish the cooking cycle with water still remaining in the pot to ensure success and safety.
Release: Always let the pressure equalize naturally. Never vent early.
Sterilization (PC or Instant Pot)
For total success, run your Pressure Cooker or Instant Pot for 3 hours. It ensures total sterilization and saves you from the heartbreak of contamination.
Safety Note: Even though your grains are now sealed in jars or bags and will not expand further, you must still use plenty of water in your pot. A 3-hour cycle can easily run a pot dry. Grains are already sealed and won't expand further at this stage, but the pot needs enough water to last safely.
Efficiency: Running your Pressure Cooker "hard" doesn't make it hotter—15 PSI is 250°F no matter what. A slow, steady rock is all you need (on my stove, this is about 1/4 power). Running it hard just wastes water faster. If the pot runs dry, the temperature will spike above 250°F, which can melt PP5 plastic and break glass jars.
Oven Sterilization Tek
If you don't have a PC, the oven is a proven alternative for grains:
- Use the 1/4 Turn Method described above for your lids.
- Bake jars in the oven at 250°F (121°C) for 3 hours.
- Let cool naturally in the oven (overnight is best) before tightening and handling.
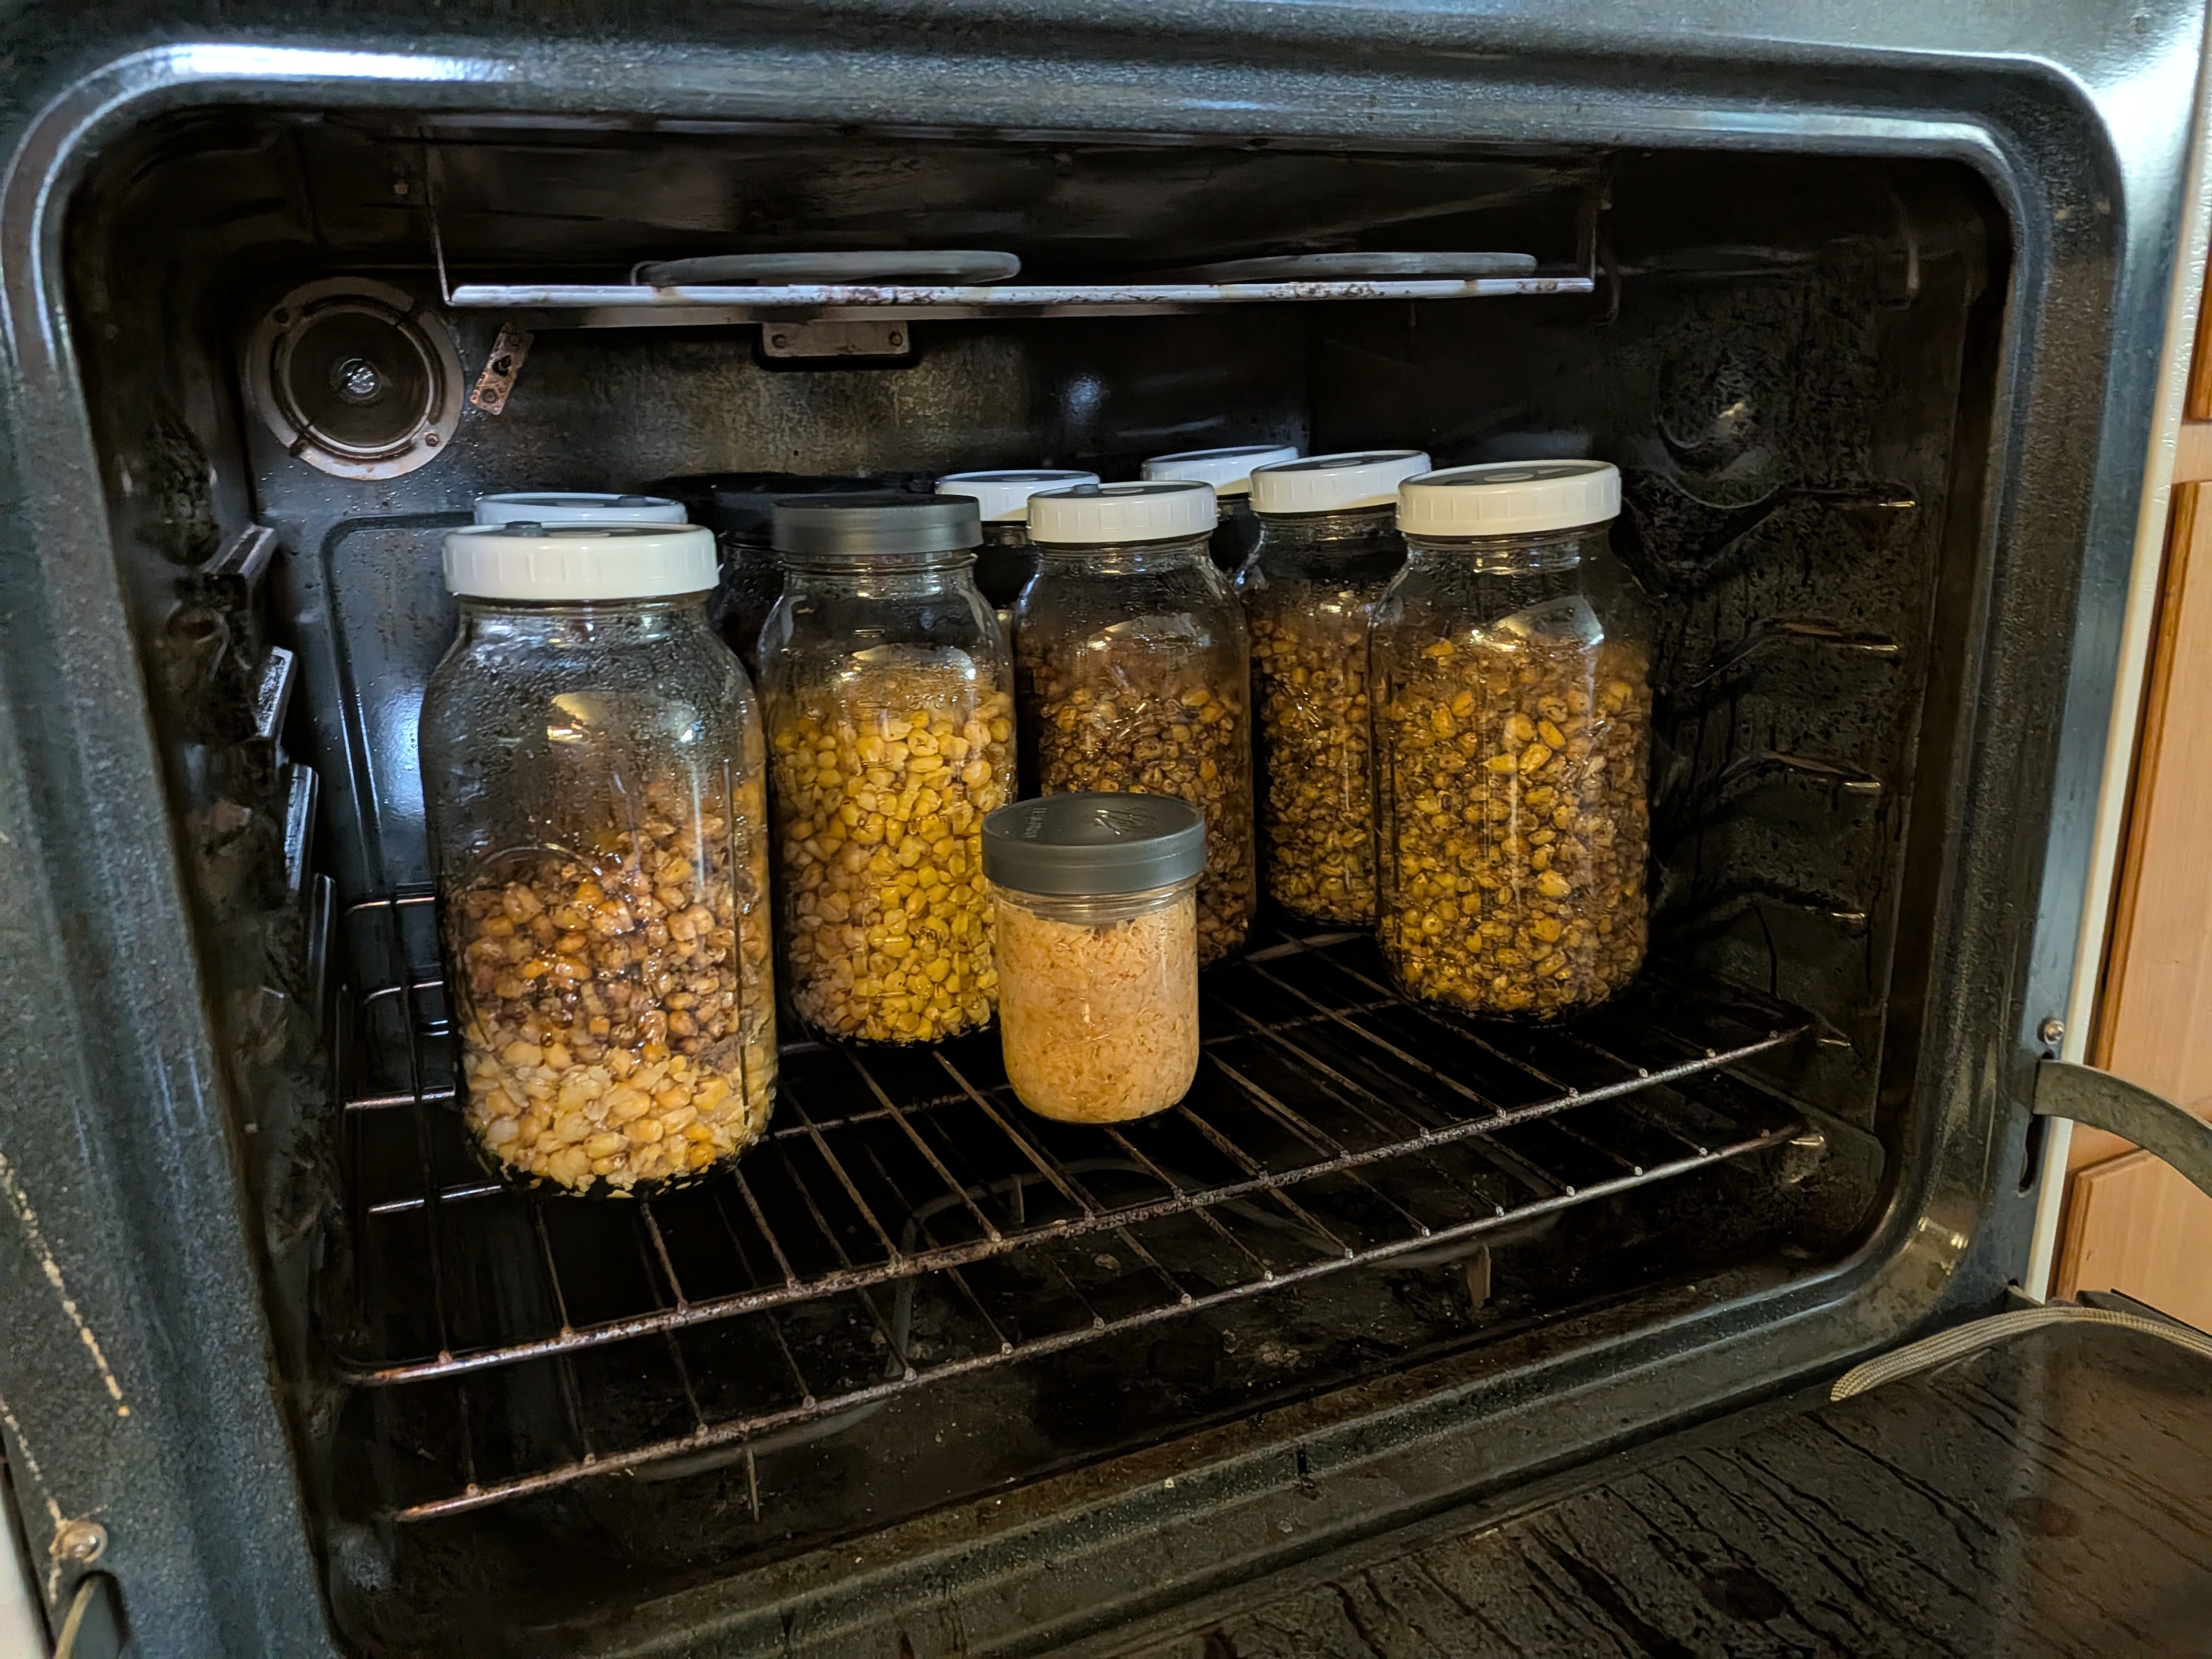
Grains after a successful 3-hour oven cycle.